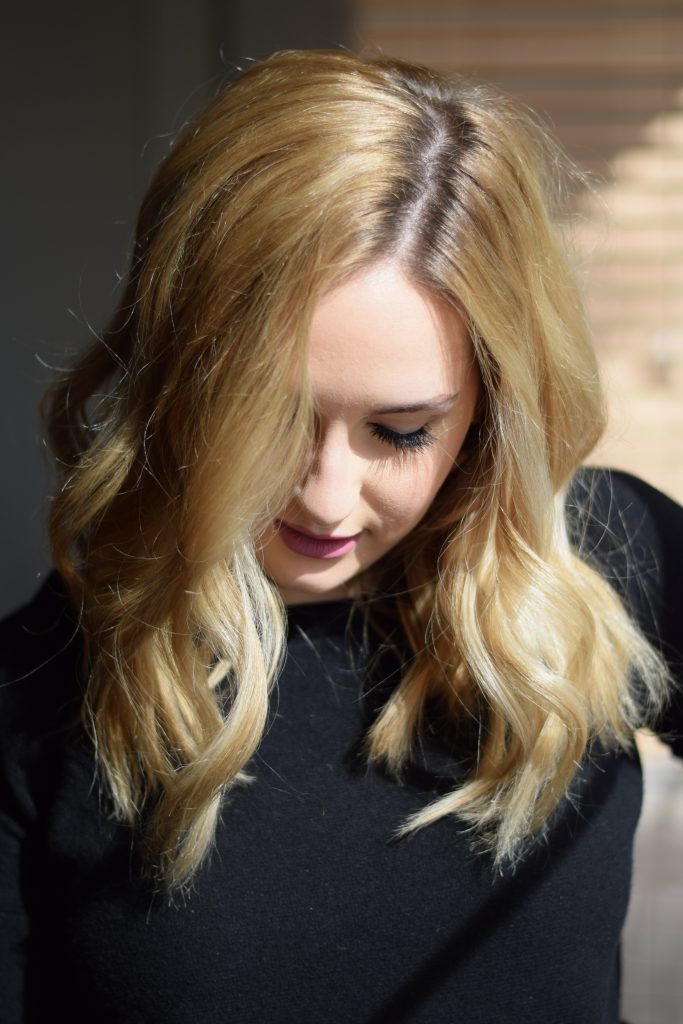
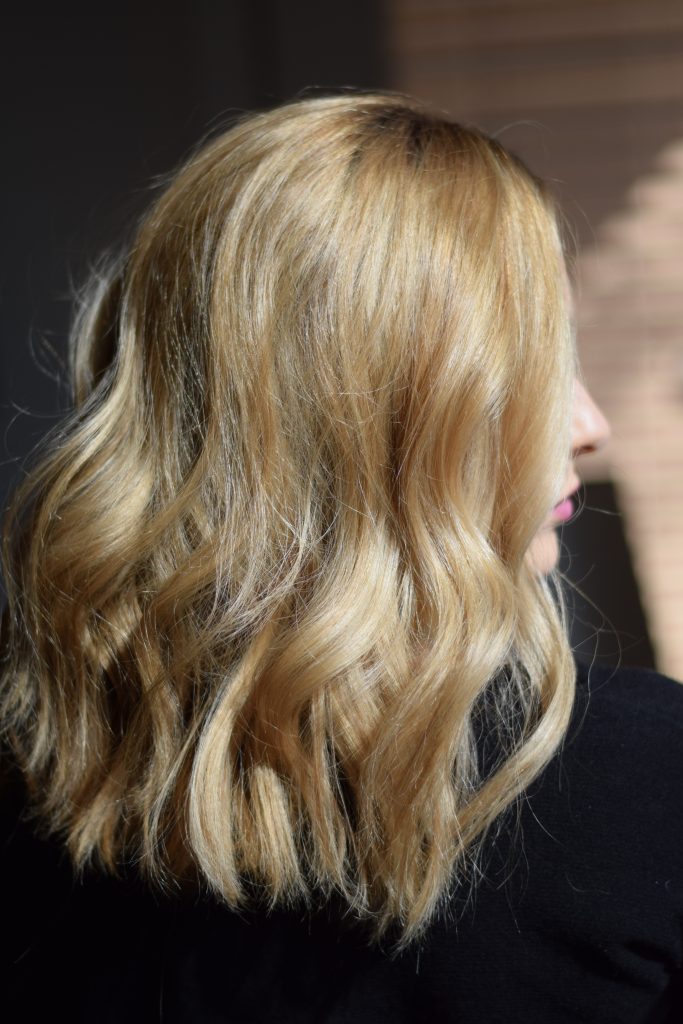
 I’ve loved curly hair ever since I was a little girl – I even begged my mom and hairdresser for a perm at the age of 8. Special shout out to both of them for flat out refusing – my hair and I thank you. After that, I settled on every pair of rollers and every variety of curling iron I could get my hands on (I cannot even imagine what my hair used to look like after that). Now that I have had years to experiment and all different lengths and styles to practice on, I think I finally nailed down a good routine that gives me the curl and body I am after without making me look like a combination of Shirley Temple and Weird Al.
My hair is naturally pretty wavy and has a tendency to frizz up when it comes in contact with any humidity or moisture (think about a level below Monica Gellar on her trip to Barbados) so curly hair and volume have always suited me much more than sleek straight locks. Straight hair looks good for a while but as soon as it starts to puff up, I look like I am wearing a fur helmet. With curly hair, the frizz and volume only improves the look, in my opinion, so that’s a definite bonus.
Prep
I like to curl my hair when it is relatively clean. People always say it’s better to do it on dirty hair because it lasts longer but for me, when my hair is greasy, the curls slip out and look separated (in a bad way). I prefer to wash my hair and let it air dry, if possible, to avoid any unnecessary heat damage. If I am in a rush and need to blowdry it, I rough dry my hair without using a round brush. Not blowdrying the hair smooth or straightening the hair beforehand is essential for me. I know a girl who had extremely curly hair and used to straighten it before curling and hers looked great! Whenever I have tried that in the past, my hair just looks like it has kinks in it, which is not what I am after. If my hair is TOO squeaky clean and needs a bit more texture, I will achieve that with products, such as Dry Bar Triple Sec 3-in-1, that will add the grit and volume you’re after. Make sure your hair is 100% dry before you start curling!
Tools
Like everything in life, it is much easier when you have the proper tools on hand. All of the tools I use for this look are fairly inexpensive. For my curling iron, I use a 1 1/4 inch barrel because I find that it gives me the loose waves I am after. If you have a hard time making your hair stay in curls, opt for a 1 inch barrel instead. I wouldn’t recommend going any smaller than 1 inch or any bigger than 1 1/4 inch for this style. In order to ensure my curls last as long as possible, pinning them up is key! I use pin curl clips that you can pick up at any beauty supply store. I prefer them to bobby pins because they can hold more hair and they don’t leave a kink in the hair when you remove them. Also, they are super easy to put in and take out. As for my styling products, I use L’Oreal Paris Elnett Satin Hairspray. This hairspray is super inexpensive and has a strong hold without ever making the hair crunchy. If you apply too much, you can literally brush it out in one stroke and it’s gone. For added texture, I have really been loving the Dry Bar Triple Sec 3-in-1.
Styling
- Start by brushing out your hair to make sure there are not knots or tangles that are going to get in your way while sectioning and curling.
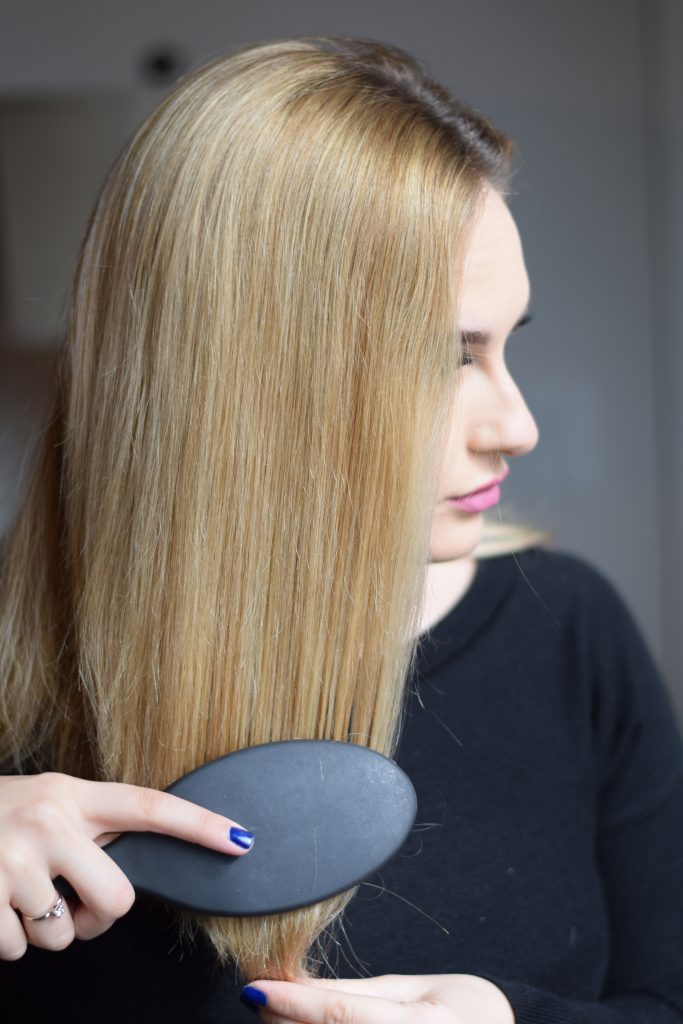
- Divide your hair into two sections, one on either side of your head. Do this by drawing a straight line down the back of my head. This doesn’t need to be that precise but it will ensure that you get every single piece and don’t neglect the back section.
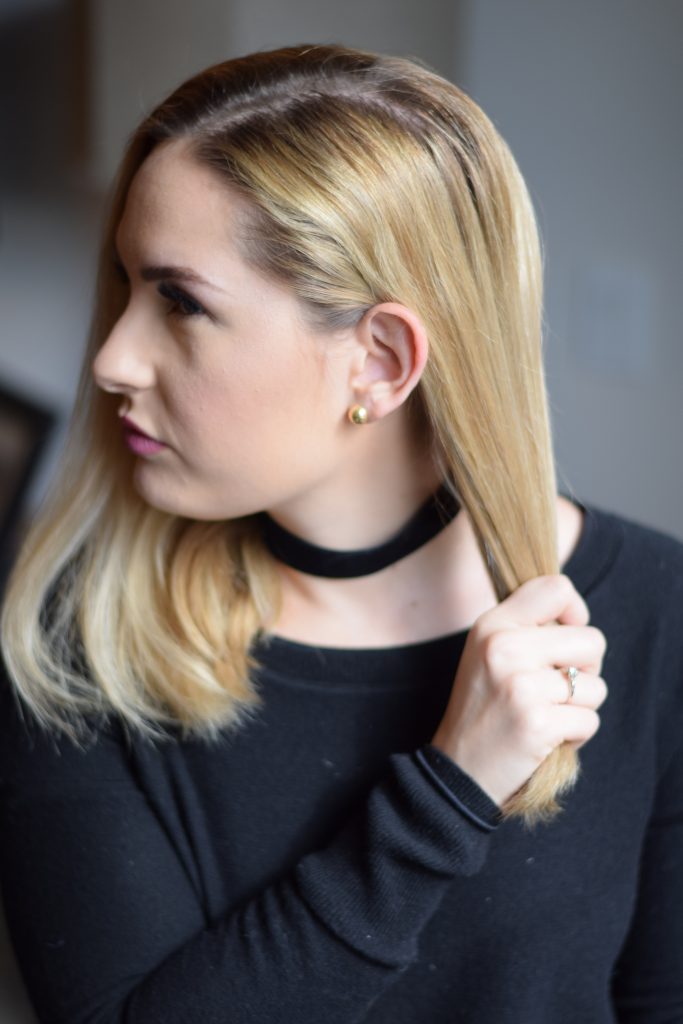
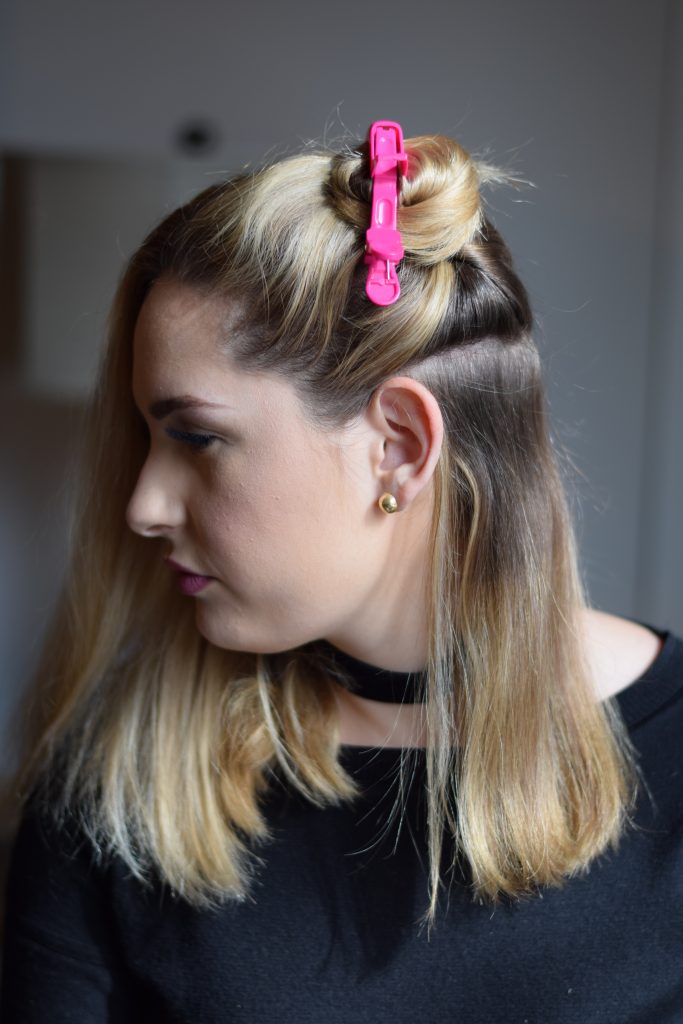
- Now that your hair is divided onto either side of your head, section off bottom part of your hair until you get the about the top of the ear. Pin the other hair out of the way.
- With the curling iron in your right hand, start on the back piece. Make sure you’re taking sections that are square, not long and rectangular. This will give you more of a loose wave as opposed to a banana curl. Hold the curling iron vertically behind the piece and wrap the hair away from your face. Leave space between each wrap on the iron to avoid a tight curl. Hold for a few seconds (or until you feel the heat coming through the hair) and release.
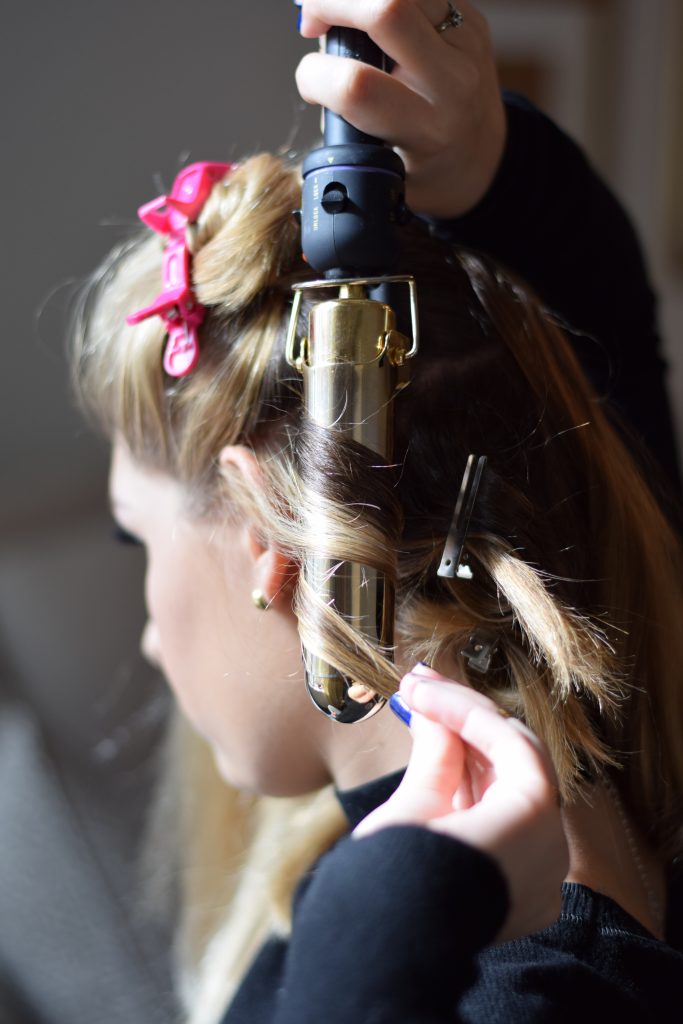
- Once the curl is released, place your two fingers into the curl, mimicking the position of the curling iron, and wrap the hair around your fingers. Pin the curl in position so that it may cool and set. This will help the curl to last all day! Don’t worry if it sets in a bouncy, tighter curl – you can loosen things up later on.
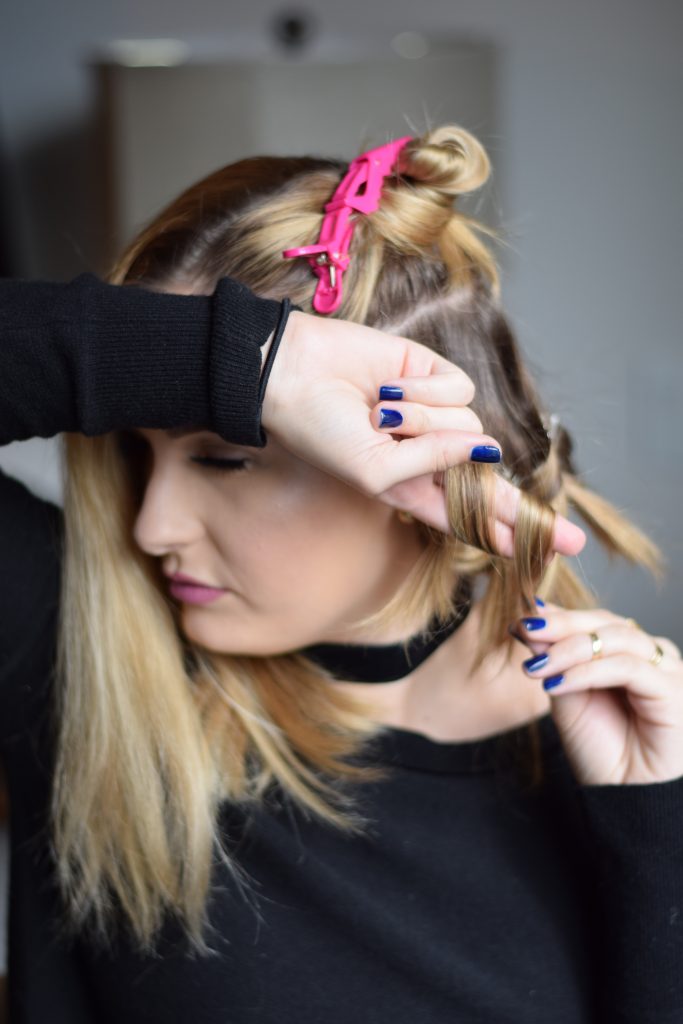
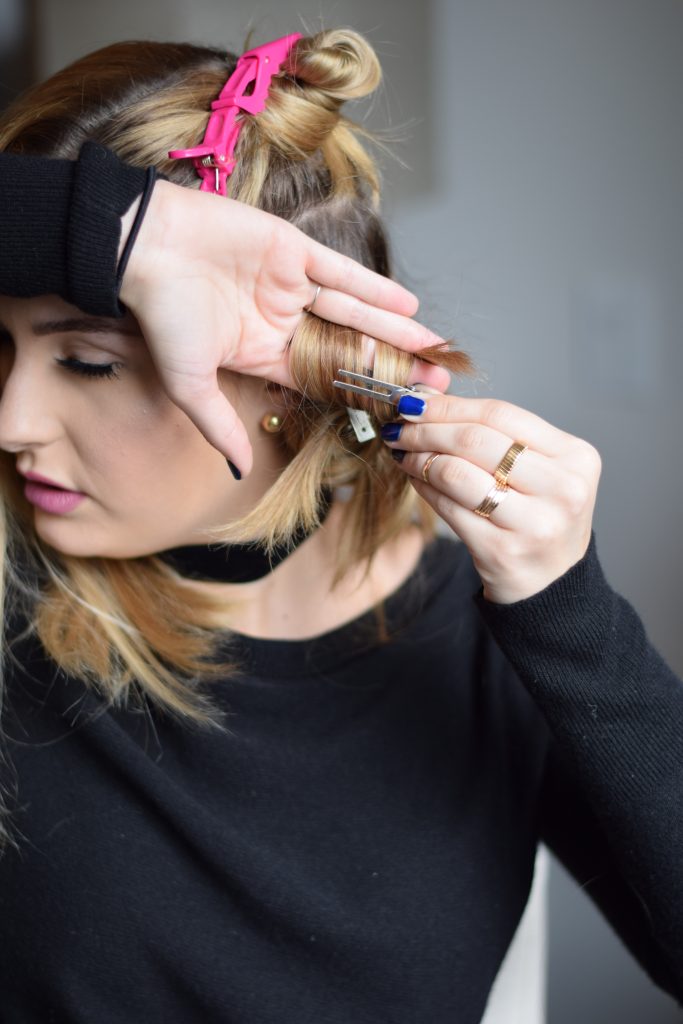
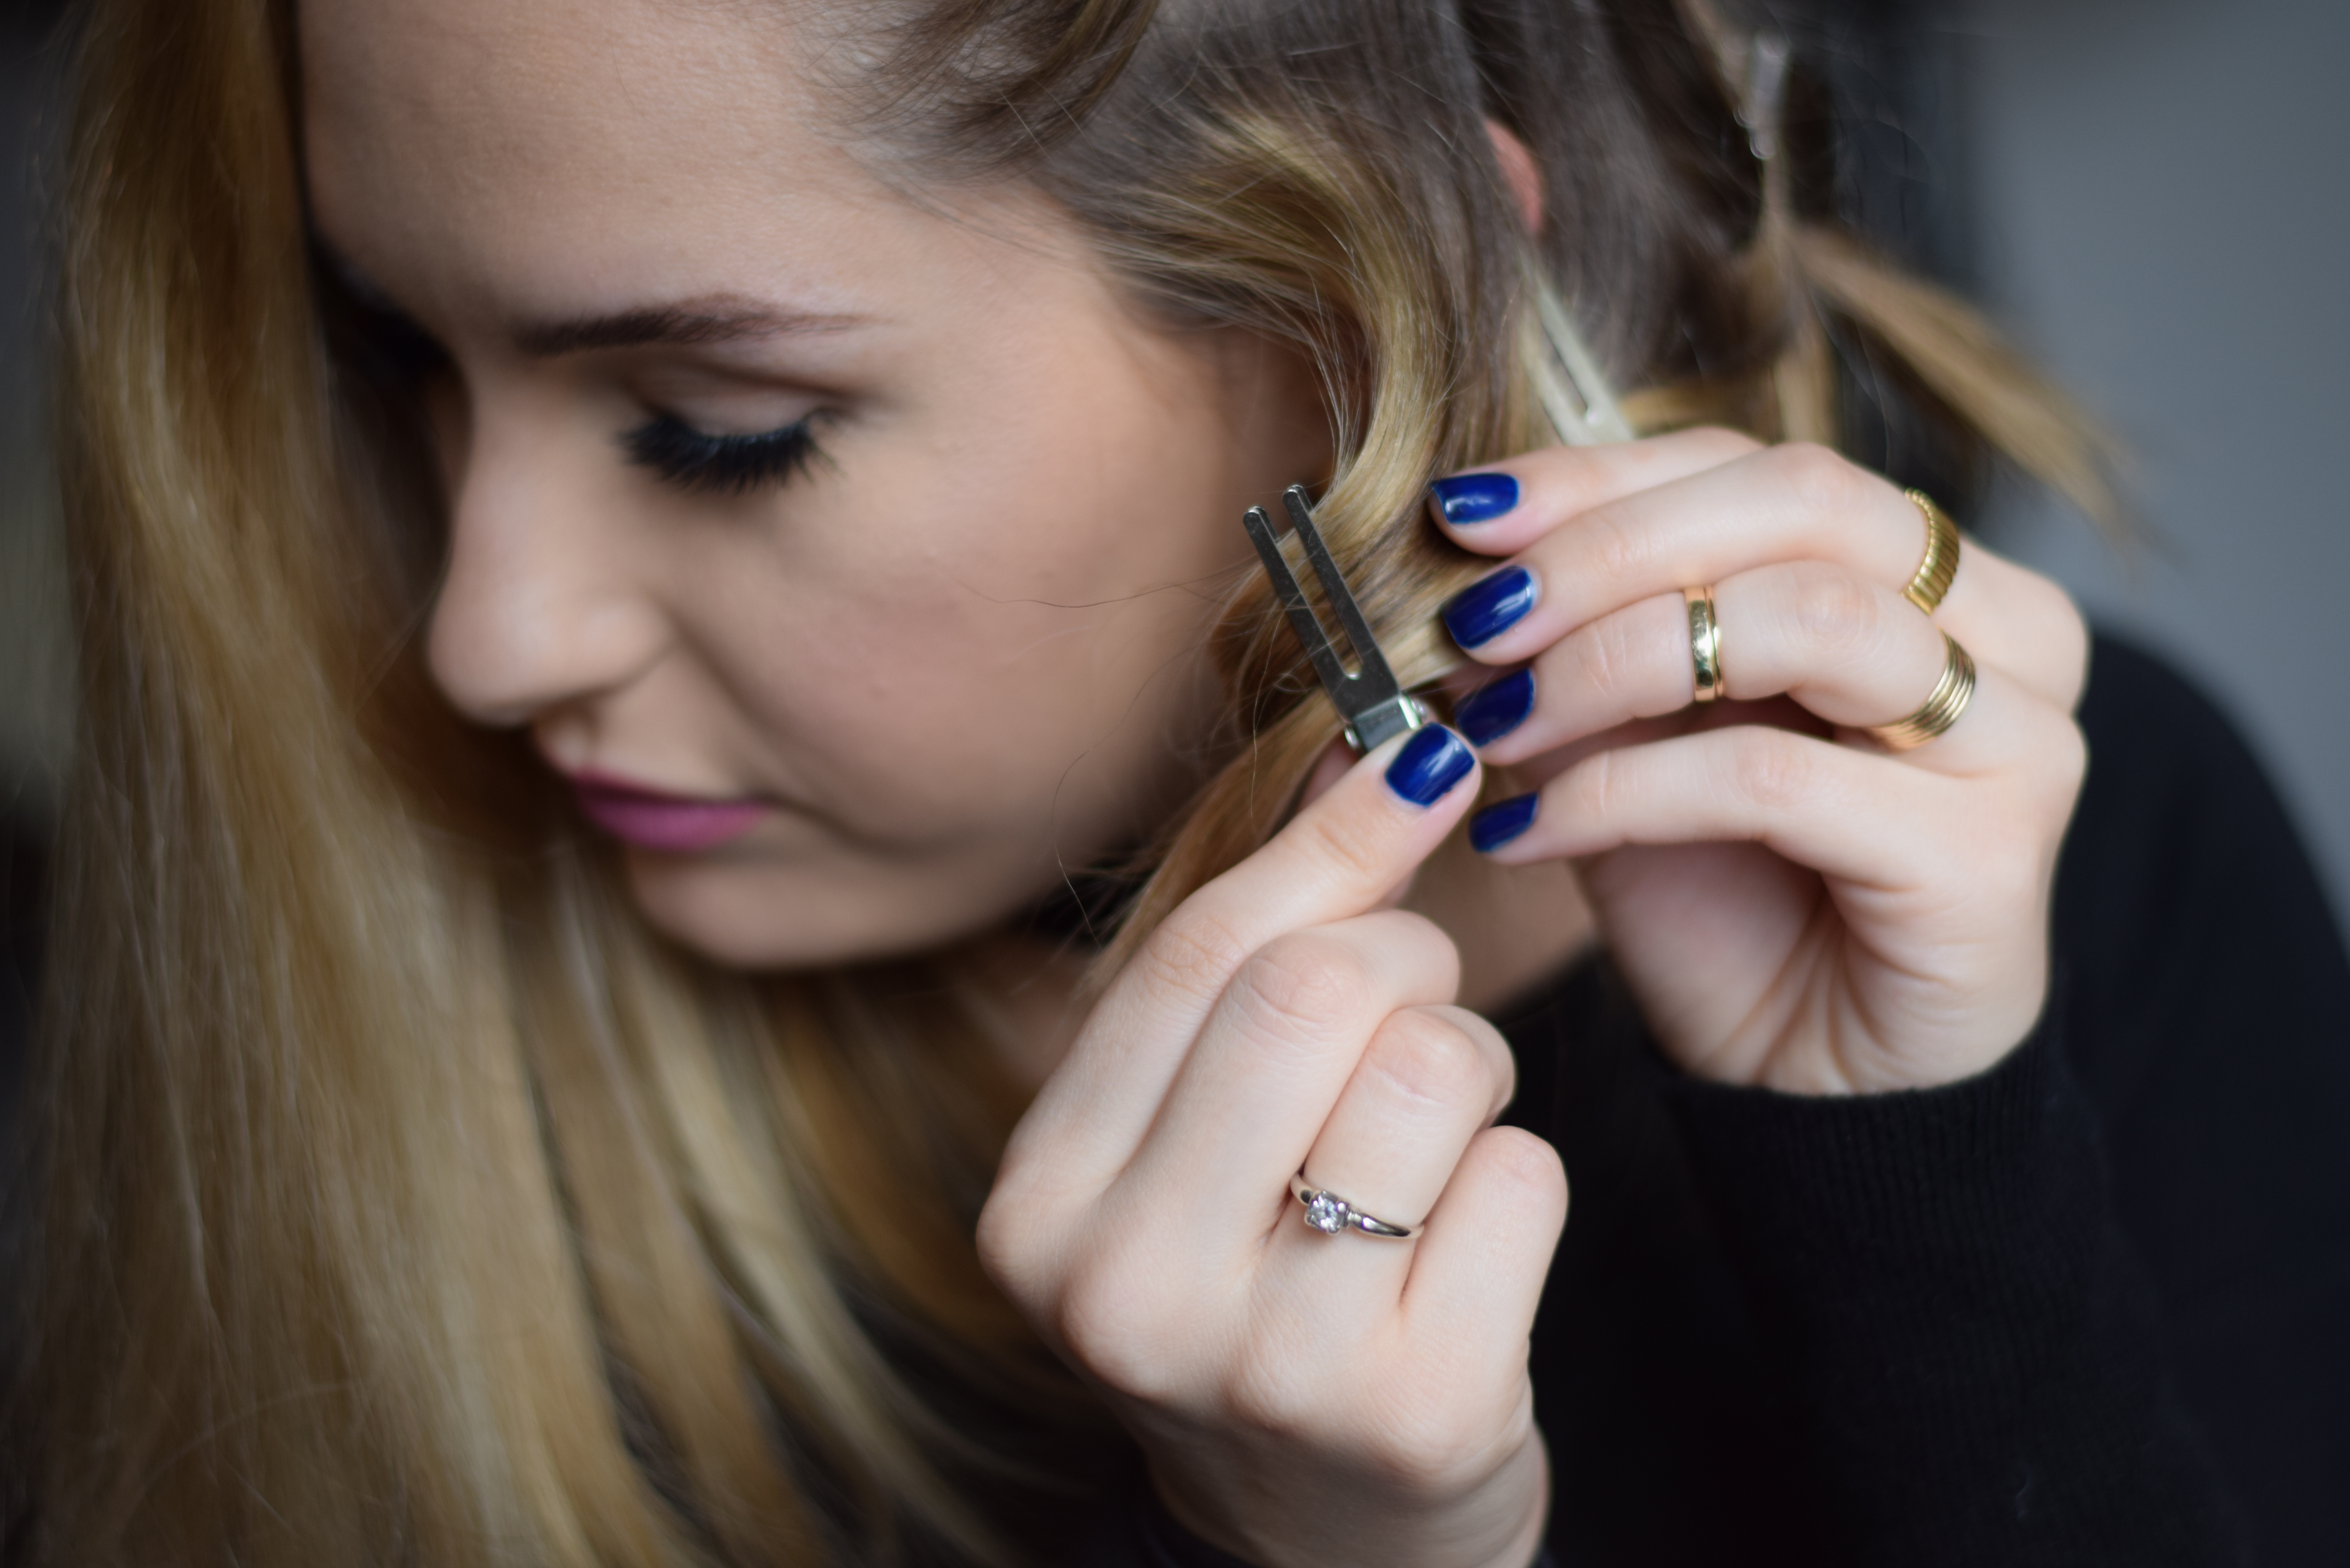
- Repeat these steps on the entire bottom section. I usually do about 3 large square pieces.
- Section off the next layer until you get to the temple. Pin the other hair out of the way.
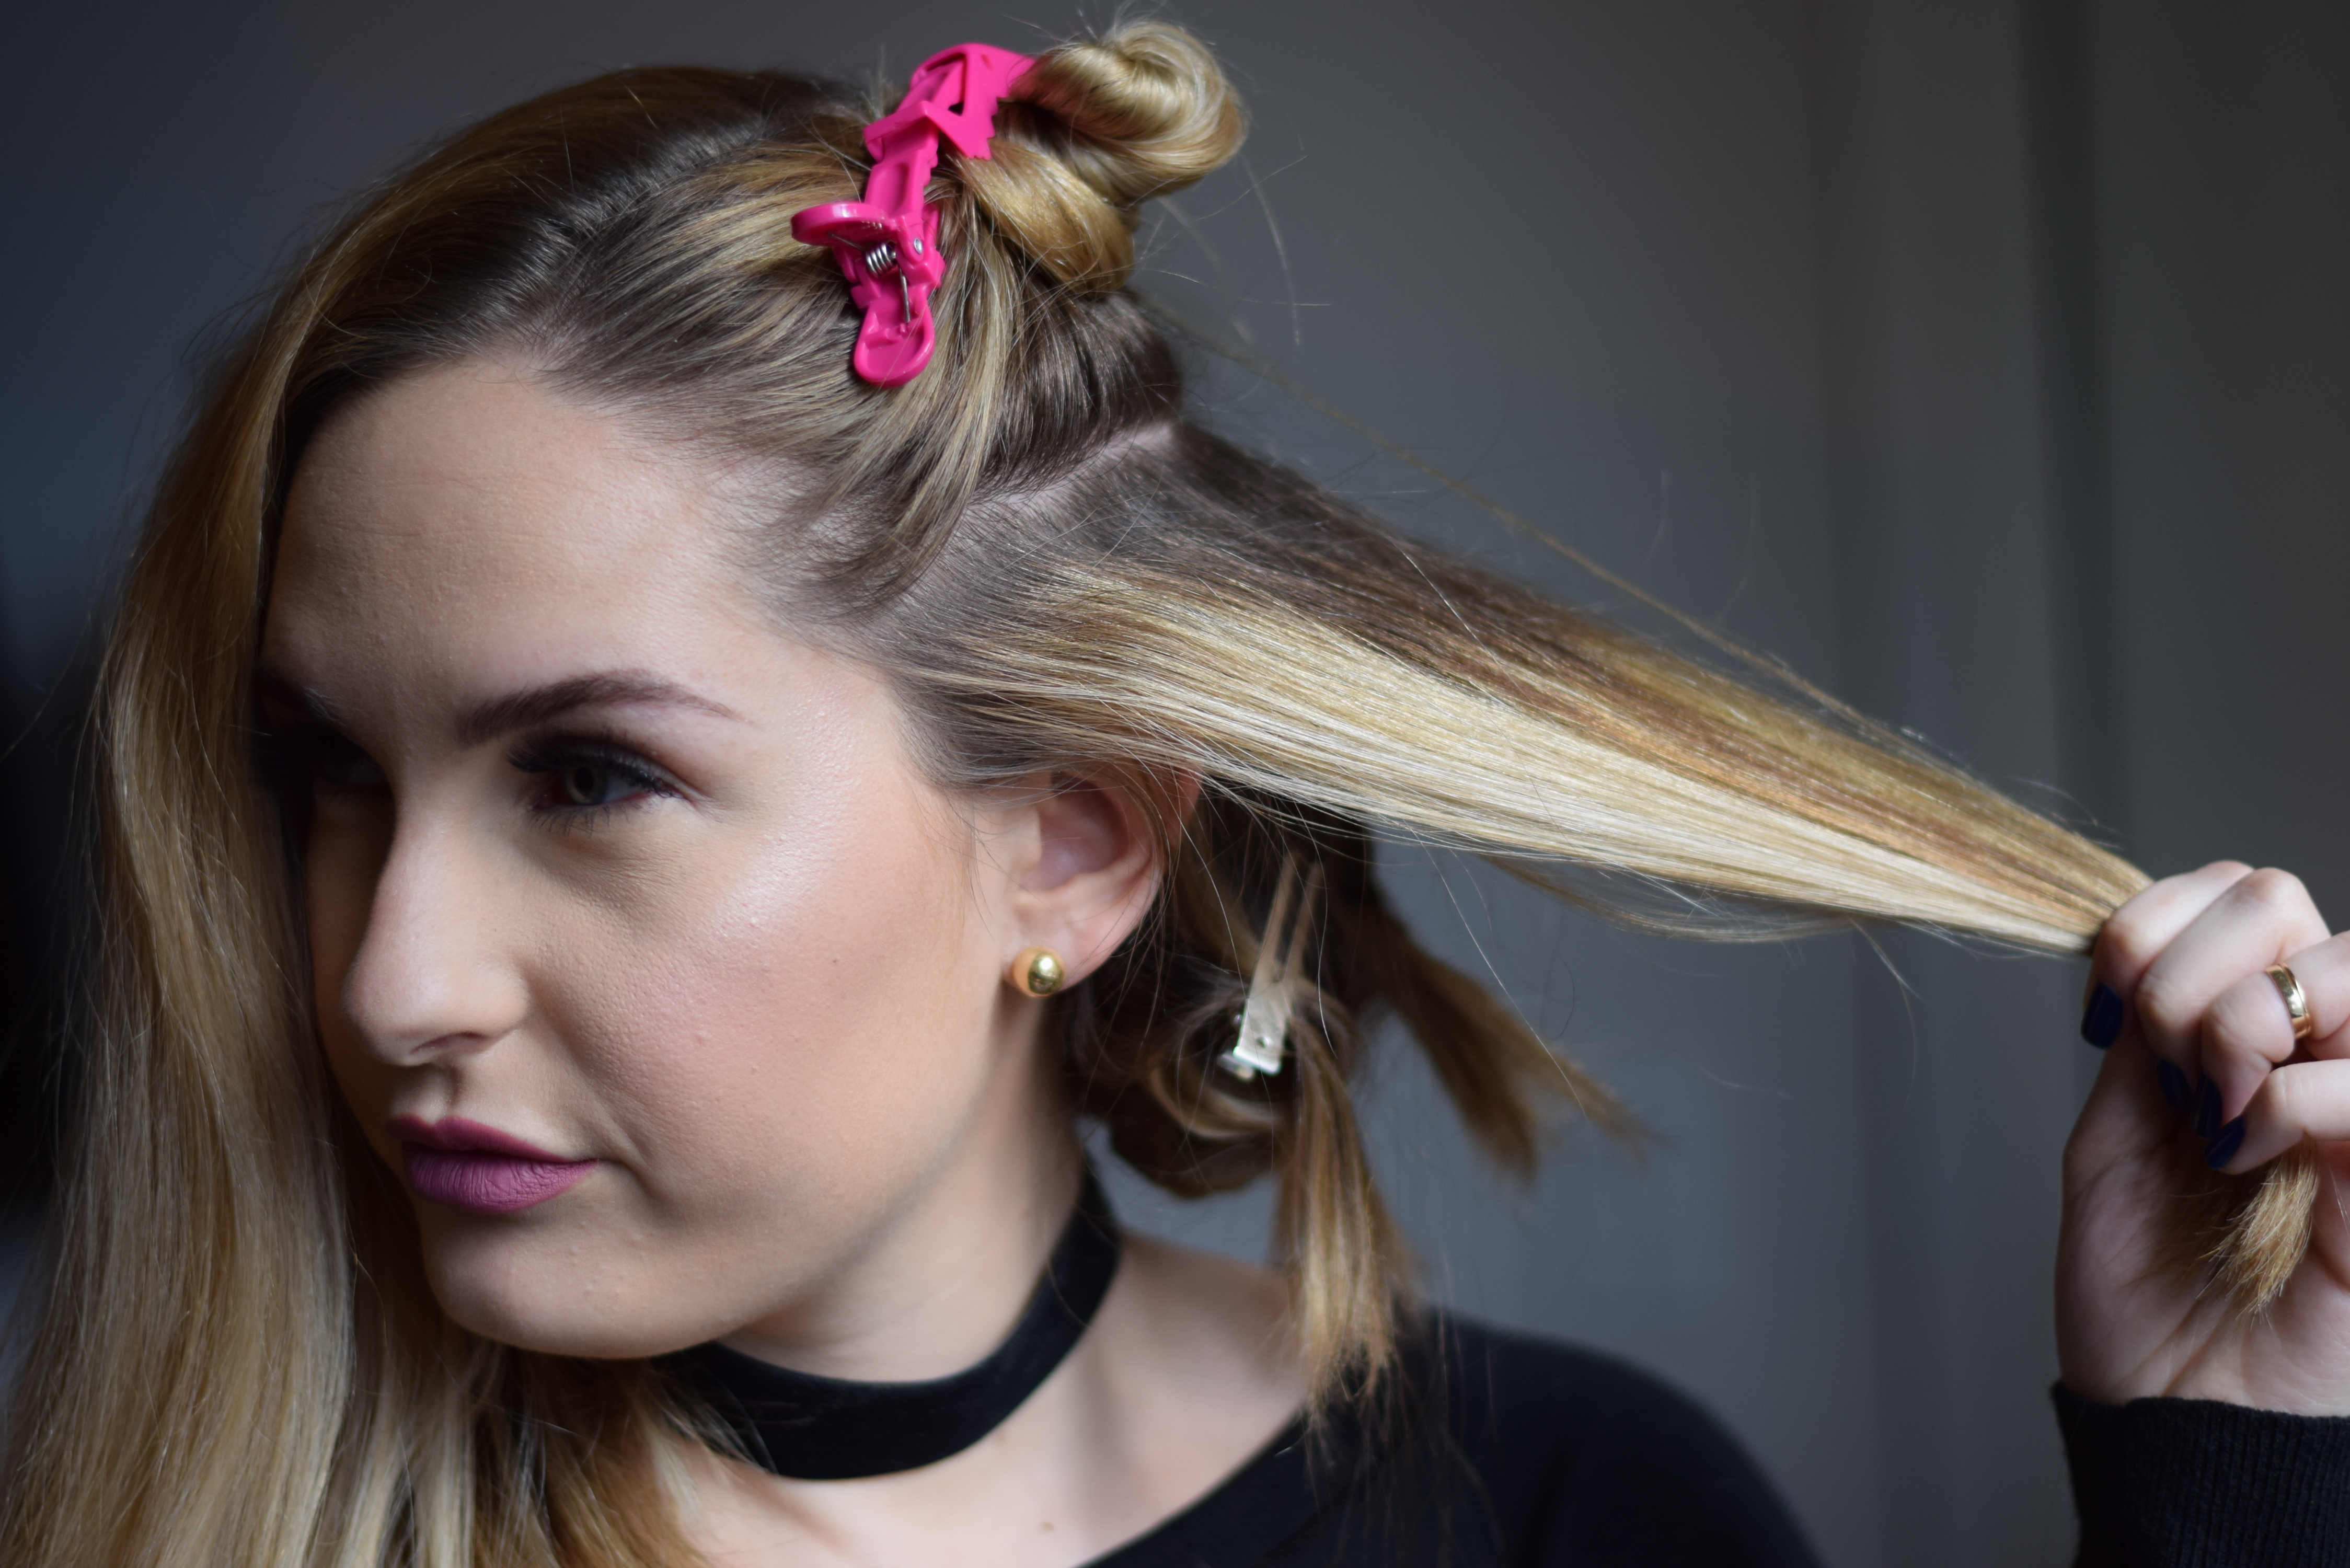
- With the curling iron in your right hand, start with the back piece. Place the curling iron vertically in front of the piece and wrap the hair towards your face. Curling the middle section towards your face gives added texture and avoids the curls being too uniform. This also adds a ton of volume by giving the top section something the lean on! Hold for a few seconds and release.
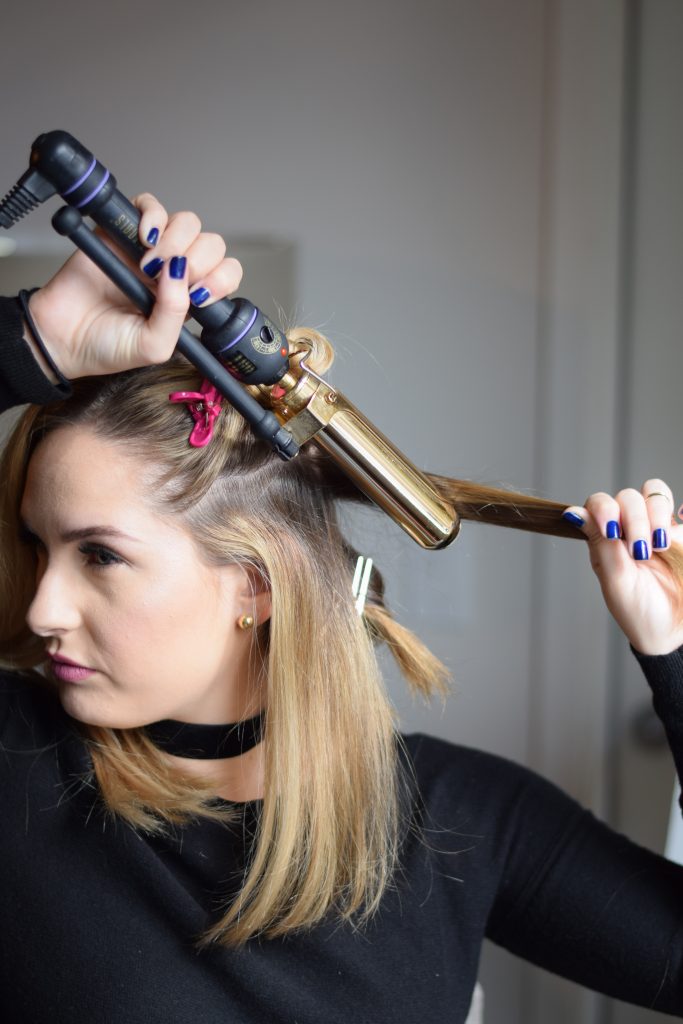
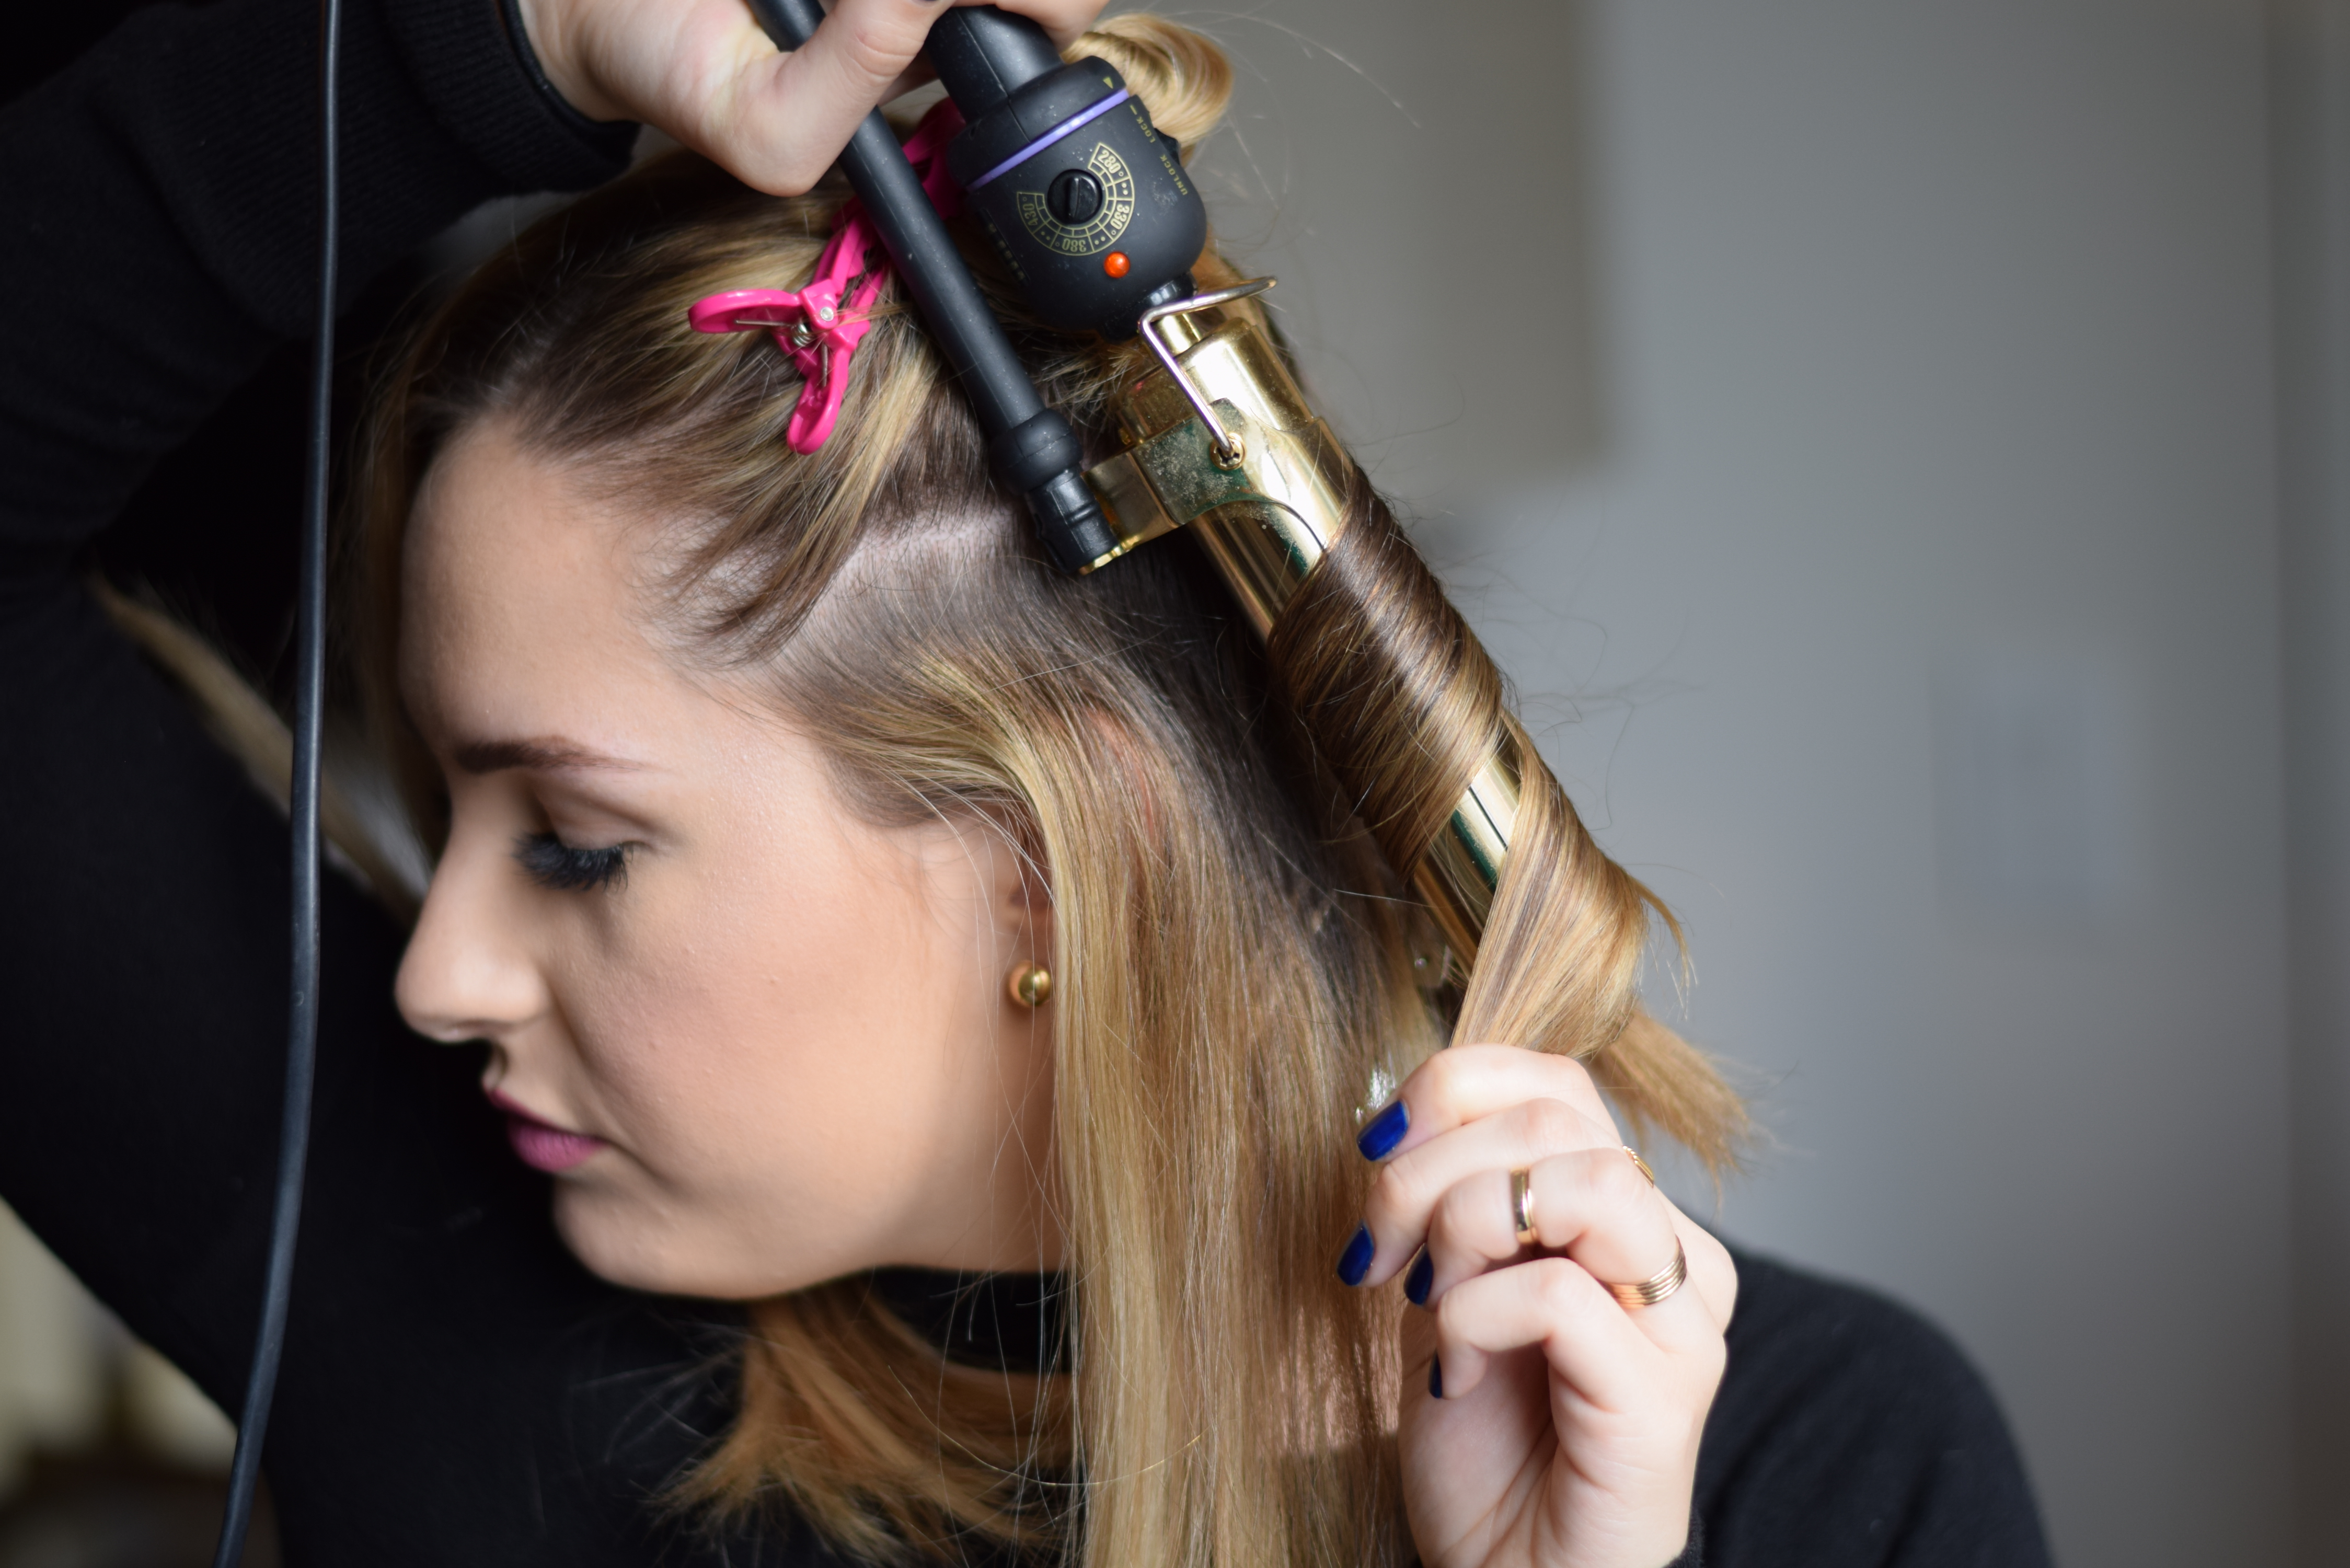
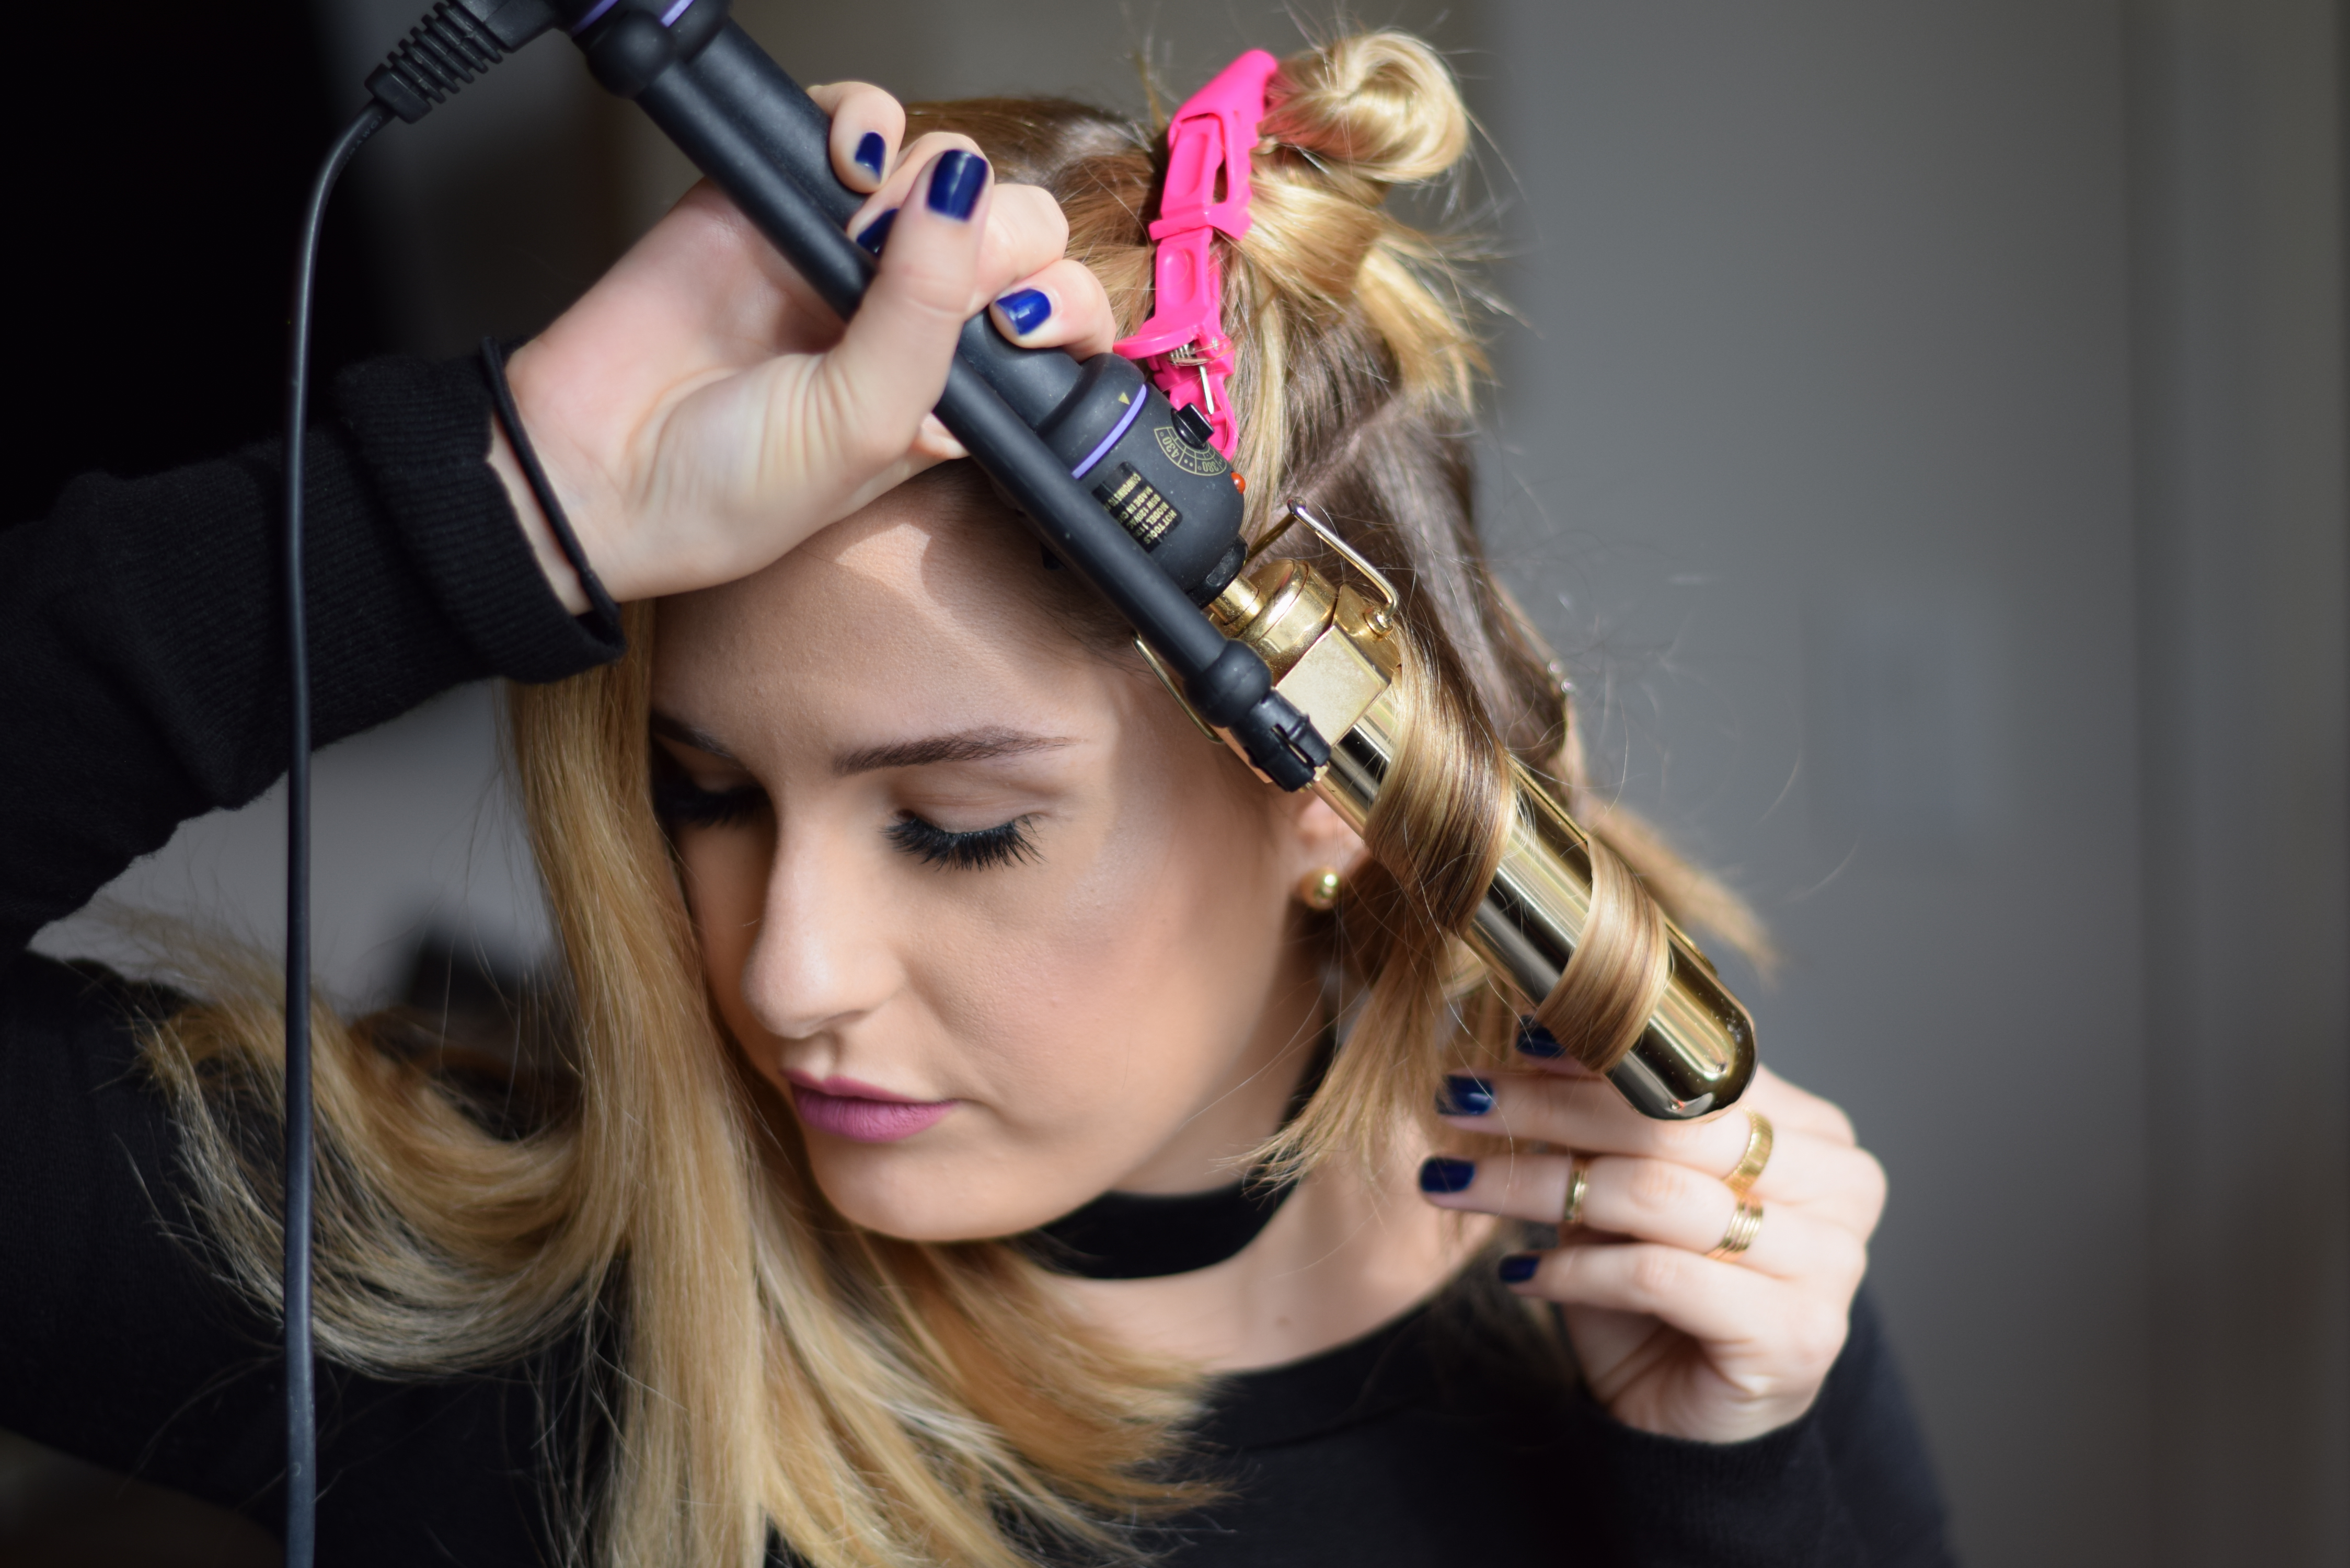
- Pin the curl, as explained in step 5, and repeat throughout the entire section.
- Let down the top section of the hair.
- With the curling iron in your right hand, start with the back piece. Place the curling iron vertically behind the piece and wrap the hair away from your face. Hold for a few seconds and release.
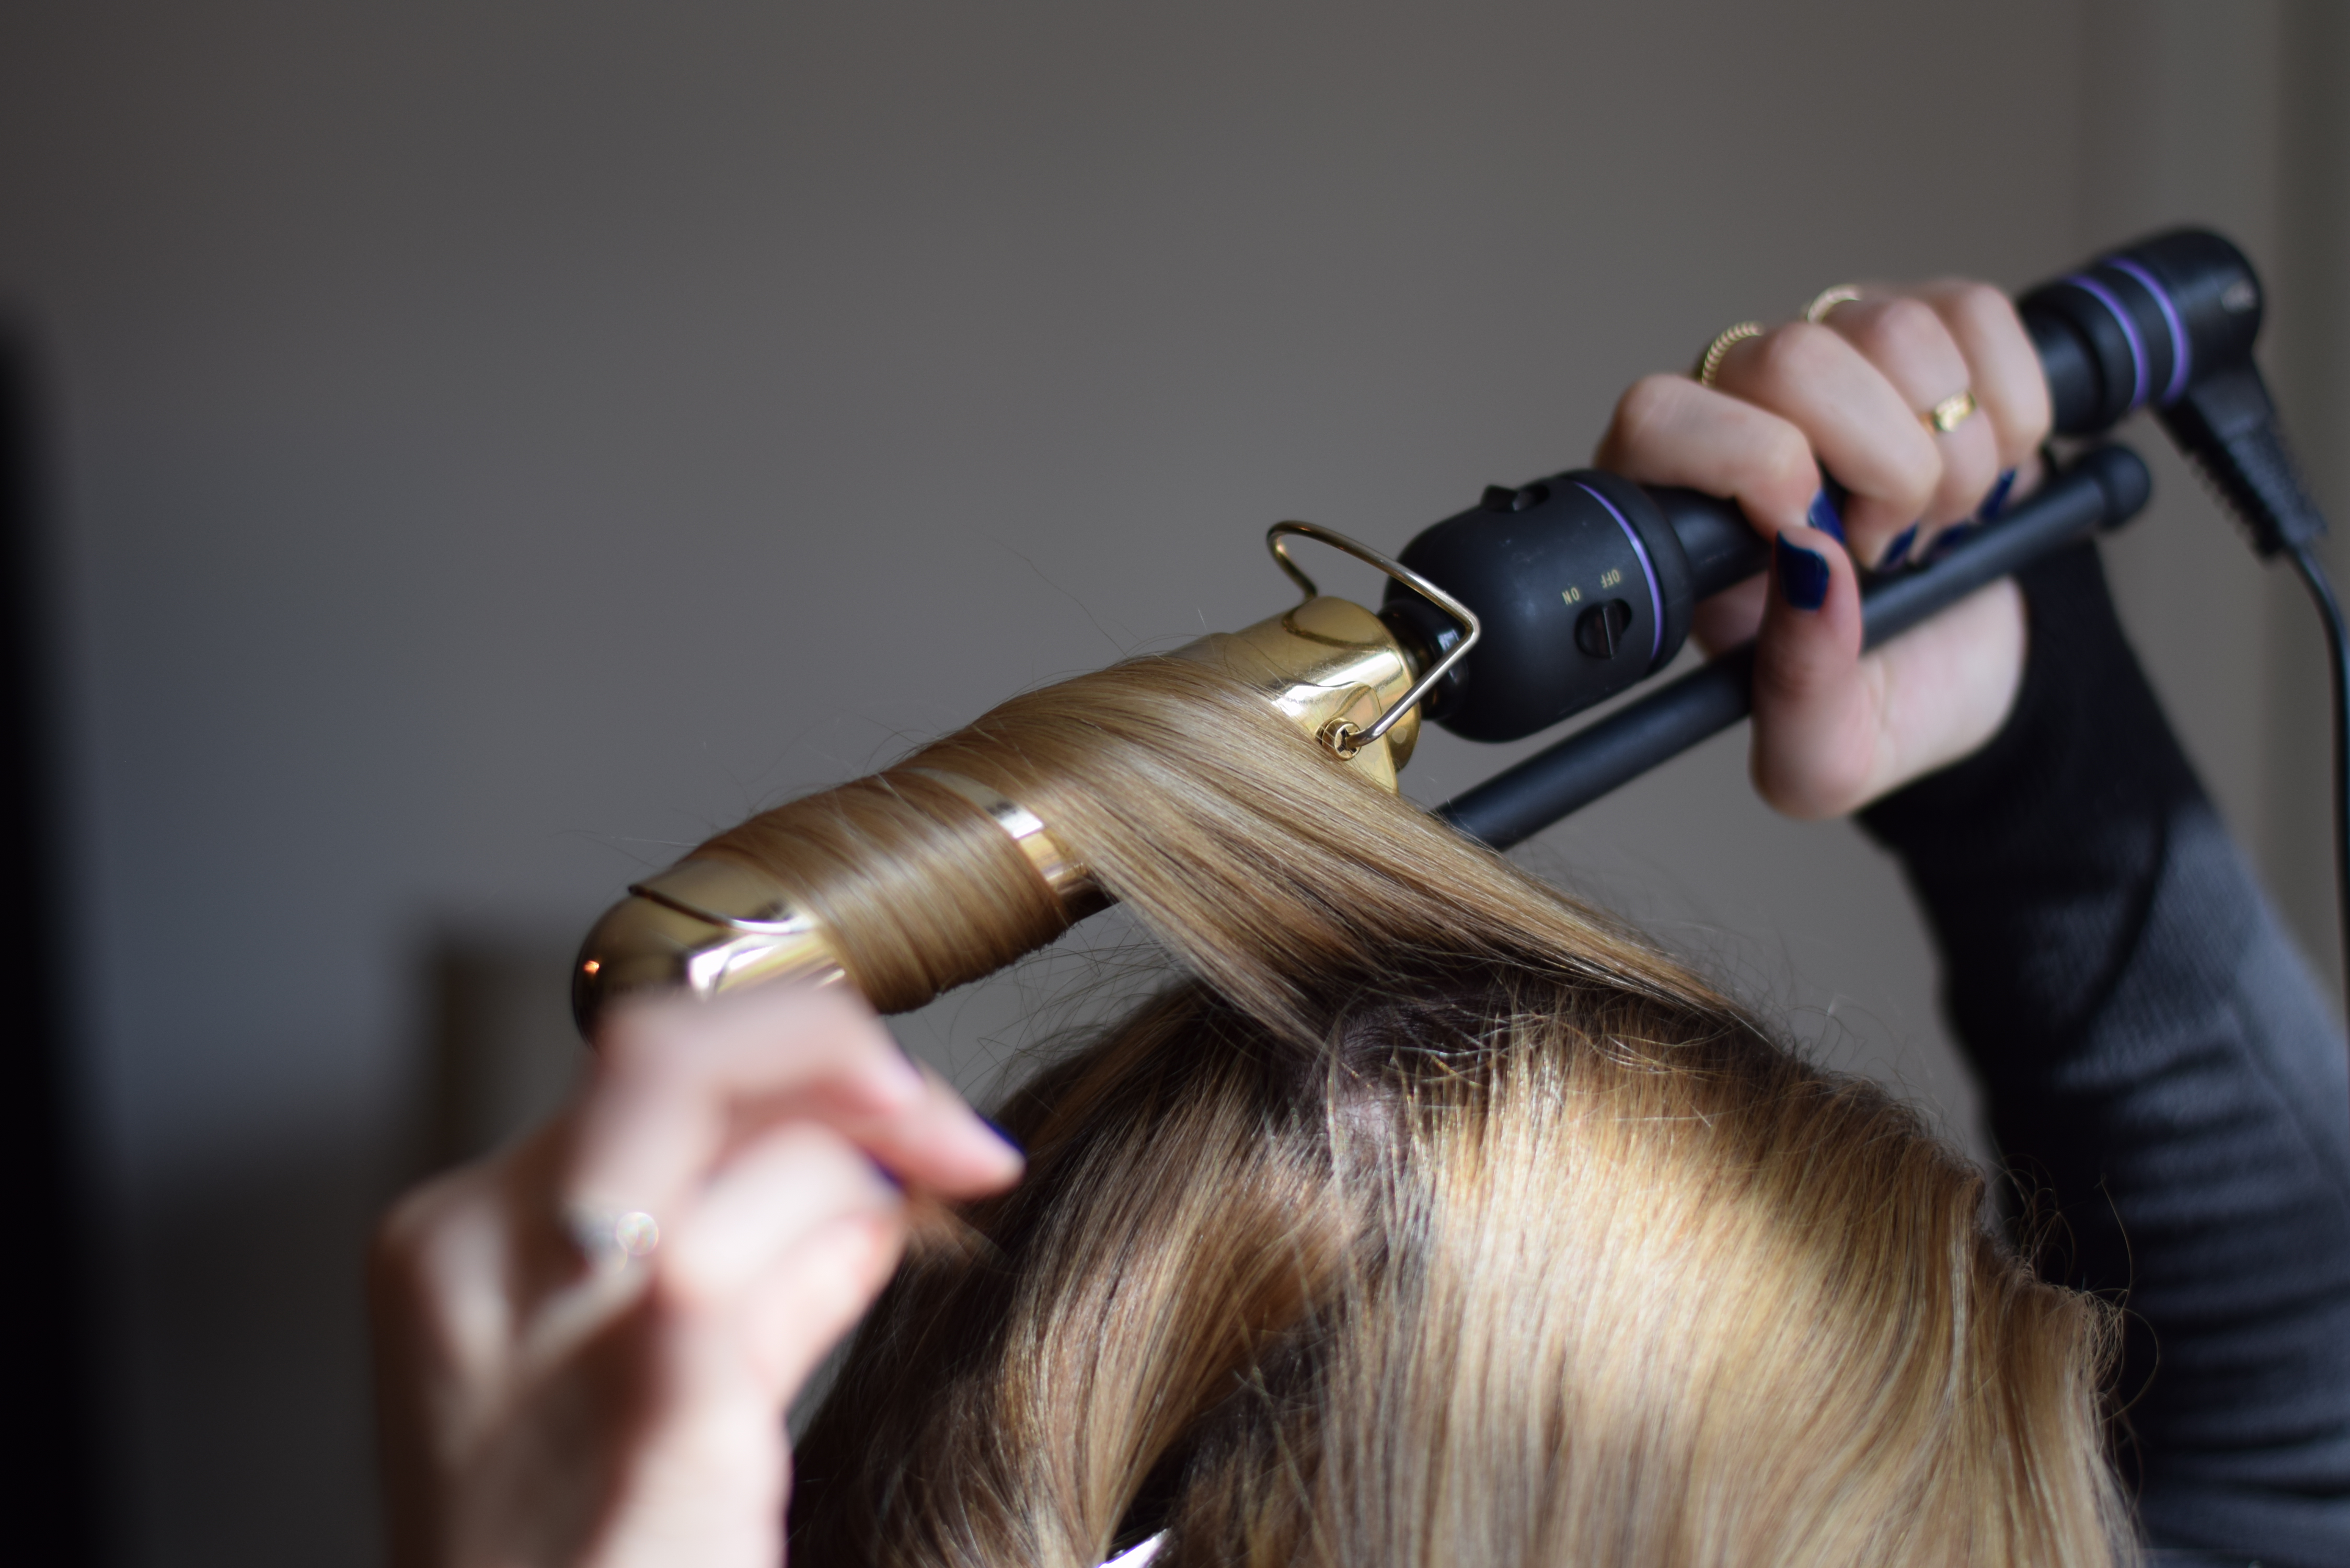
- Pin the curl, as explained in step 5, and repeat throughout the entire section.
- Repeat all of these steps on the other side of your head, switching the curling iron into the other hand. This may feel awkward at first but I find that it makes the most consistent curls.
- Let your hair cool in the pins as you finish getting ready.
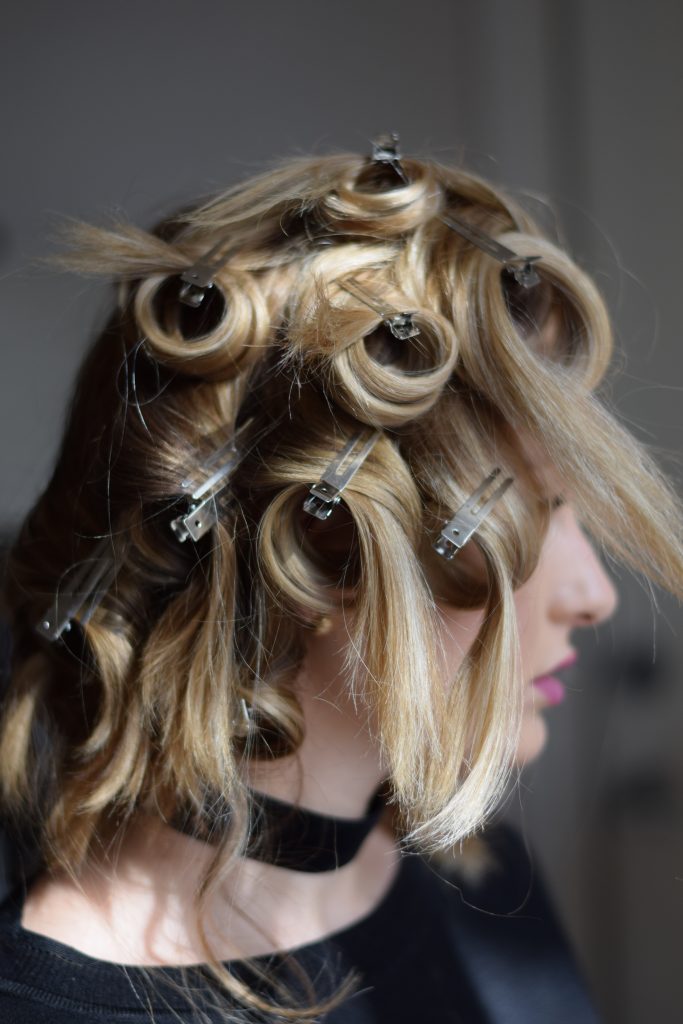
- Remove pins and shake out hair. Apply hairspray from the bottom of the hair, which encourages the curls to stay up in place. If you’re applying hairspray from the top of the head, you’re telling the hair that you want it to go in that direction which would make the curls fall flat!
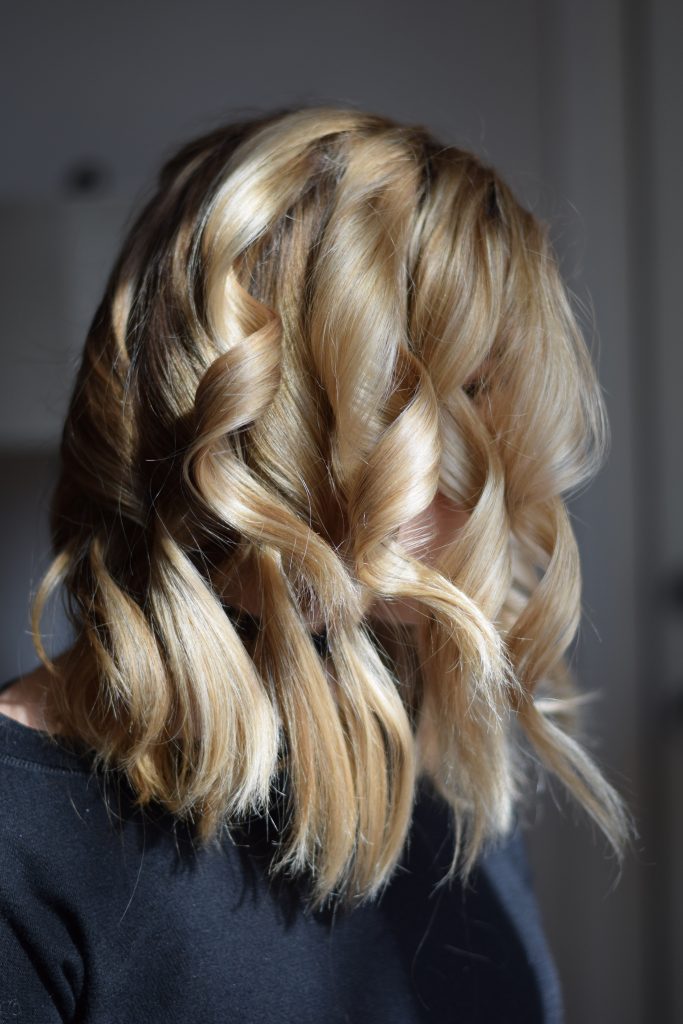
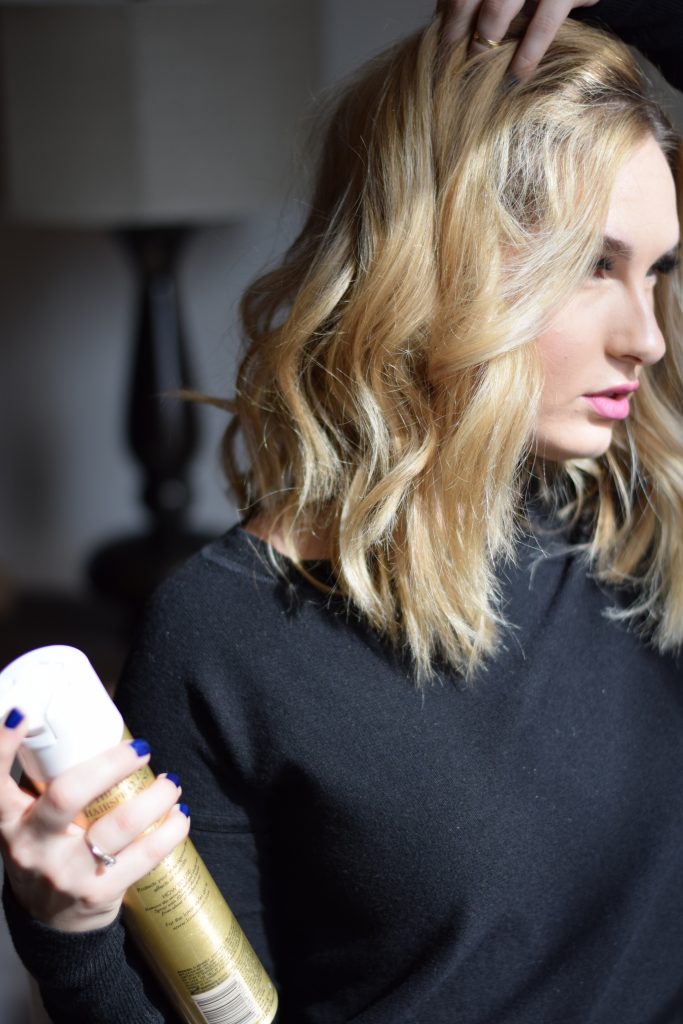
- If necessary, apply a texturizing spray and tease or backcomb hair at the roots. This will add volume and avoid the curls looking too perfect.
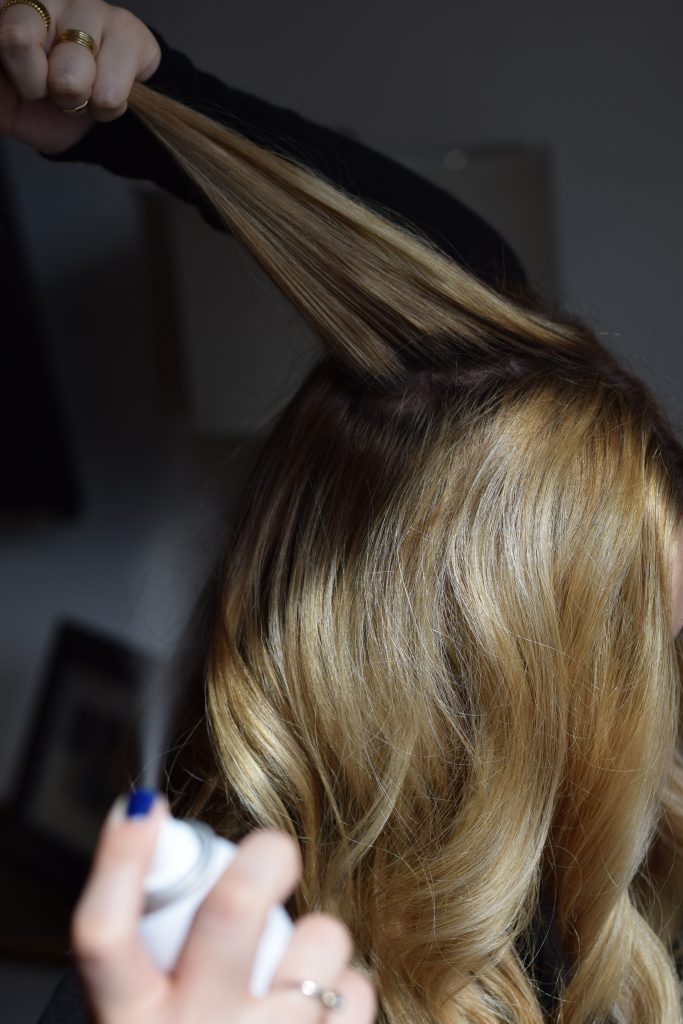
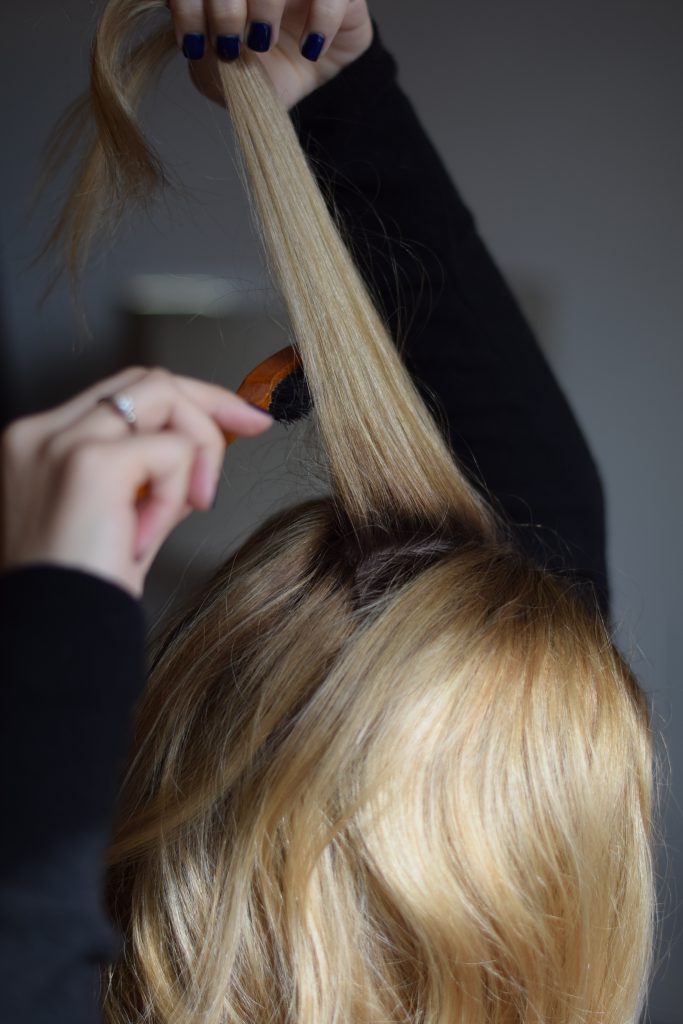
- Continue to shake out your curls and gentle tousle them with your hands. To add more volume, take a teasing comb and brush upwards from the ends. This will keep your waves in place longer and add an extra layer of dimension and messiness.
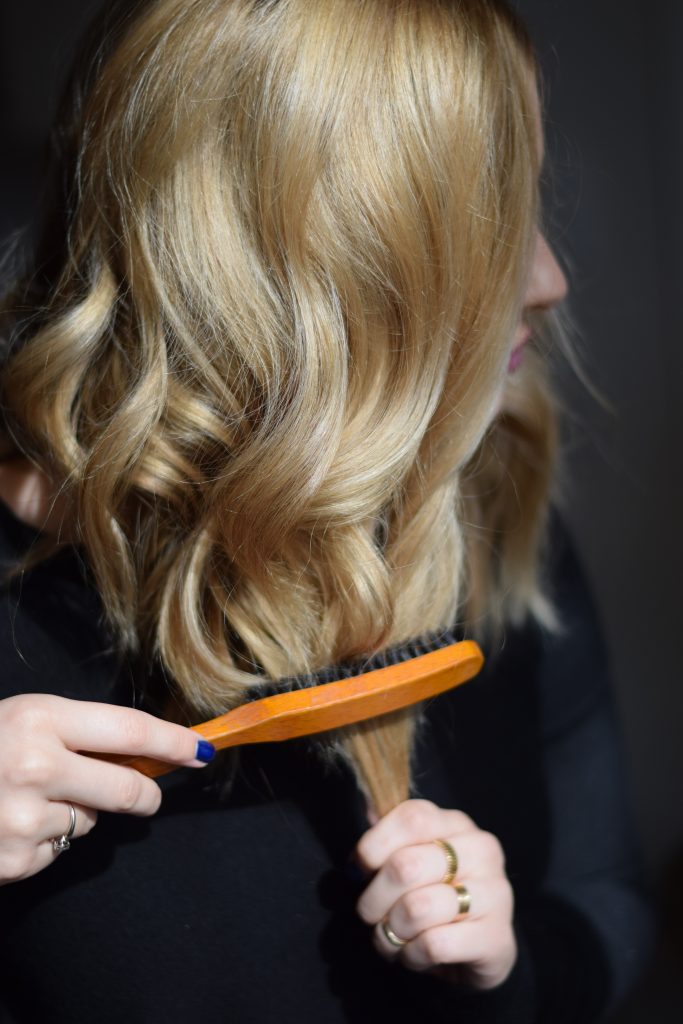
- Finish with an extra spritz of hairspray and you’re all set!
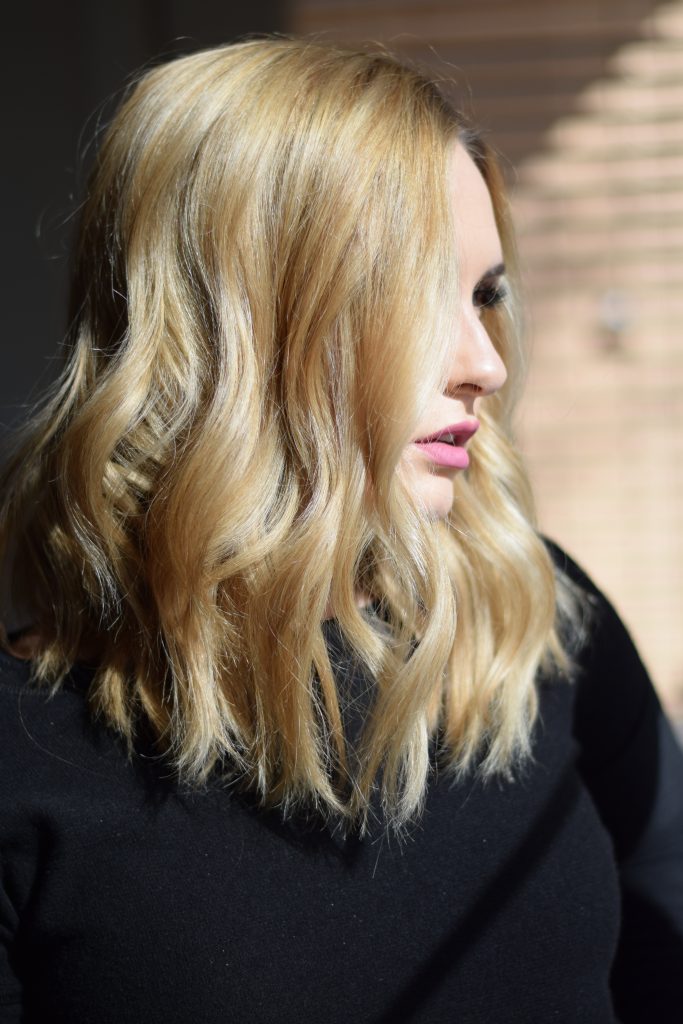
Curling Iron | Clips | Hairspray | Texture Spray | Teasing Brush

Leave a Reply