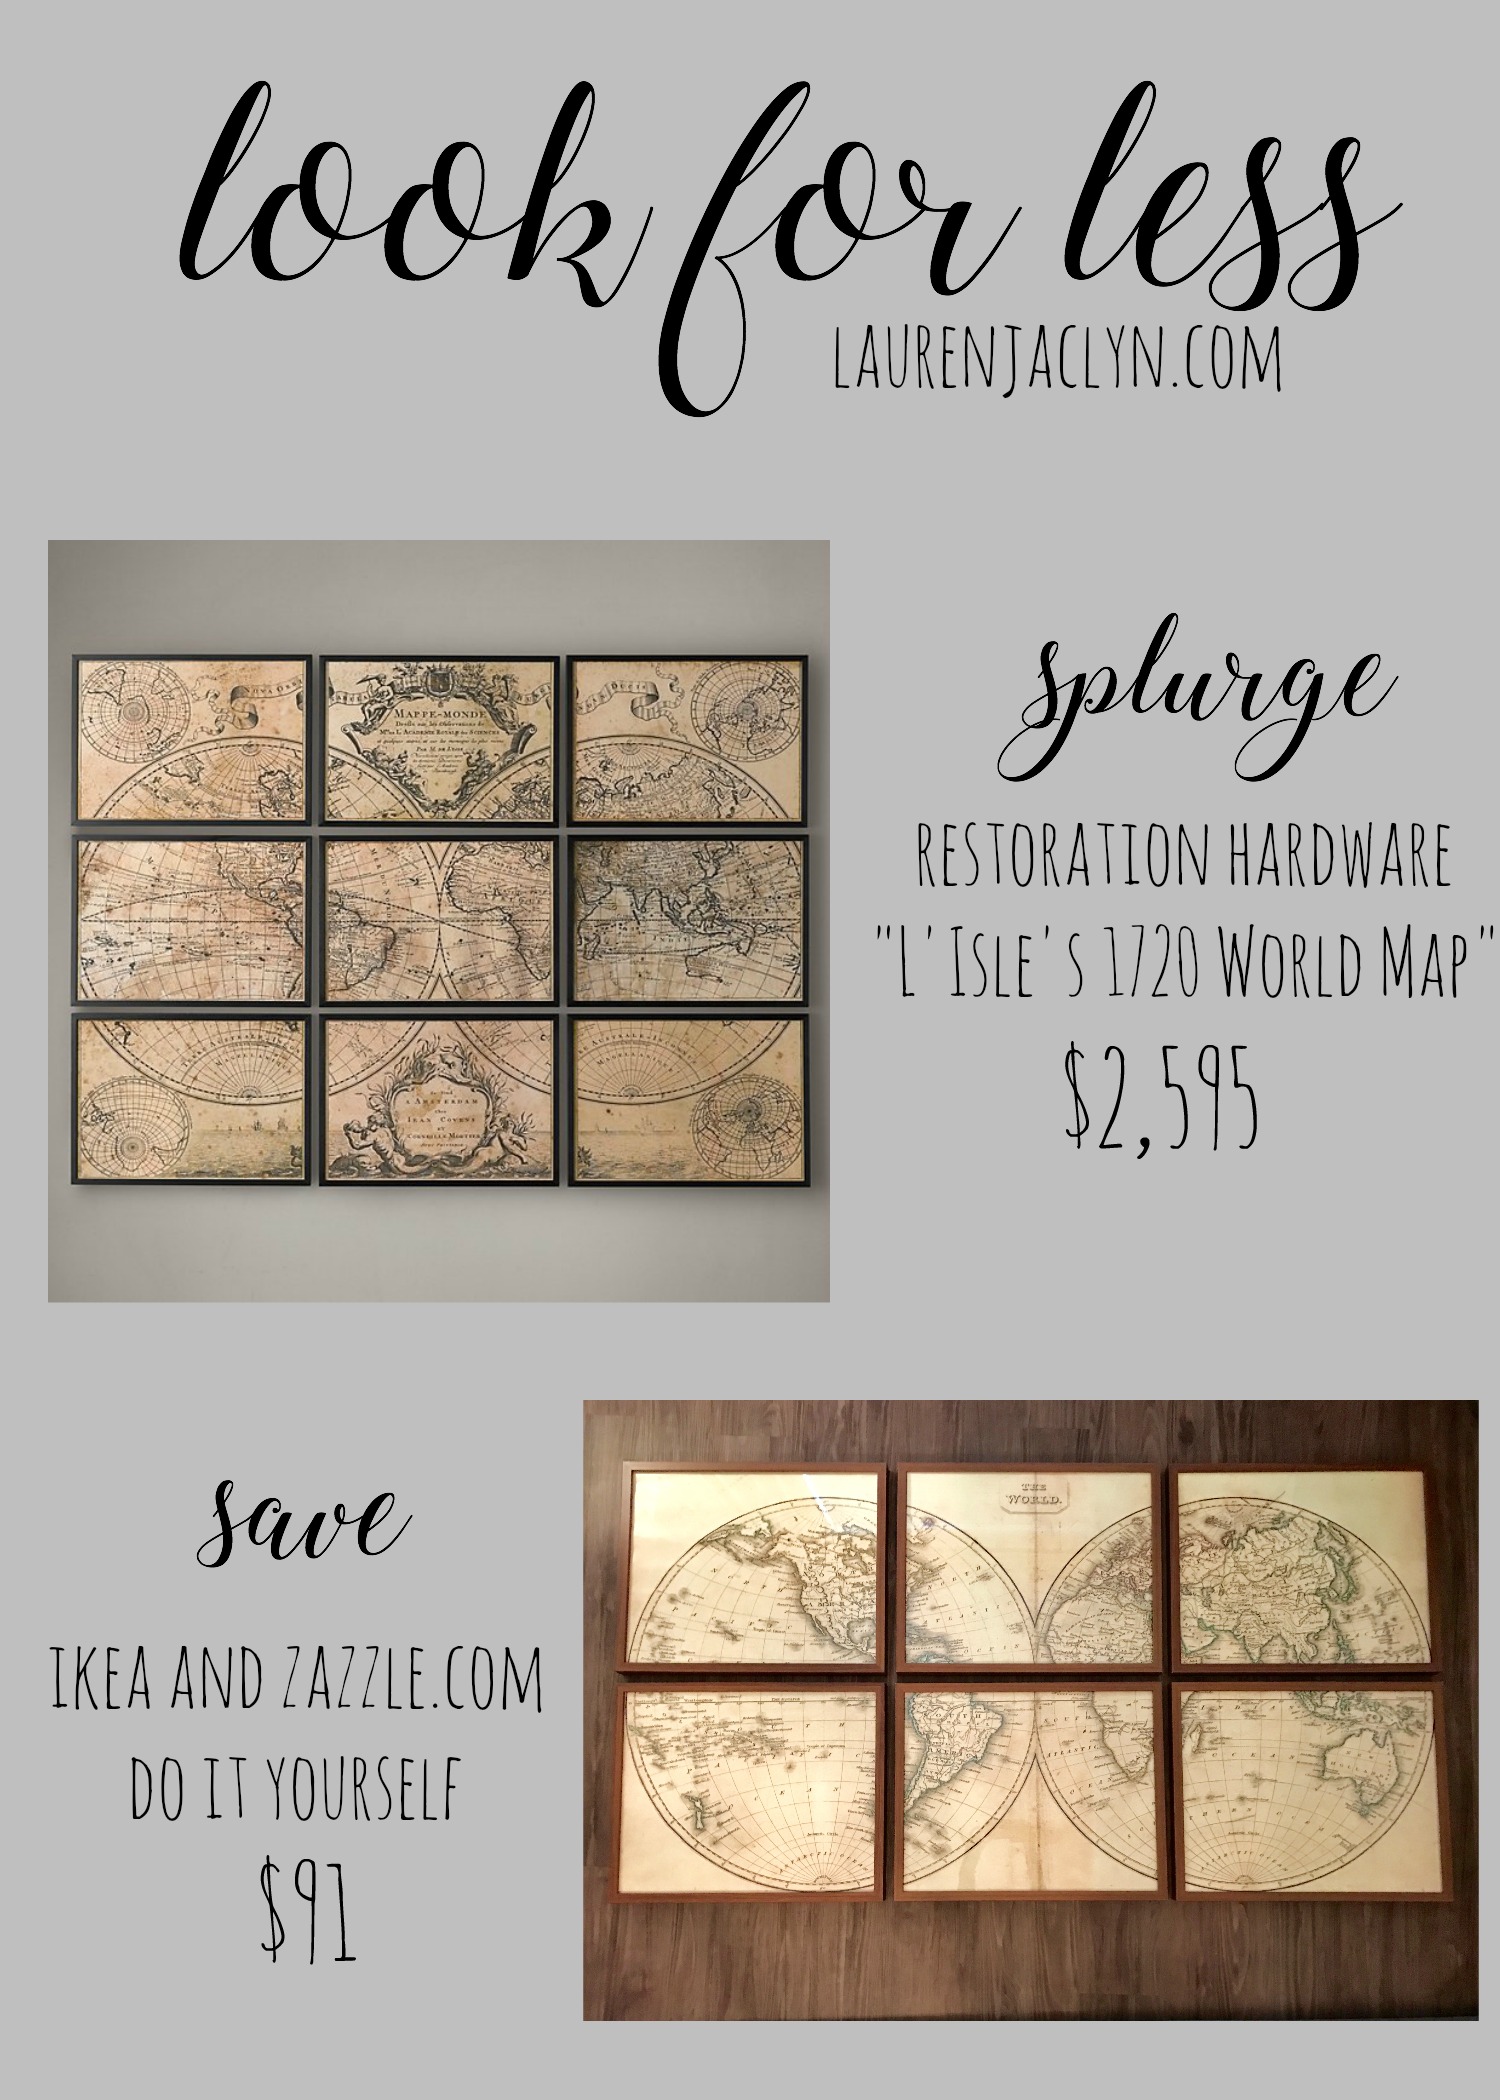
 One of the hardest things for me with interior design is finding the right art for the room. When done properly, it adds the perfect finishing touch and brings the whole look of the room together. But sometimes it can be overwhelming to find a subject, size, technique, and frame you like. Also, when you finally find the thing you really love and you think your search is over, the price tag can make you feel queasy. I am going to show you one of my favorite DIY projects I have done to date and how you can achieve this look for less!
 I am usually drawn to art that’s a bit more subtle and neutral – I avoid vivid images of people or bright colored places. This is just what goes with my design aesthetic and is a safe choice considering my minimal knowledge of fine art. Things like maps, architectural prints, patent designs, or elements of natural really appeal to me. When it comes to art, Restoration Hardware almost always gets it right. The oversized frames and vintage prints add such dimension and history to any room. For this look, I was totally inspired by the L’Isle’s 1720 World Map at RH. Unfortunately, the $2,595 price tag was way out of my price range for this project. What I loved most about it was the cluster of frames that all came together to create one large statement. It takes up visual space on the wall but is more delicate than one single frame that’s 7 feet wide. I took inspiration from this piece and made a world map collage of my own, totaling under $91!
To start, I needed to know exactly how big I wanted my gallery to be in total. To do this, you need to take both the size of the map and the size of the frames into consideration. I knew it was going to be hanging over my couch so this made it easy – the art hung above the couch should be at least 2/3 the width of your couch. This achieves the perfect scale and doesn’t leave your art looking out of place or insignificant. You need to hang the art about 5-7 inches above the back of the couch. Following the example of the RH piece, I stuck with simple, clean-line frames and didn’t use the mat inside the frame. This gives the illusion of one clear picture, as opposed to a single map broken up into unrelated, scattered chunks. The hardest part of this project was finding the perfect map. In my case, I knew I wanted it to be a world map but you can choose a particular state or country that has a special meaning to you, if you prefer. You can find millions of different maps online, from real vintage options to manufactured prints. Because of my price range, I opted for a simple poster print from Zazzle.com. They have a lot of choices for art in your home – all different kinds of subjects, sizes, etc. I liked this particular one because it was: neutral, large enough for my project, and a spherical projection.
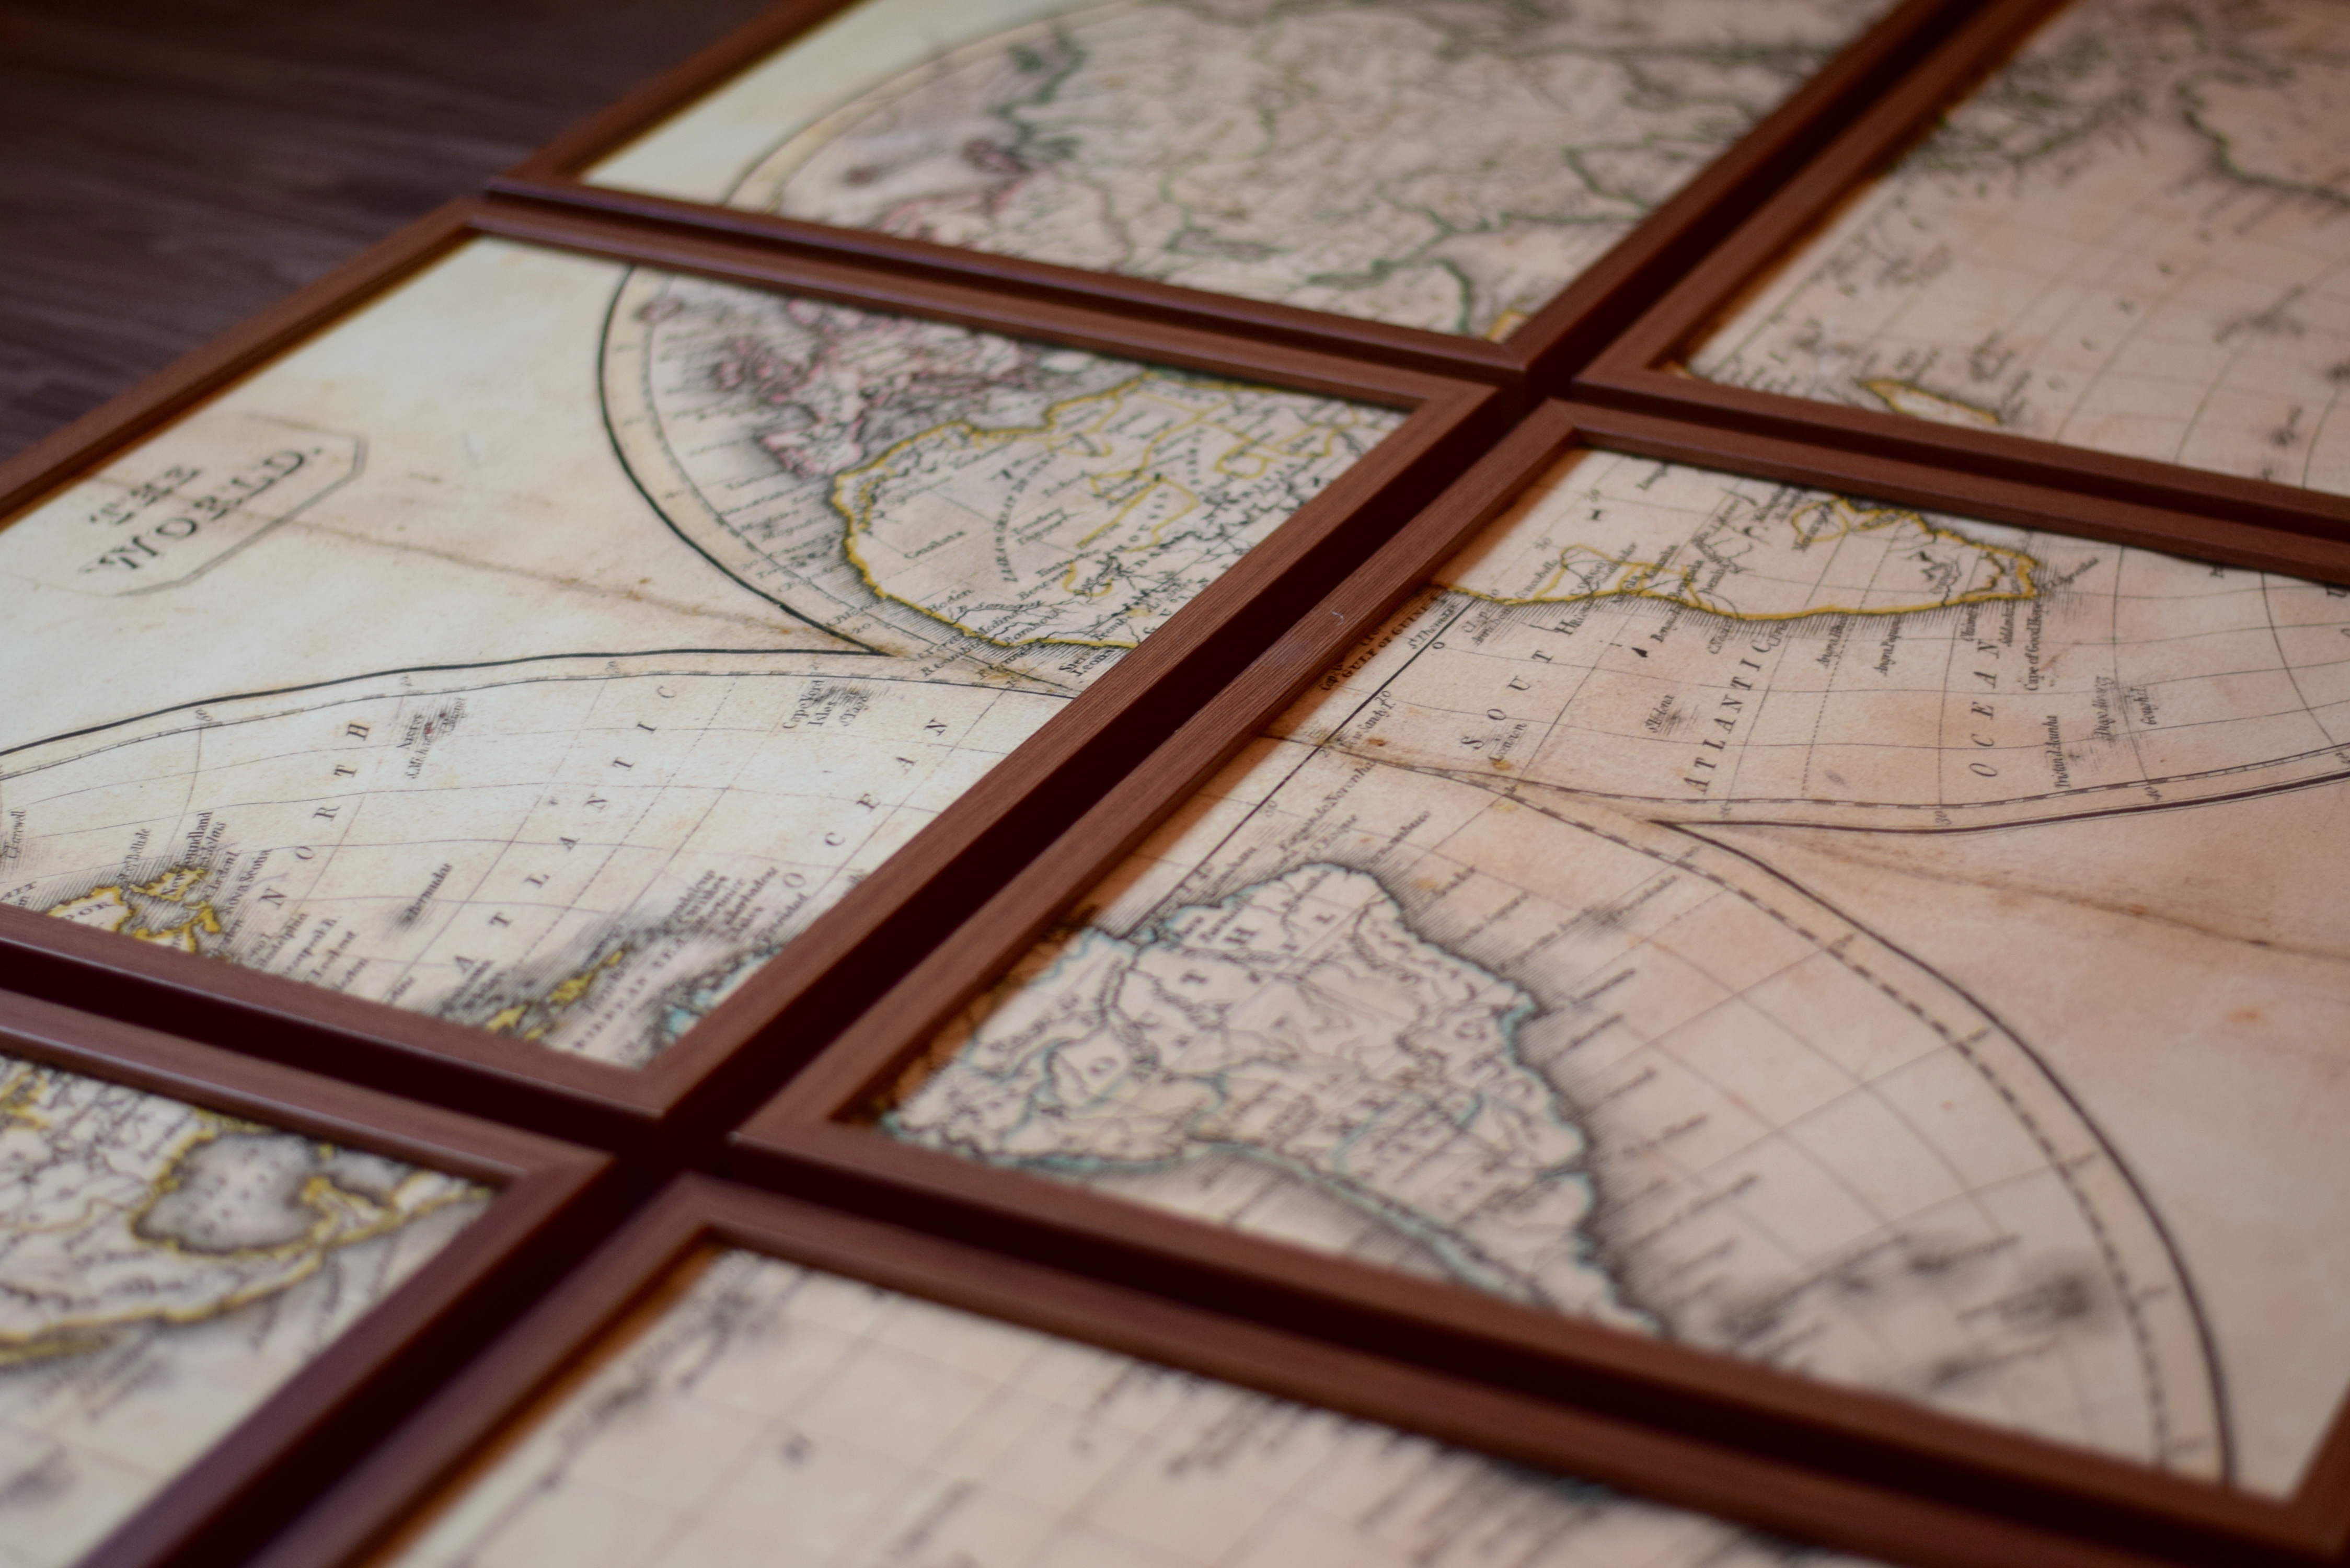
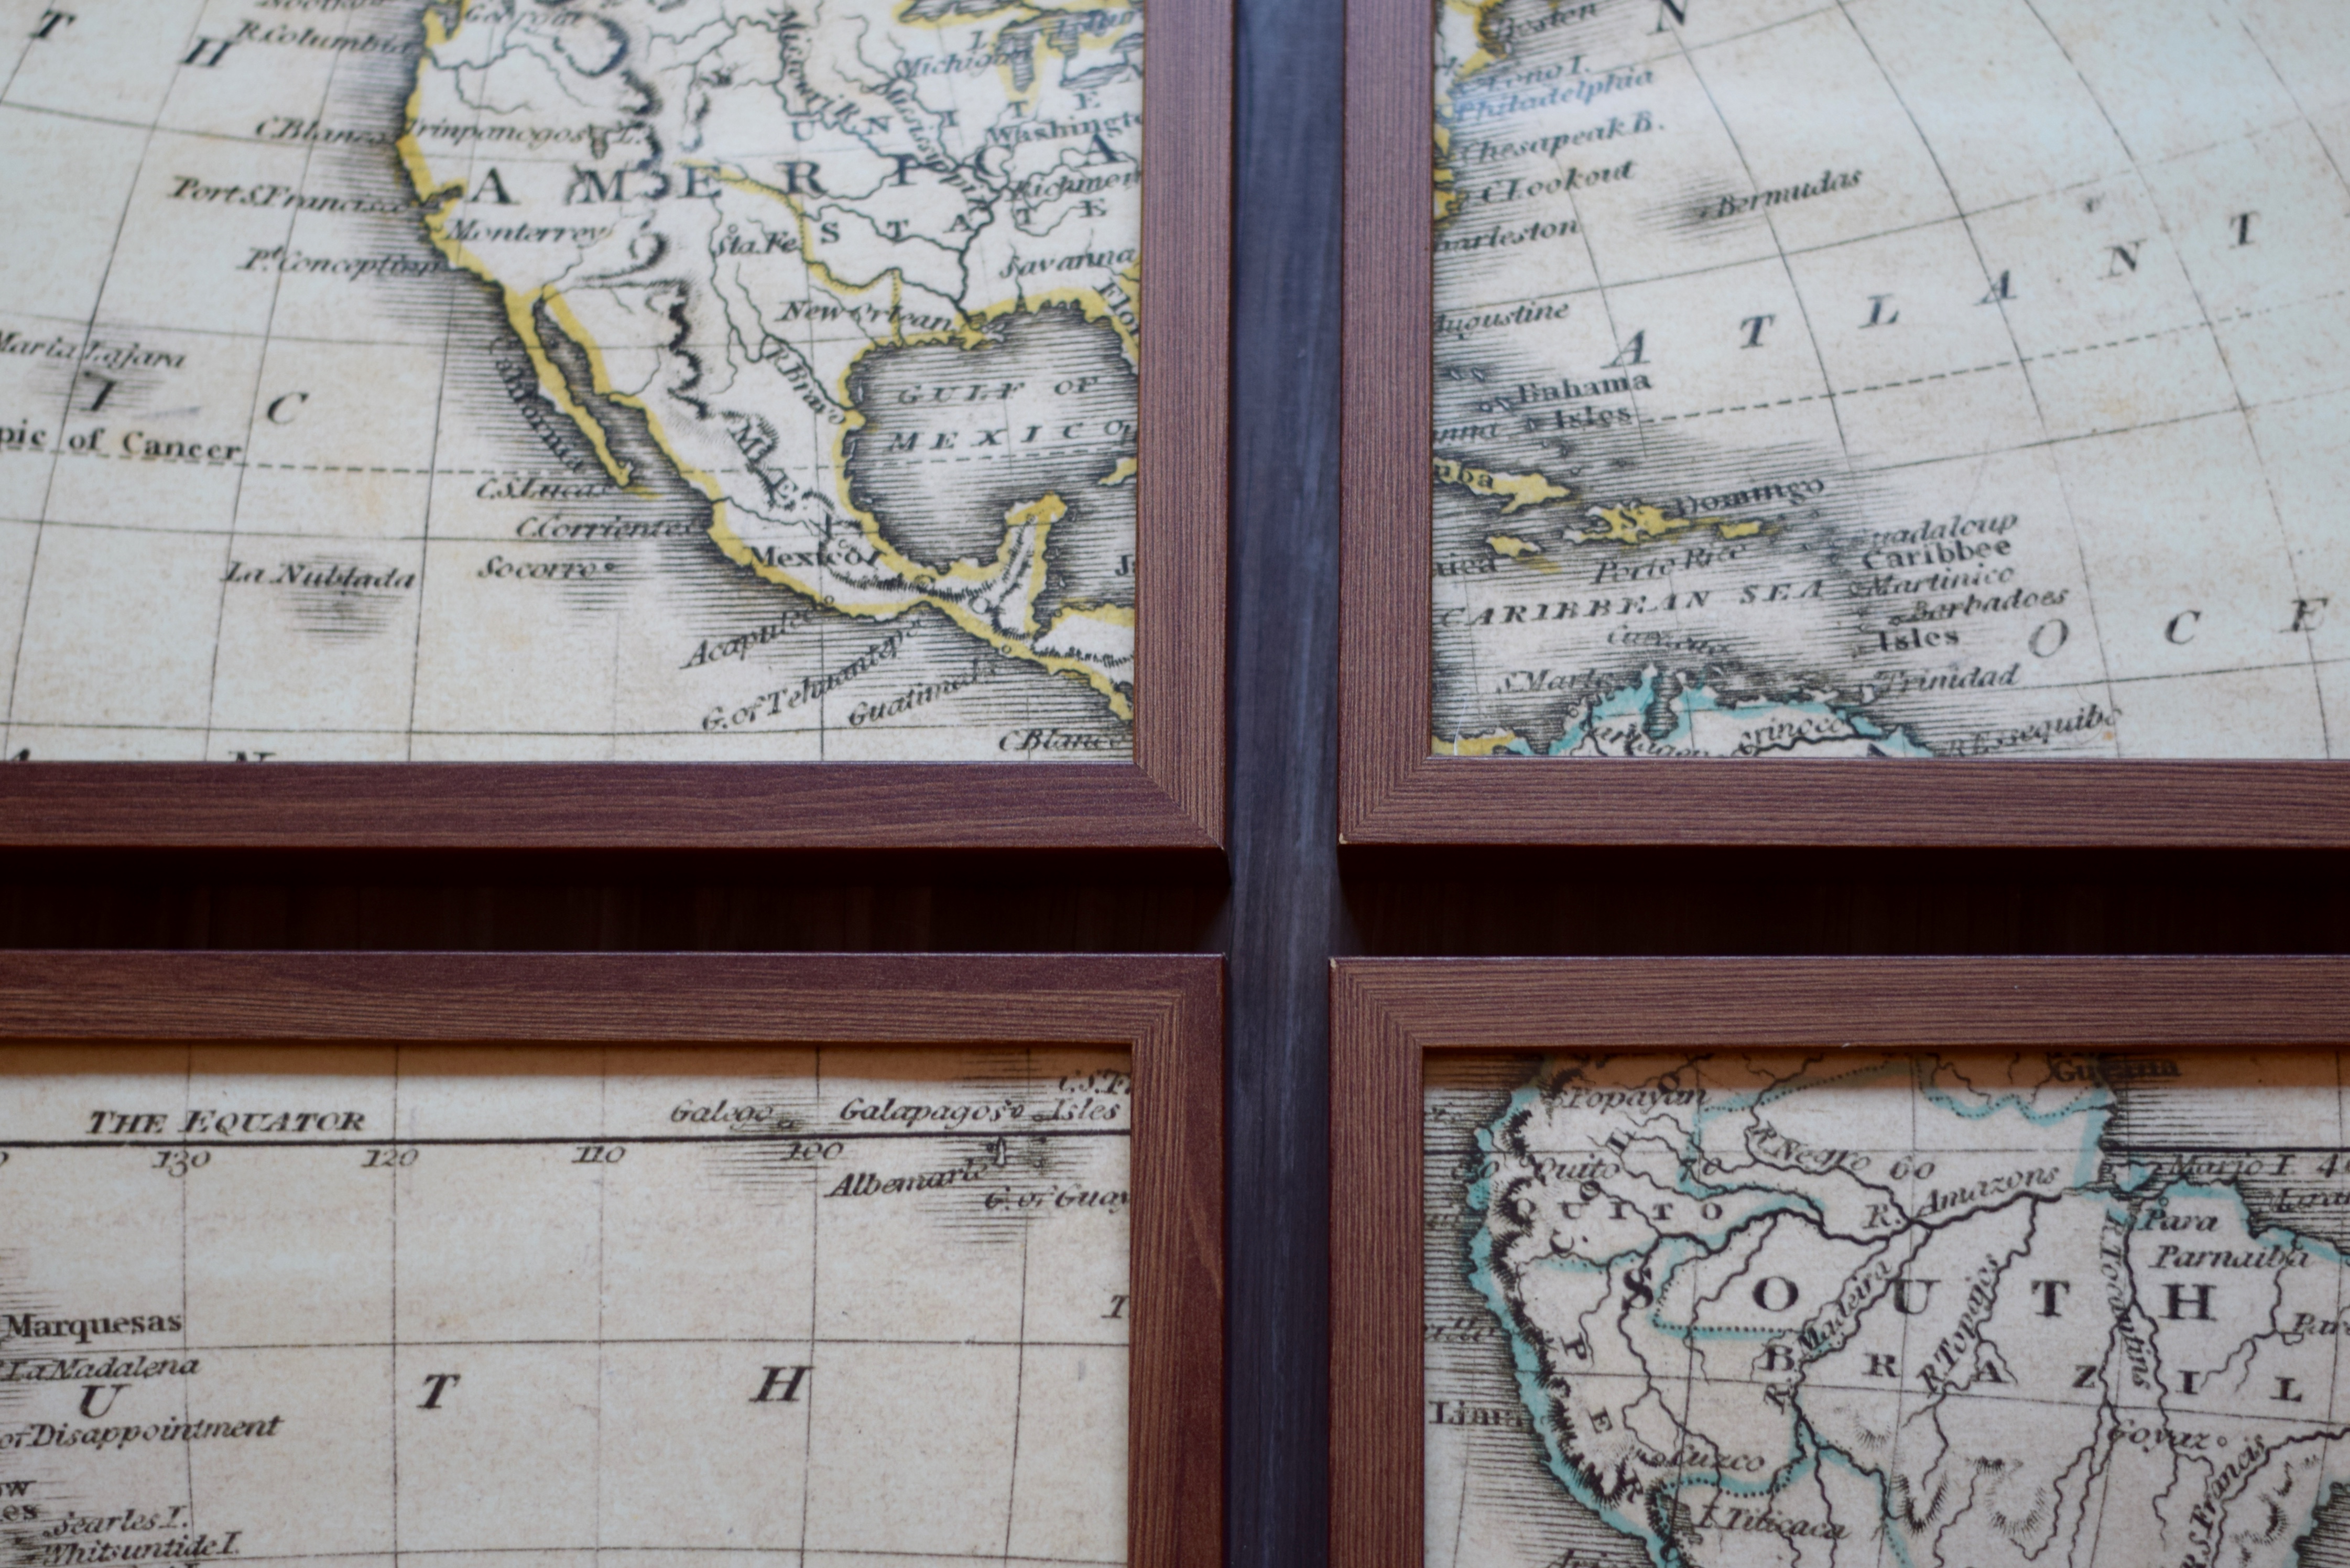
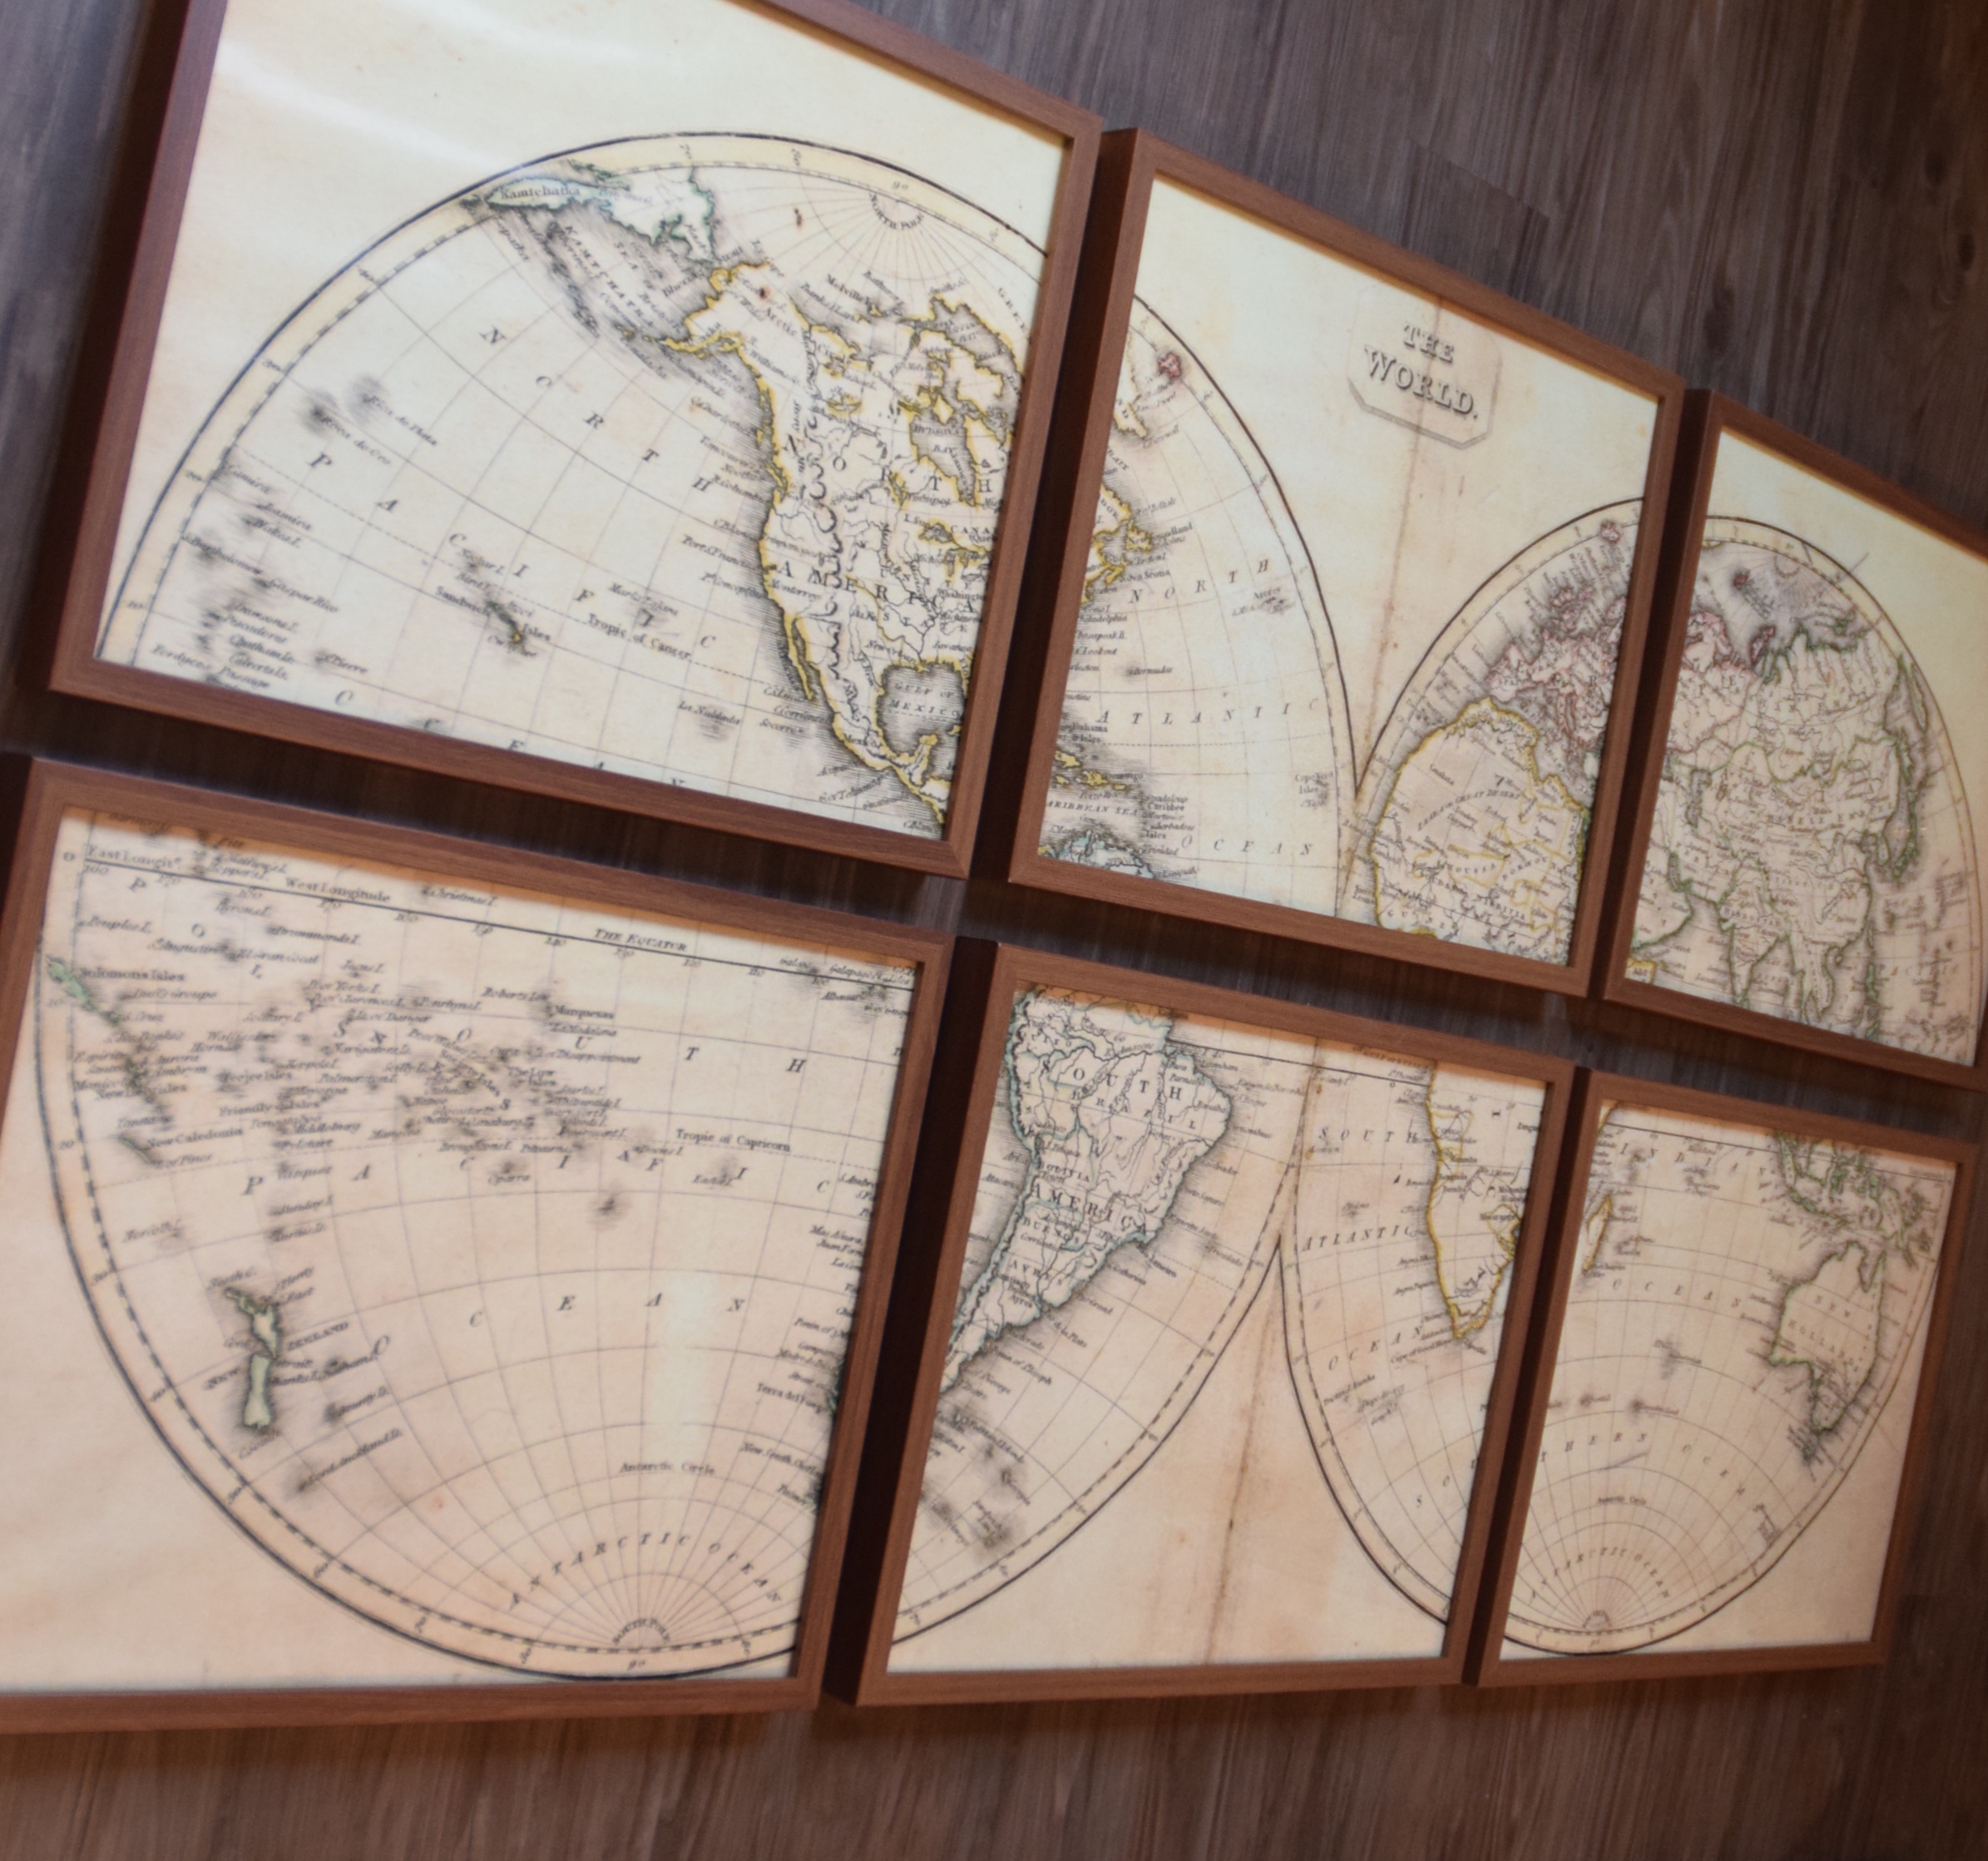
 I customized this map to 60 inches x 33.8 inches – which I decided to divide into 6 frames, instead of 9. This size option is priced at $51 but I got mine on sale for $31! Zazzle has coupon codes and sitewide sales very often so you can definitely find a great deal! Another amazing source for unique, inexpensive art is Etsy.com. For the frames, I chose the 16×20 Ribba frame from Ikea for $9.99! Seriously, this is the ultimate destination for frames. They have so many different options for ridiculously reasonable prices. Once you have all of your supplies, carefully measure the inside of each frame and decide where you need to cut so that each frame lines up perfectly. To make mine symmetrical, I did have to trim off a little bit around the edges of the full poster before I started so that the final product was centered! The easiest way to decipher what your final product will look like is to take the glass out of the frames and carefully place it over the poster so that you will be able to see what will remain framed and what needs to be trimmed away. Connect all of the glass pieces to make one large glass piece in the center of the poster. Make sure you are not trimming off anything in the middle of the poster because your map will not align properly in the frames. “Measure twice, cut once,” definitely applies here! Having to buy a whole new poster because you didn’t measure properly would be a real bummer so be careful! Once you’ve trimmed your poster into the amount of necessary pieces, insert it into the frames! Hang each from 1-2 inches away from the ones around it, making sure all of the spaces are equal.
Do you like this DIY project? Are you going to try to recreate this in your home?

You are such a pro at this! Looks amazing!
Thanks, Taryn!
So happy you like it.
Xx, Lauren Jaclyn
Amazing! What a talented niece I have – seriously!!
Thanks so much, Patti!
Xx, Lauren Jaclyn