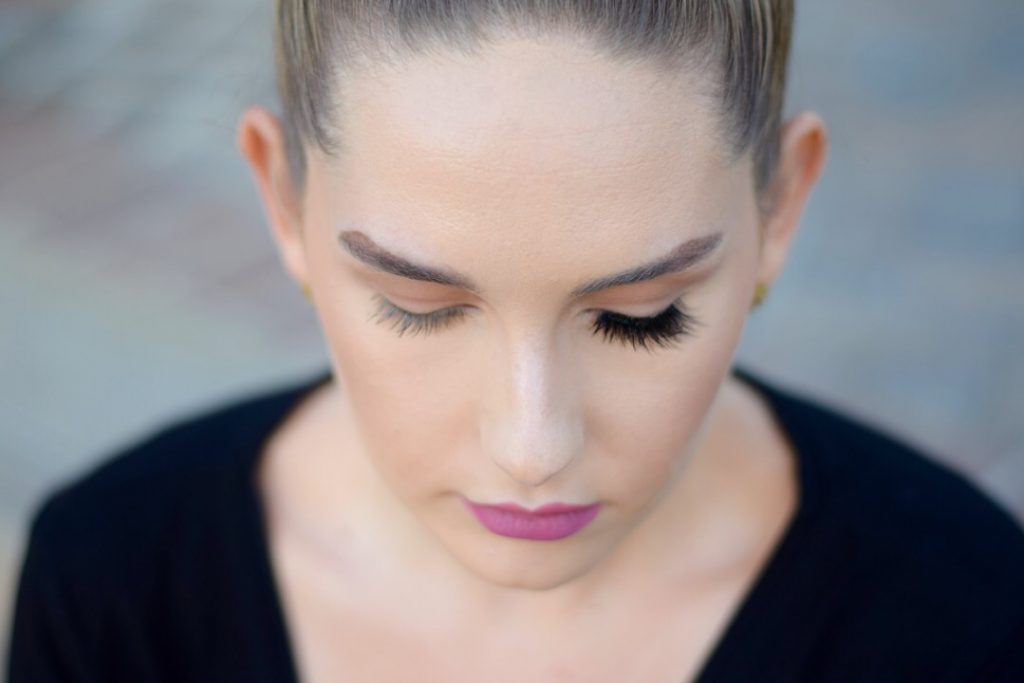
 False lashes are such an amazing way to take your makeup to the next level without spending too much money or taking too much time. Every celebrity you see and every person’s makeup who you’re admiring on Instagram is wearing false lashes – trust me! I think when I started using false lashes is when my makeup game officially turned around. Actually, let me rephrase that, I think when I mastered using false lashes is when my makeup game officially turned around. And let me tell you, there was quite a bit of time between the start and the mastering. There are a few things that I have learned along the way that have helped me immensely that I wish I knew from the start so I am going to share those with you today! I am going to teach you everything you need to know about how to master false lashes for yourself! This post will be focused on strip lashes but let me know if you want to hear more about individual lashes or trios and I would be happy to write a post on that as well!
Choosing the Right Lashes
Finding the lashes that work well for you is the first step that needs to be mastered and this will take some experimentation for sure. Consider a few things first: What kind of look are you going for? What shape are your eyes? Are you experienced with applying false lashes? All of these are factors in what kind of lashes you should be looking at. If you’re going for a very dramatic look, find lashes that are as long and thick as you’d like. If you’re going for a more understated look, find a style that is more wispy and piecey in nature. Consider the shape of your eyes when you’re trying to determine what style lash you’re looking at. If you want to accentuate your almond-shape, look for lashes that are tapered shorter towards the inner corner and have longer pieces towards the edge. If you want your eyes to appear wide open and doe-like, look for lashes that get longer towards the middle of the eye and taper off on either side. The band is also a big consideration when you’re looking for lashes. The band is referring to the strip that holds all the false lashes and you will attach to your lash line. Some people think that a beginner should be working with as thin of a band as possible but I disagree. This is true within reason because when the band is ultra thick, it can be hard to hide and mistakes but there are limits! I like a band that has a little bit of substance because it allows the lash to be sturdy while I am gluing it on. This helps it to maintain its shape and not flop all over while you’re trying to be precise. My favorite band is on the Vegas Nay lashes by Eyelure line, which I am wearing in this tutorial.
 Trimming to Size
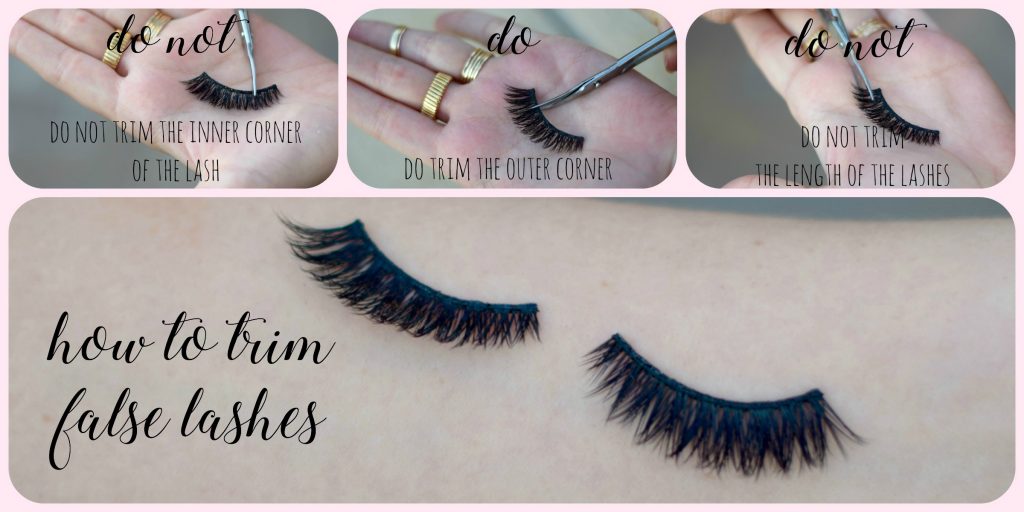
This is essential and so many people neglect this step! I see this done wrong so often and that is when false lashes make your eyes look tired and droopy – the total opposite of what you’re after. To avoid this, the first thing you need to do when you take the lashes out of the box is hold them up to your lash line and see if there is any extra length (there more than likely is!). Mark what needs to be trimmed with your fingers and trim the excess with a pair of small scissors – I use precise nail scissors. Keep in mind that it is always better to trim off less at first and have to go back and trim again than it is to trim too much so don’t be scissor happy! Between each trim, hold the lashes up to your eye and see if they look right. Make sure you are always trimming from the outer corner! The inner corners are purposely tapered to emulate the natural inner corner lashes, which are usually shorter and more sparse. Also, only trim length of the lash band! Don’t ever try to give your lashes a haircut because they will end up with blunt ends and will look totally unnatural. Rather find a pair that is made with shorter hairs. Once you’ve trimmed the band, they should follow the exact length of your natural lash line, reaching all the way from your outer corner to the inner corner. If you have hooded or downturned eyes, take extra care to make sure your false lashes don’t go past your natural lash line to avoid droopy eyes.
Lash Prep
To get the most out of my lashes and be able to wear them multiple times, (I mean, you have put so much work into them already!) I like to curl my lashes and apply my mascara beforehand so that I don’t coat the false lashes in mascara that will eventually clump up and ruin the falsies. I will talk more about making everything blend together later so don’t worry about that! While I am doing this, I wrap the trimmed lash strips around a makeup brush handle so that they get used to being curved, as opposed to staying stiff how they were in the packaging. This will help them fit the shape of your eye once they are able to be applied!
 The Glue That Holds It All Together
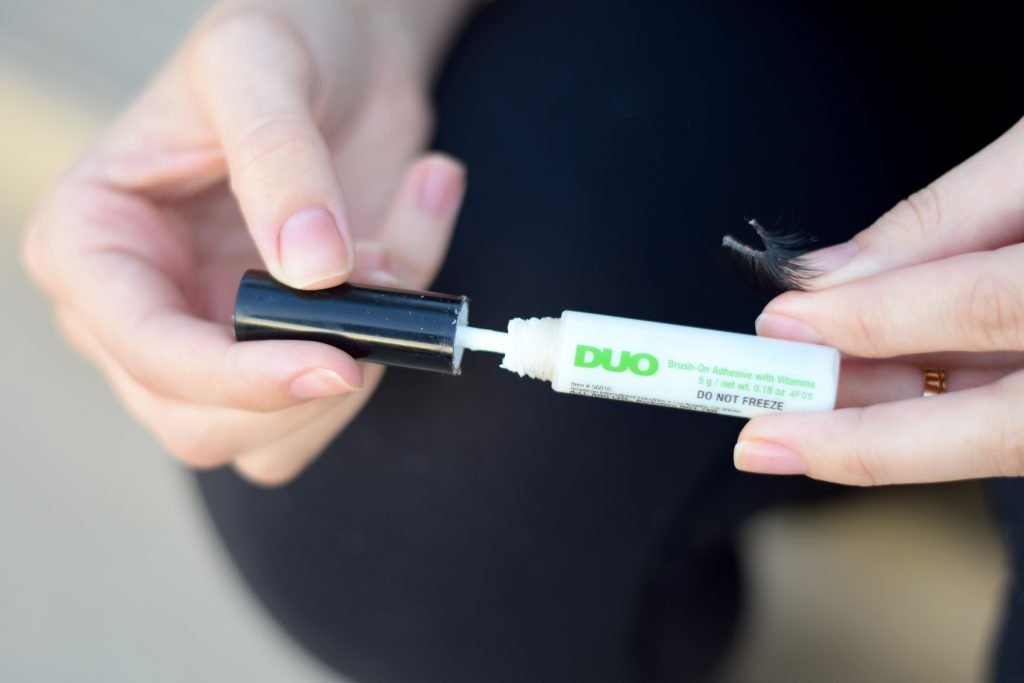
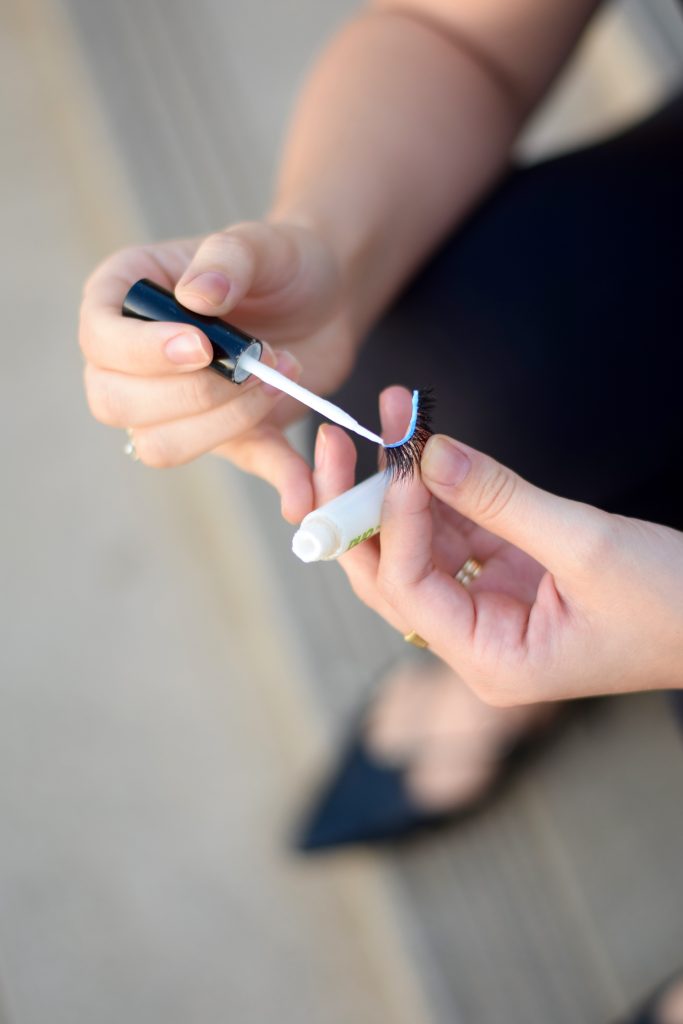
What is the point of finding the right lashes and making them fit perfectly if they’re not going to stay put? You need the right adhesive to make sure that your lashes stay on point the whole day or night long. Everyone is going to like a different lash glue because it depends on your eye sensitivity, how oily your eyelids are, and how long you plan to wear your lashes, etc. I really love the lash adhesives that come in a tube with a brush, almost like a nail polish bottle. I only discovered this a year or so ago and I don’t know how I lived before that. Maybe I am particularly uncoordinated (spoiler alert: I am) but every time I used a squeeze tube of lash glue, I would be overzealous and squirt the glue all the way from the band to the tips, making an ugly, sticky mess. Using the brush lets me avoid this completely and be as precise as I need to be when applying the glue. My personal preference is clear glue but this varies from person to person. I find that people pick a team and stick with it – you’re either a loyal black glue user or a loyal clear glue user. I like to use clear because I often wear my lashes without eyeliner (that’s risky, I know) so I don’t want the black glue adding any color. You’re going to apply a liberal amount of glue to the lash band, making sure you don’t miss any spots, especially the inner or outer corner. My favorite glue is the DUO Brush On Adhesive. I have heard incredible things about the House of Lashes glue because it is apparently SO heavy duty and long lasting but the DUO glue is sticky enough for me so I have yet to make the switch! My sister-in-law (@jamiejmakeup on Instagram) is a lash GODDESS and she swears by the HOL glue.
This next step is crucial: You need to let the glue dry until it becomes tacky! The tackier, the better (that’s the last time you’ll ever hear me say those words). I like to apply my glue and put the lash down while I do the next step of my makeup. I try to let it glue for a full minute or two – I know this sounds excessive but trust me! The more tacky the glue is, the easier it will be to stick on without the false lashes slipping and sliding all over the place.
 The Application
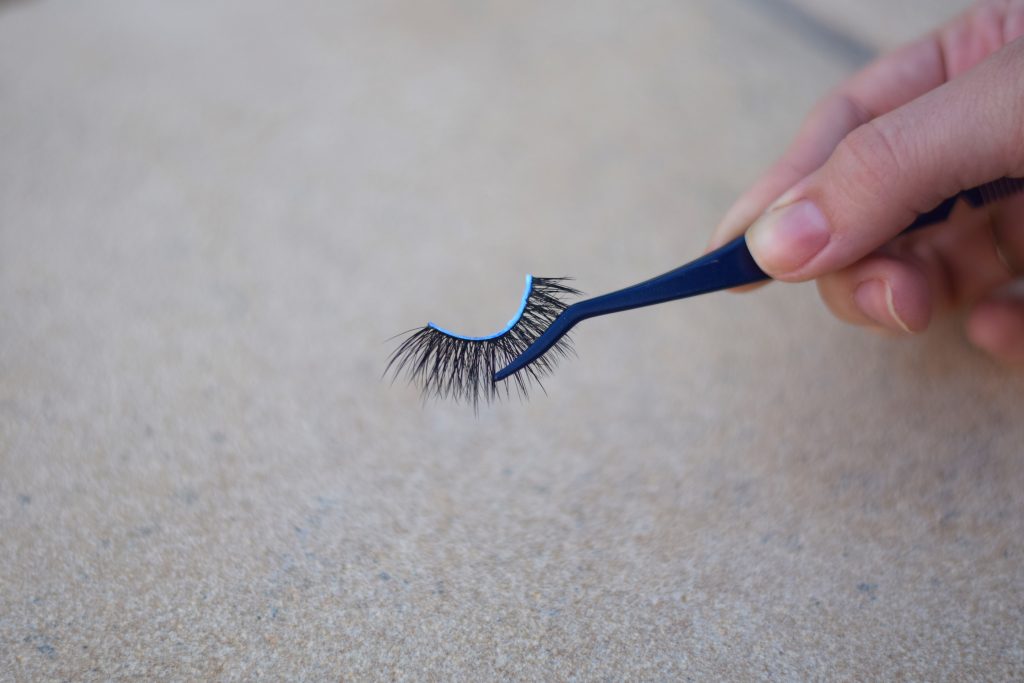
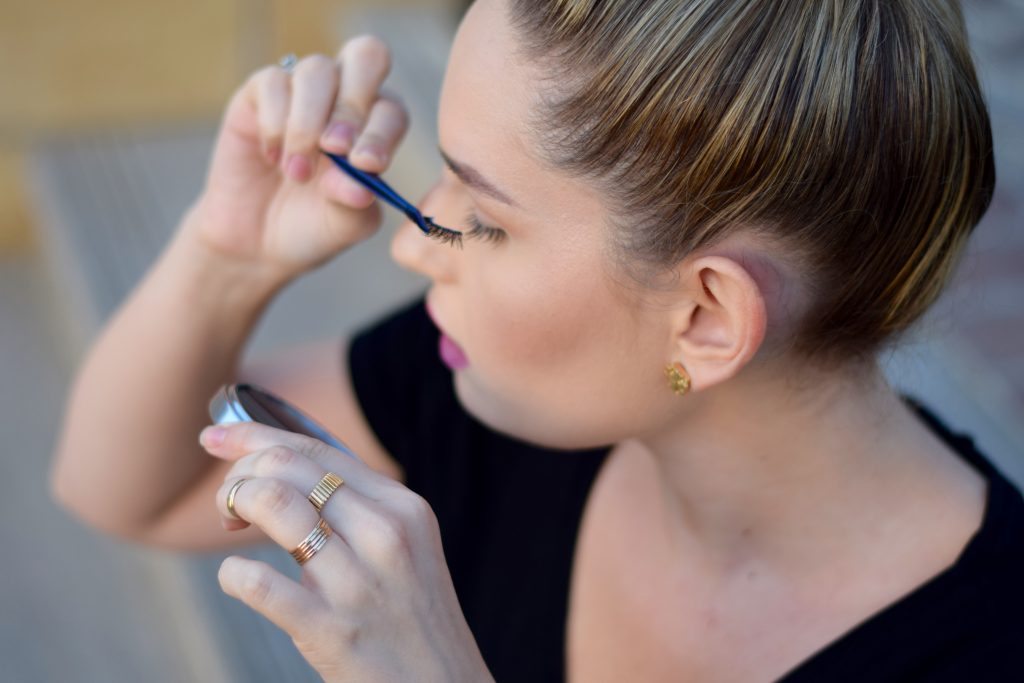
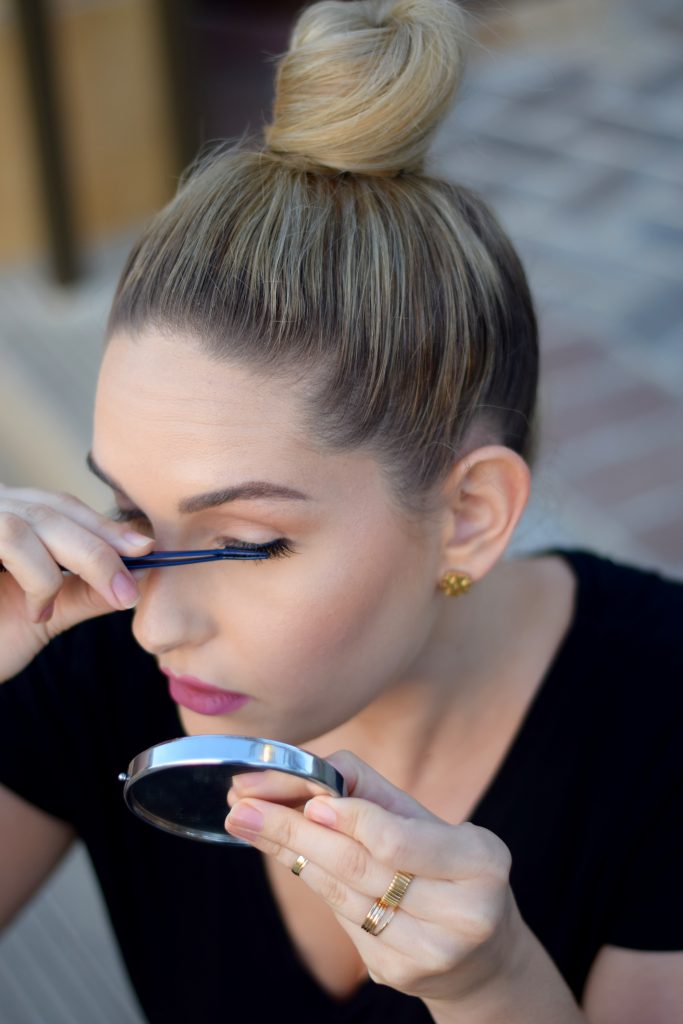
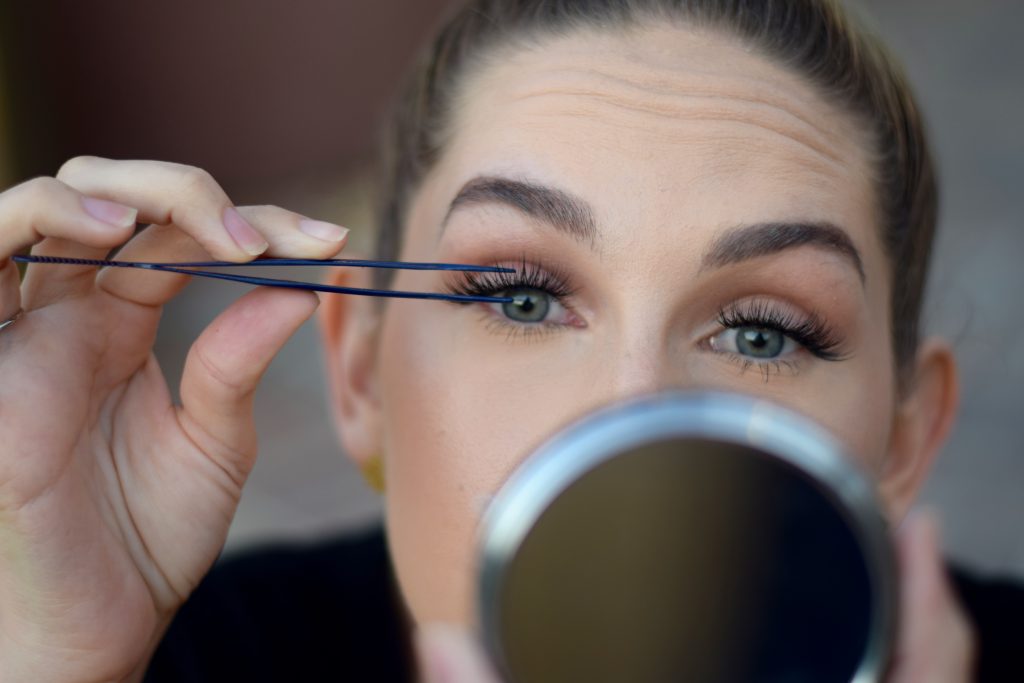
So now, the part you have all been waiting for! My favorite way to apply my lashes is with a lash applicator – God bless those of you who can do it with your fingers. The applicator just helps me be much more controlled and precise, which is always helpful. I use the Velour Lashes Two Easy Lash Applicator from Sephora and I have loved it since the moment I used it. Essentially, it is a pair of tweezers with a really long, curved tip that will cradle the entire strip lash. This gives you a strong grip on the false lashes and lets you get really close to your lash line, which is going to help the lashes look natural. I grab the lashes as close to the band as I can and go in from the top of my lashes, coming in from the top of my lid. I find that it is easiest to look down into a magnified mirror that is below you. This gives you a really close look at your lash line, which is what you want to focus on. Make sure you have a normal mirror in front of you also to make sure they look good from straight on, as well. Once you have the lash centered, place the middle of the false lashes as close to your natural lash line as you possibly can and stick it down firmly. Due to the tacky nature of the glue, you can always move the lashes around as needed. Once the middle is down, do the same thing with the inner and outer corner. Make sure the band isn’t lifting up at any place on your eye and ensure that the band is lying flush with your lash line. No bumps or curves, please! Once they’re applied to your liking, take the lash applicators (or your fingers) and give them a quick pinch together with your natural lashes. This will allow them to look more natural and blend in with your own lashes.
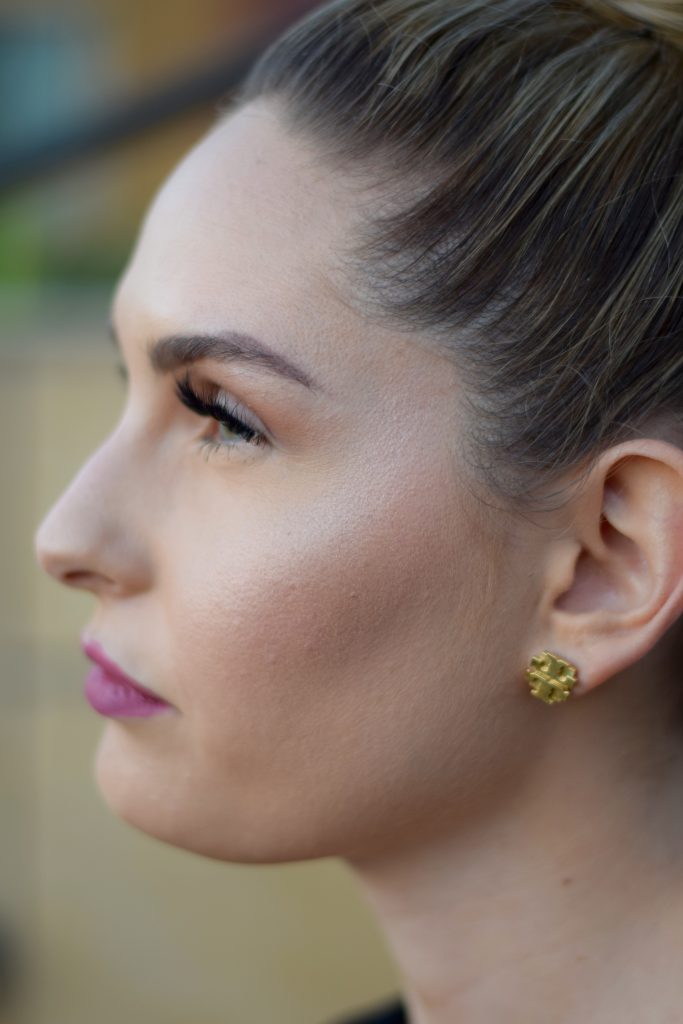
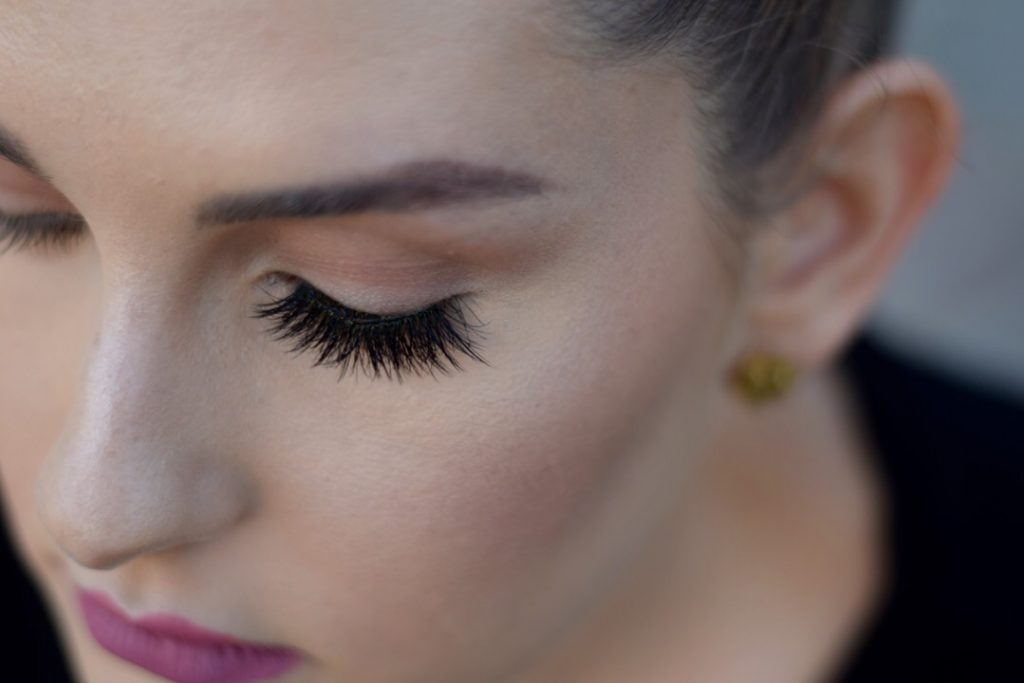
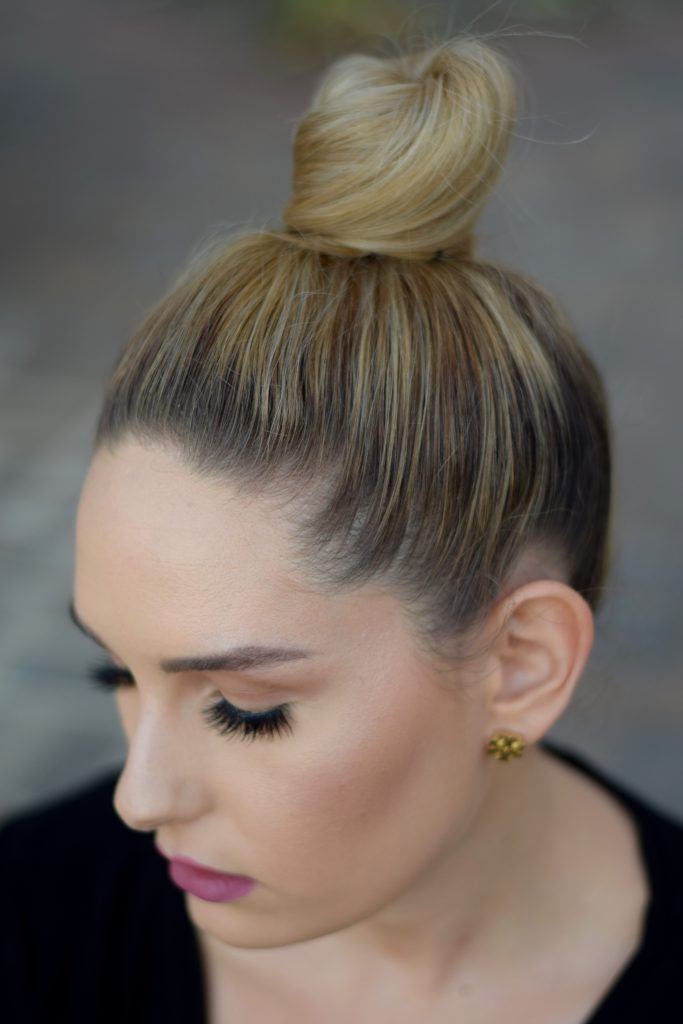 There you have it- you’re glam! I must warn you though, once you start wearing false lashes, you are never going to want to go back. Proceed with caution.
Happy Lashing!
Lashes I am wearing in the tutorial: Vegas Nay Lashes by Eylure in the style “Grand Glamour”
Lashes shown in the trimming tutorial: Koko Lashes in the style “Goddess”
A more natural pair that I love: Ardell Lashes in the style “Demi Wispies”

I was always afraid to try lashes but you make it look it so easy. Thanks for the great tips.
Hi Cheryl,
I am so happy you found my tips helpful.
You can do it!! After a little bit of practice, it becomes second nature. It only takes me as long as mascara now.
Let me know how it goes. Good luck!
Thank you for reading!
Xx, Lauren Jaclyn