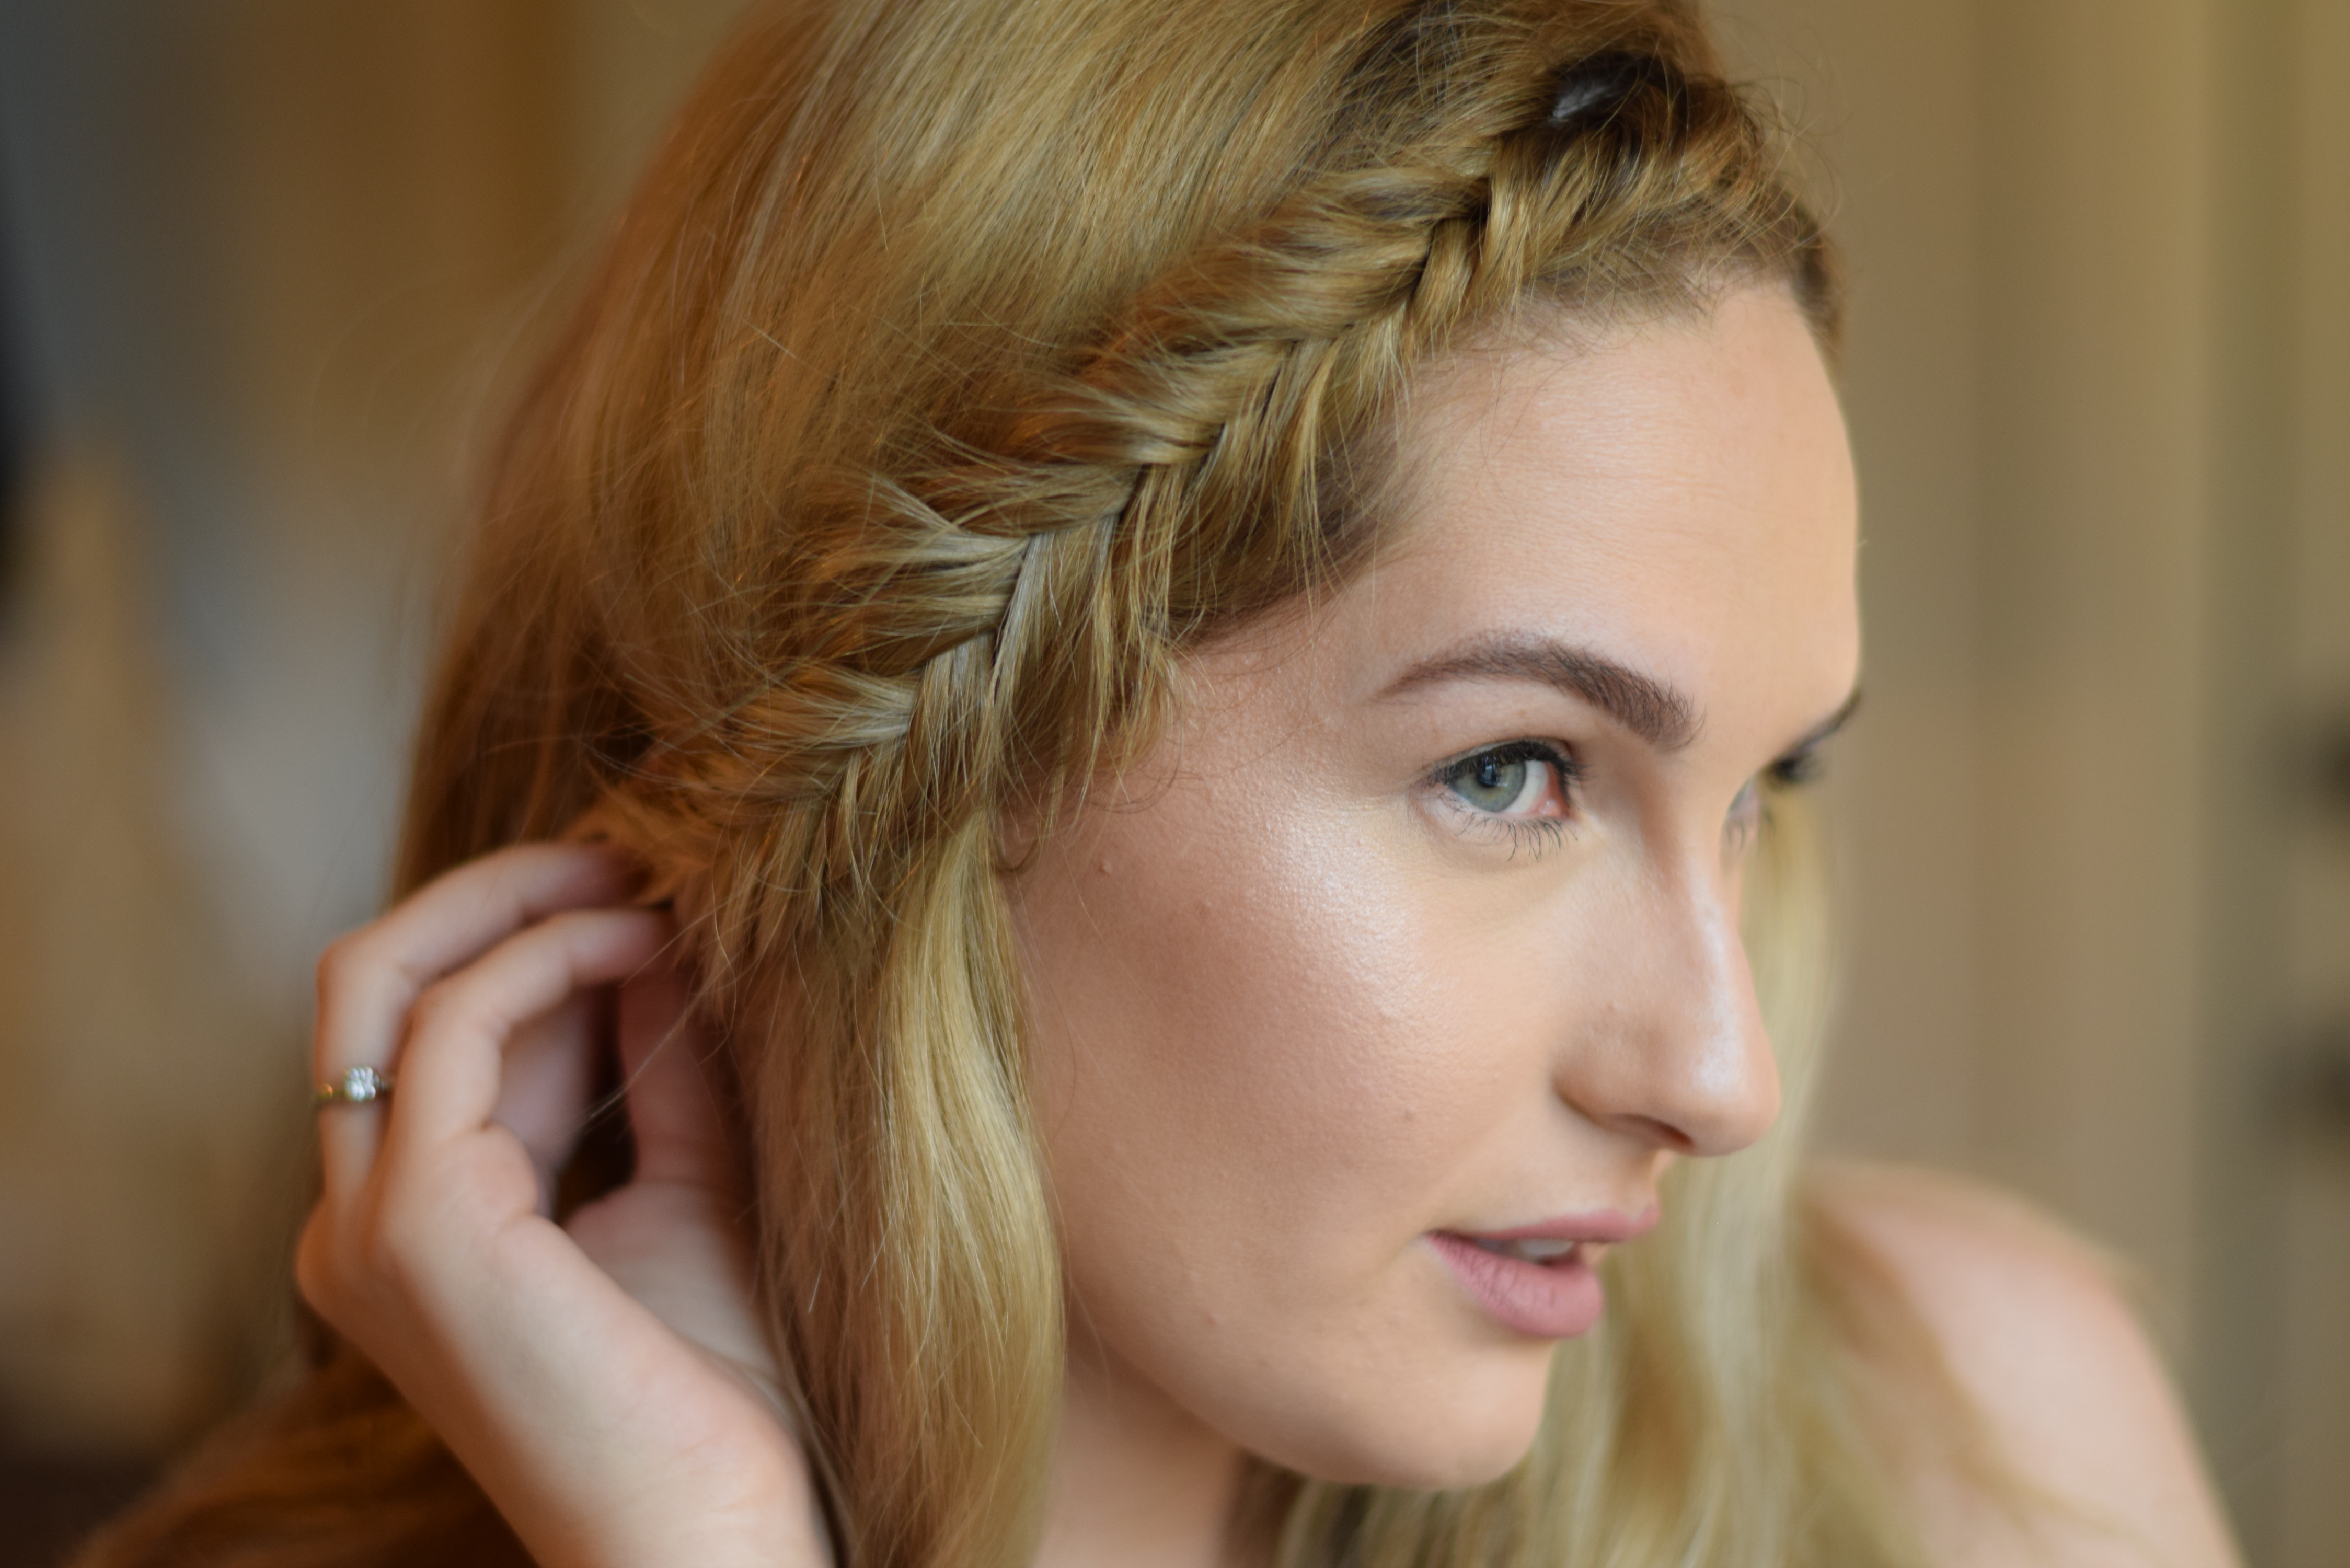
 When I first posted my Casual Meets Cute look on my blog and Instagram, the number one question I got wasn’t about the highly sought after Quay x Desi Perkins collaboration, it was how I did my hair like that! That really made me laugh right off the bat because I did it in the car in the 3×5 inch mirror but that’s after years of practice, so don’t fret if you don’t get it on the first try! Fishtails are SO chic and are such an easy way to add style and dimension to your hair. They are more time-consuming than they are challenging so it’s definitely doable even if you are a beginner when it comes to hair styling. Bonus: it looks even better on dirty hair – woo hoo! I am going to first explain the basics of fishtails to you and then elaborate on how I kept mine to the front of my hairline like I did in my post. So here it is: the highly requested fishtail tutorial.
Fishtail Tips
- The smaller the pieces are that you grab to cross under, the more intricate your fishtail will look. If you’re looking for a chunkier fishtail, take slightly larger pieces. Avoid extra large pieces because it will look like a normal braid – boring alert!
- Keep the hair as taut as possible in your hands to make a neat fishtail and avoid having to start from scratch if/when pieces fall out.
- The dirtier the hair, the better. In order for your fishtail to look piecey and texturized, your hair needs some grit. If your hair is extra dirty OR freshly washed, dry shampoo is going to be your best friend. It will absorb an excess oil or add texture to your silky smooth locks. My favorite is Batiste Dry Shampoo!
- Don’t be afraid to add texturizing spray once the fishtail is done! My favorite is DryBar Triple Sec 3-in-1. This will give the hair something to hold onto and avoid the tiny pieces slipping out throughout the day.
Basic Fishtail
- The main difference between a braid and a fishtail is that you divide the hair into two main sections, rather than the classic three. It doesn’t matter if you’re fishtailing your entire ponytail or just a small piece towards the hairline – the magic number is two.
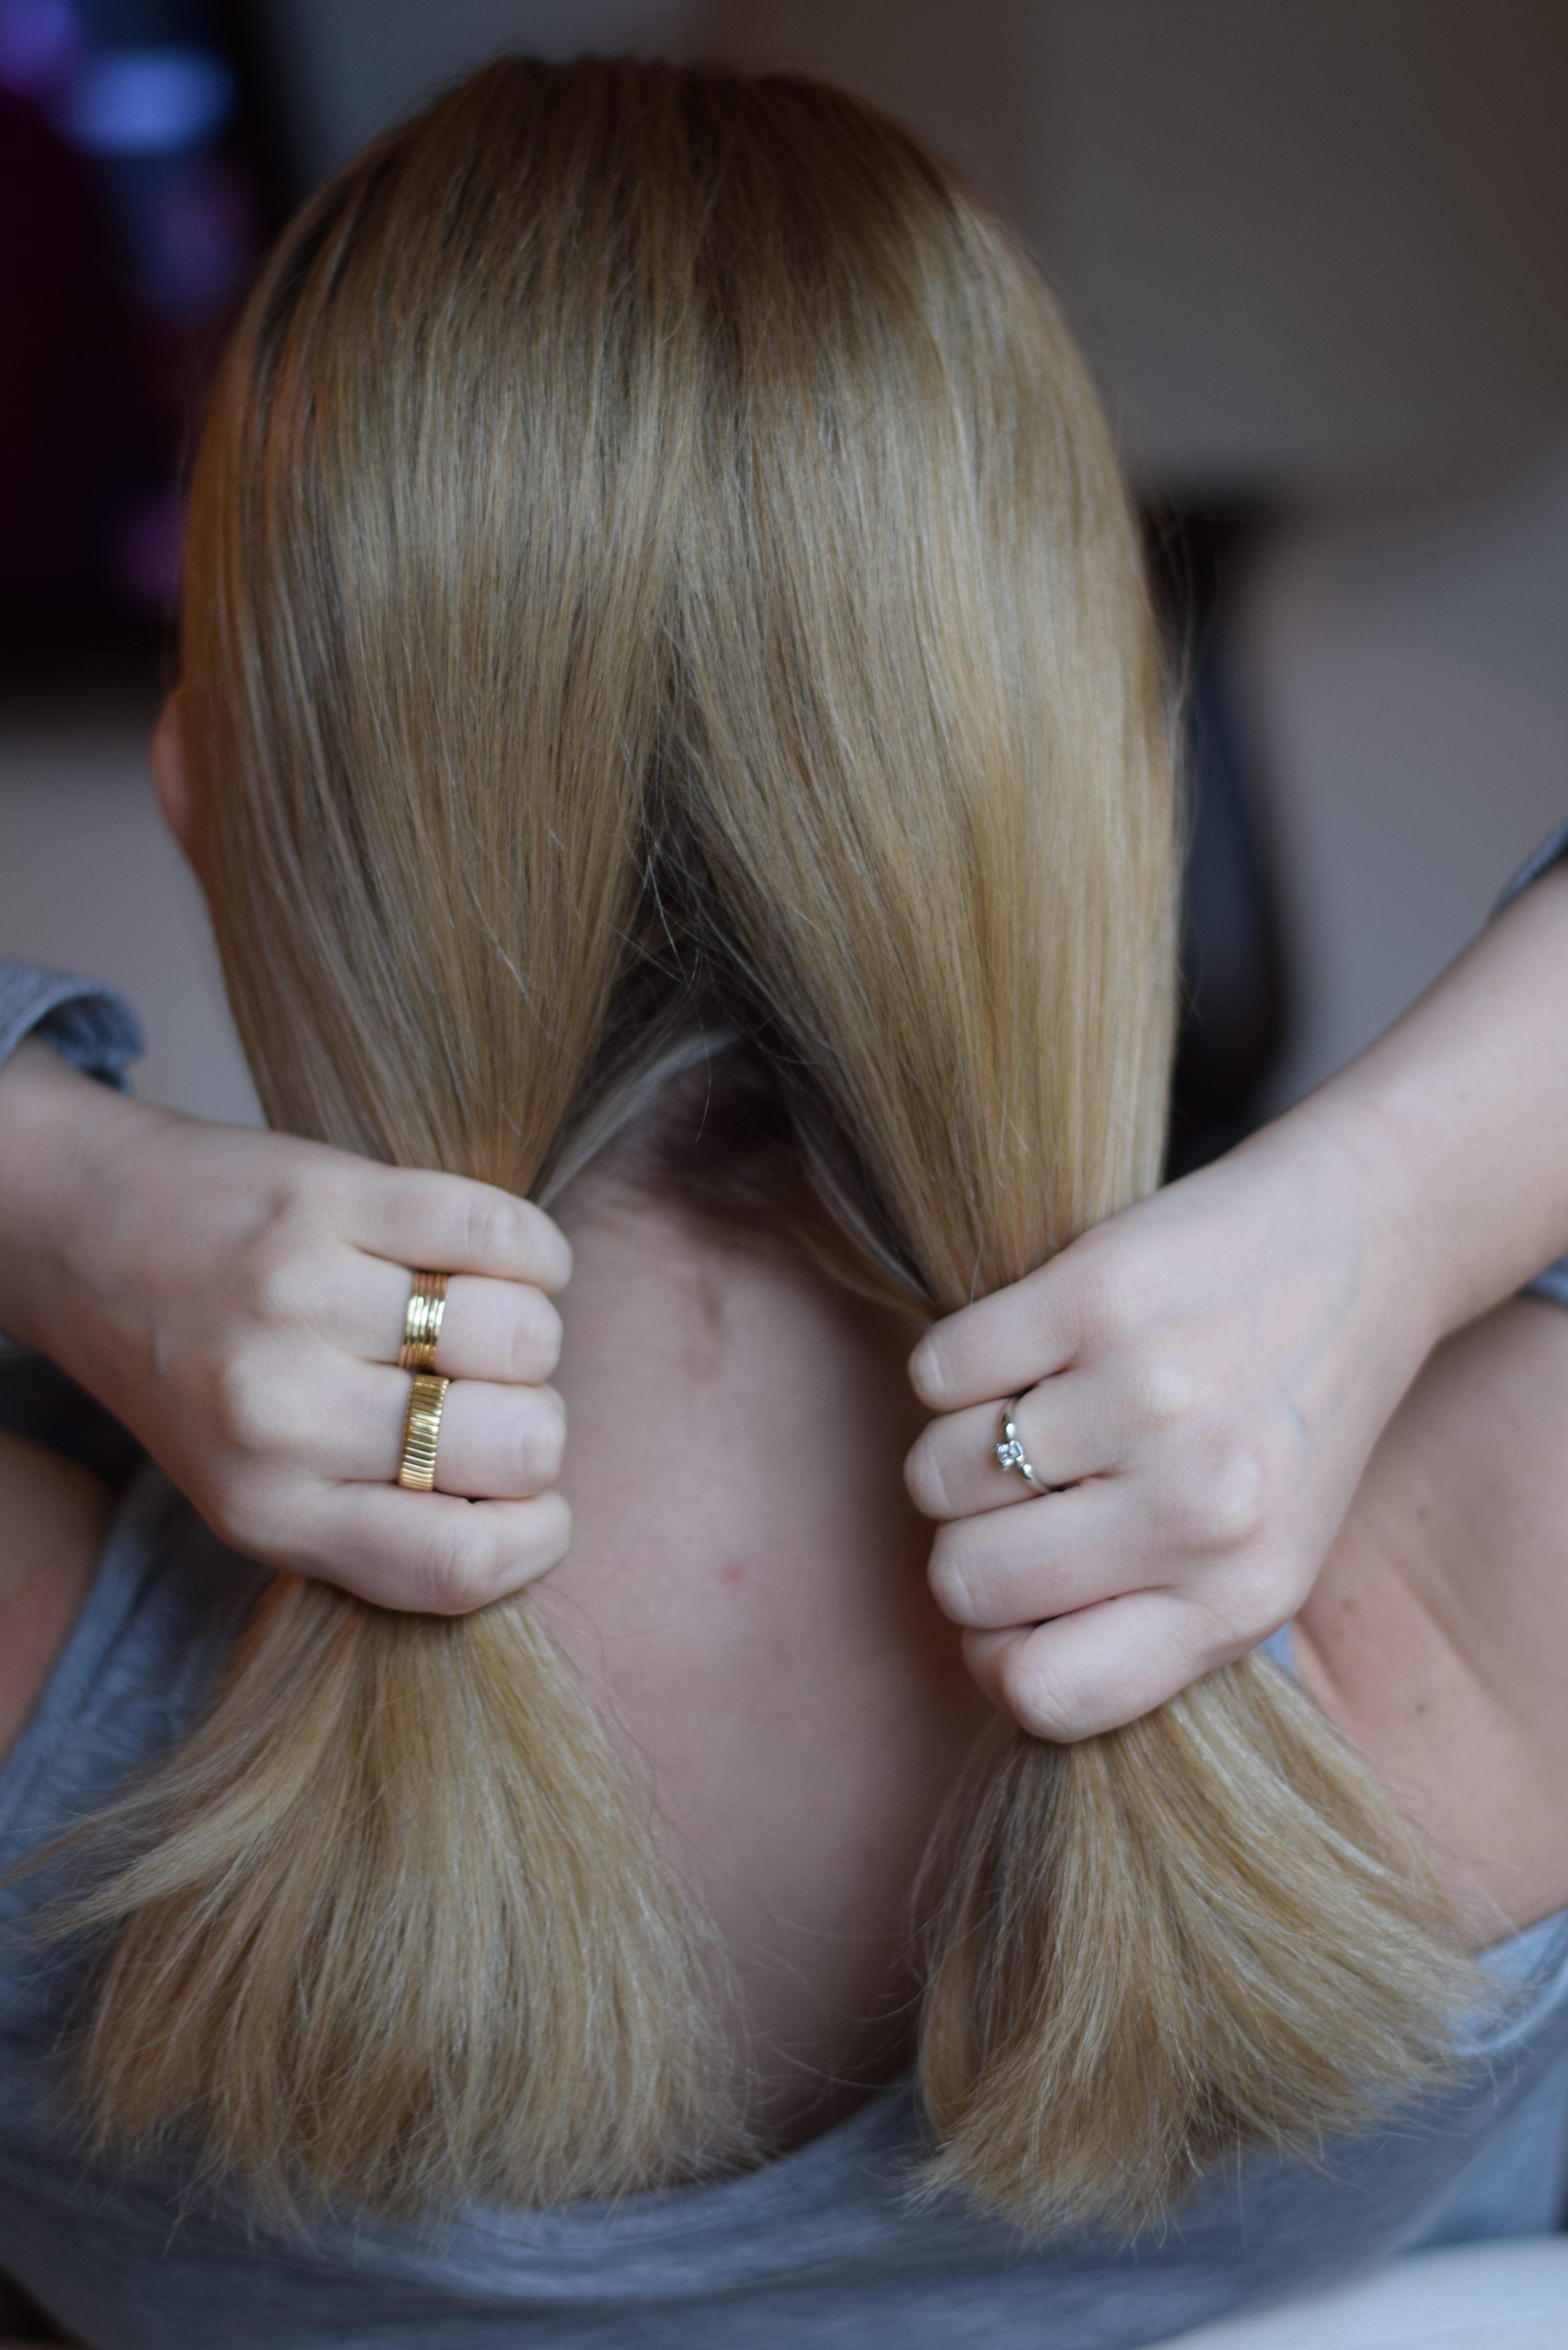
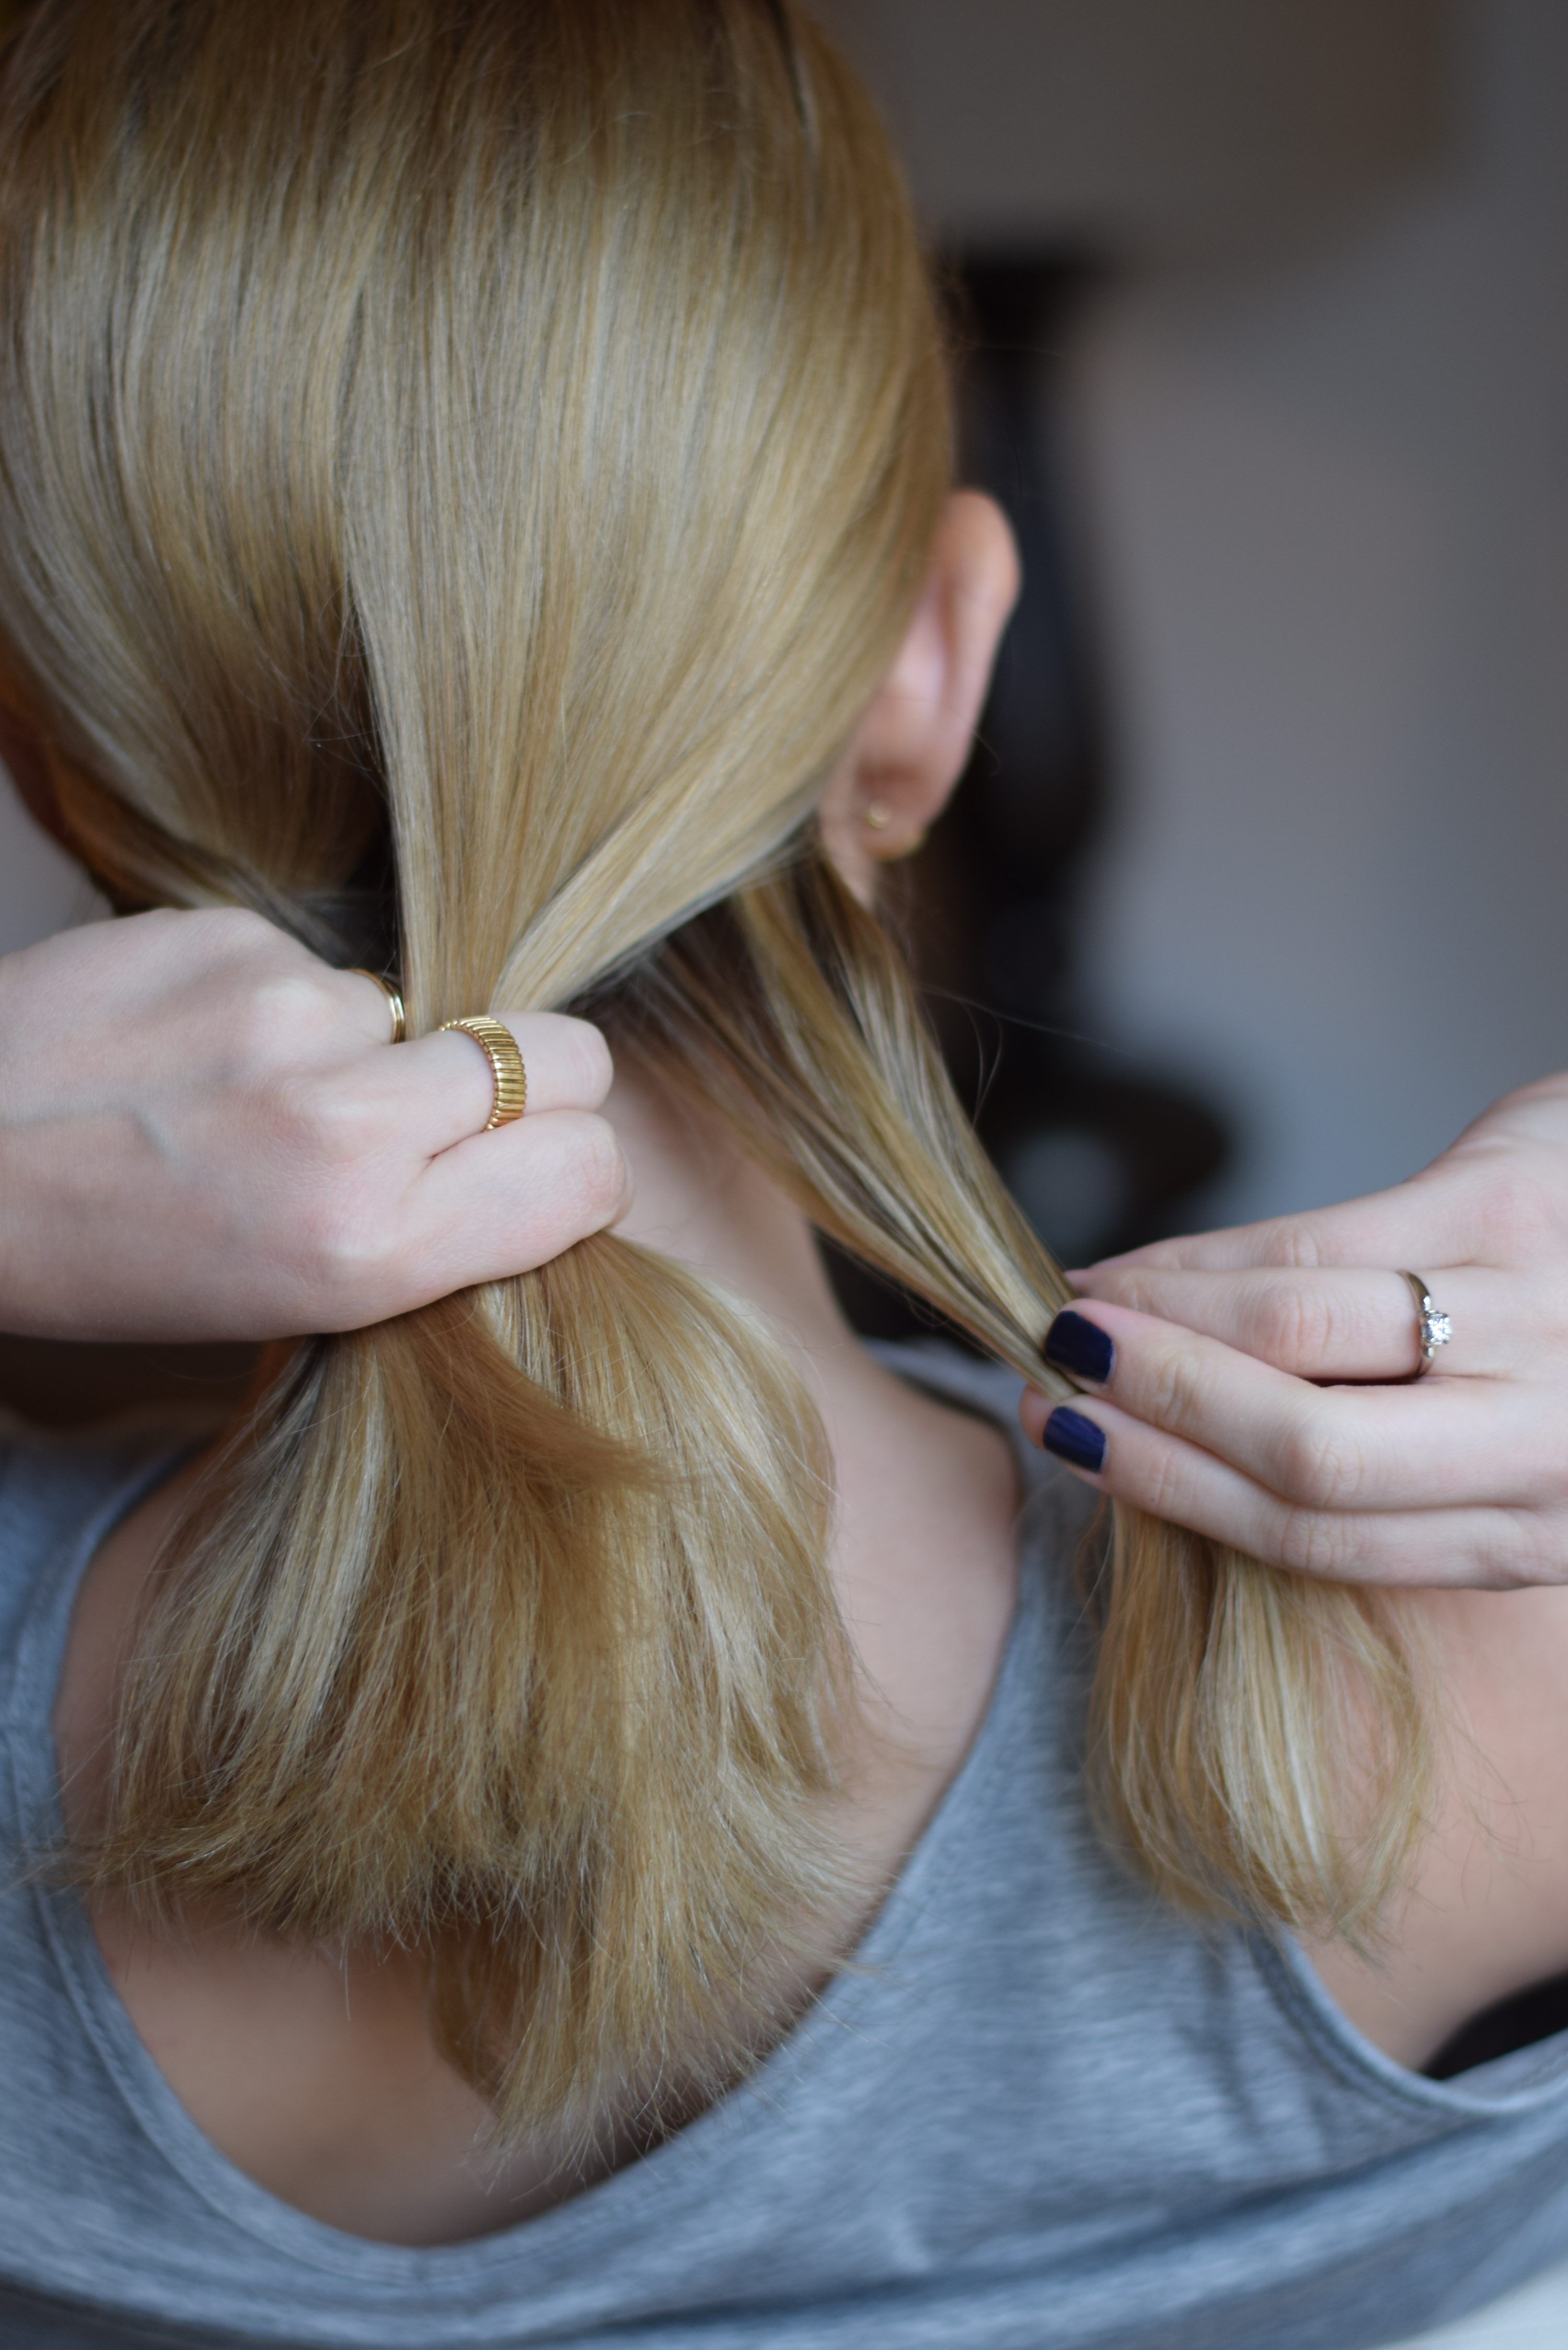
- Once you have your hair divided into two sections, you want to take a small piece of hair towards the outside of the section and bring it over (or under) the hair to join it with the other main section. It doesn’t really matter whether you bring the hair over or under, as long as you stick to the same pattern throughout the entire fishtail.


- Repeat that step on alternating sides of the fishtail until you’ve reached the desired length.

- Once you have fishtailed the hair all the way down to your desired length, hold the finished spot between your thumb and pointer finger or tie it off with an elastic loosely. This gives you the freedom to loosen up the fishtail and make it look messy and undone, if you choose to. I always like to!
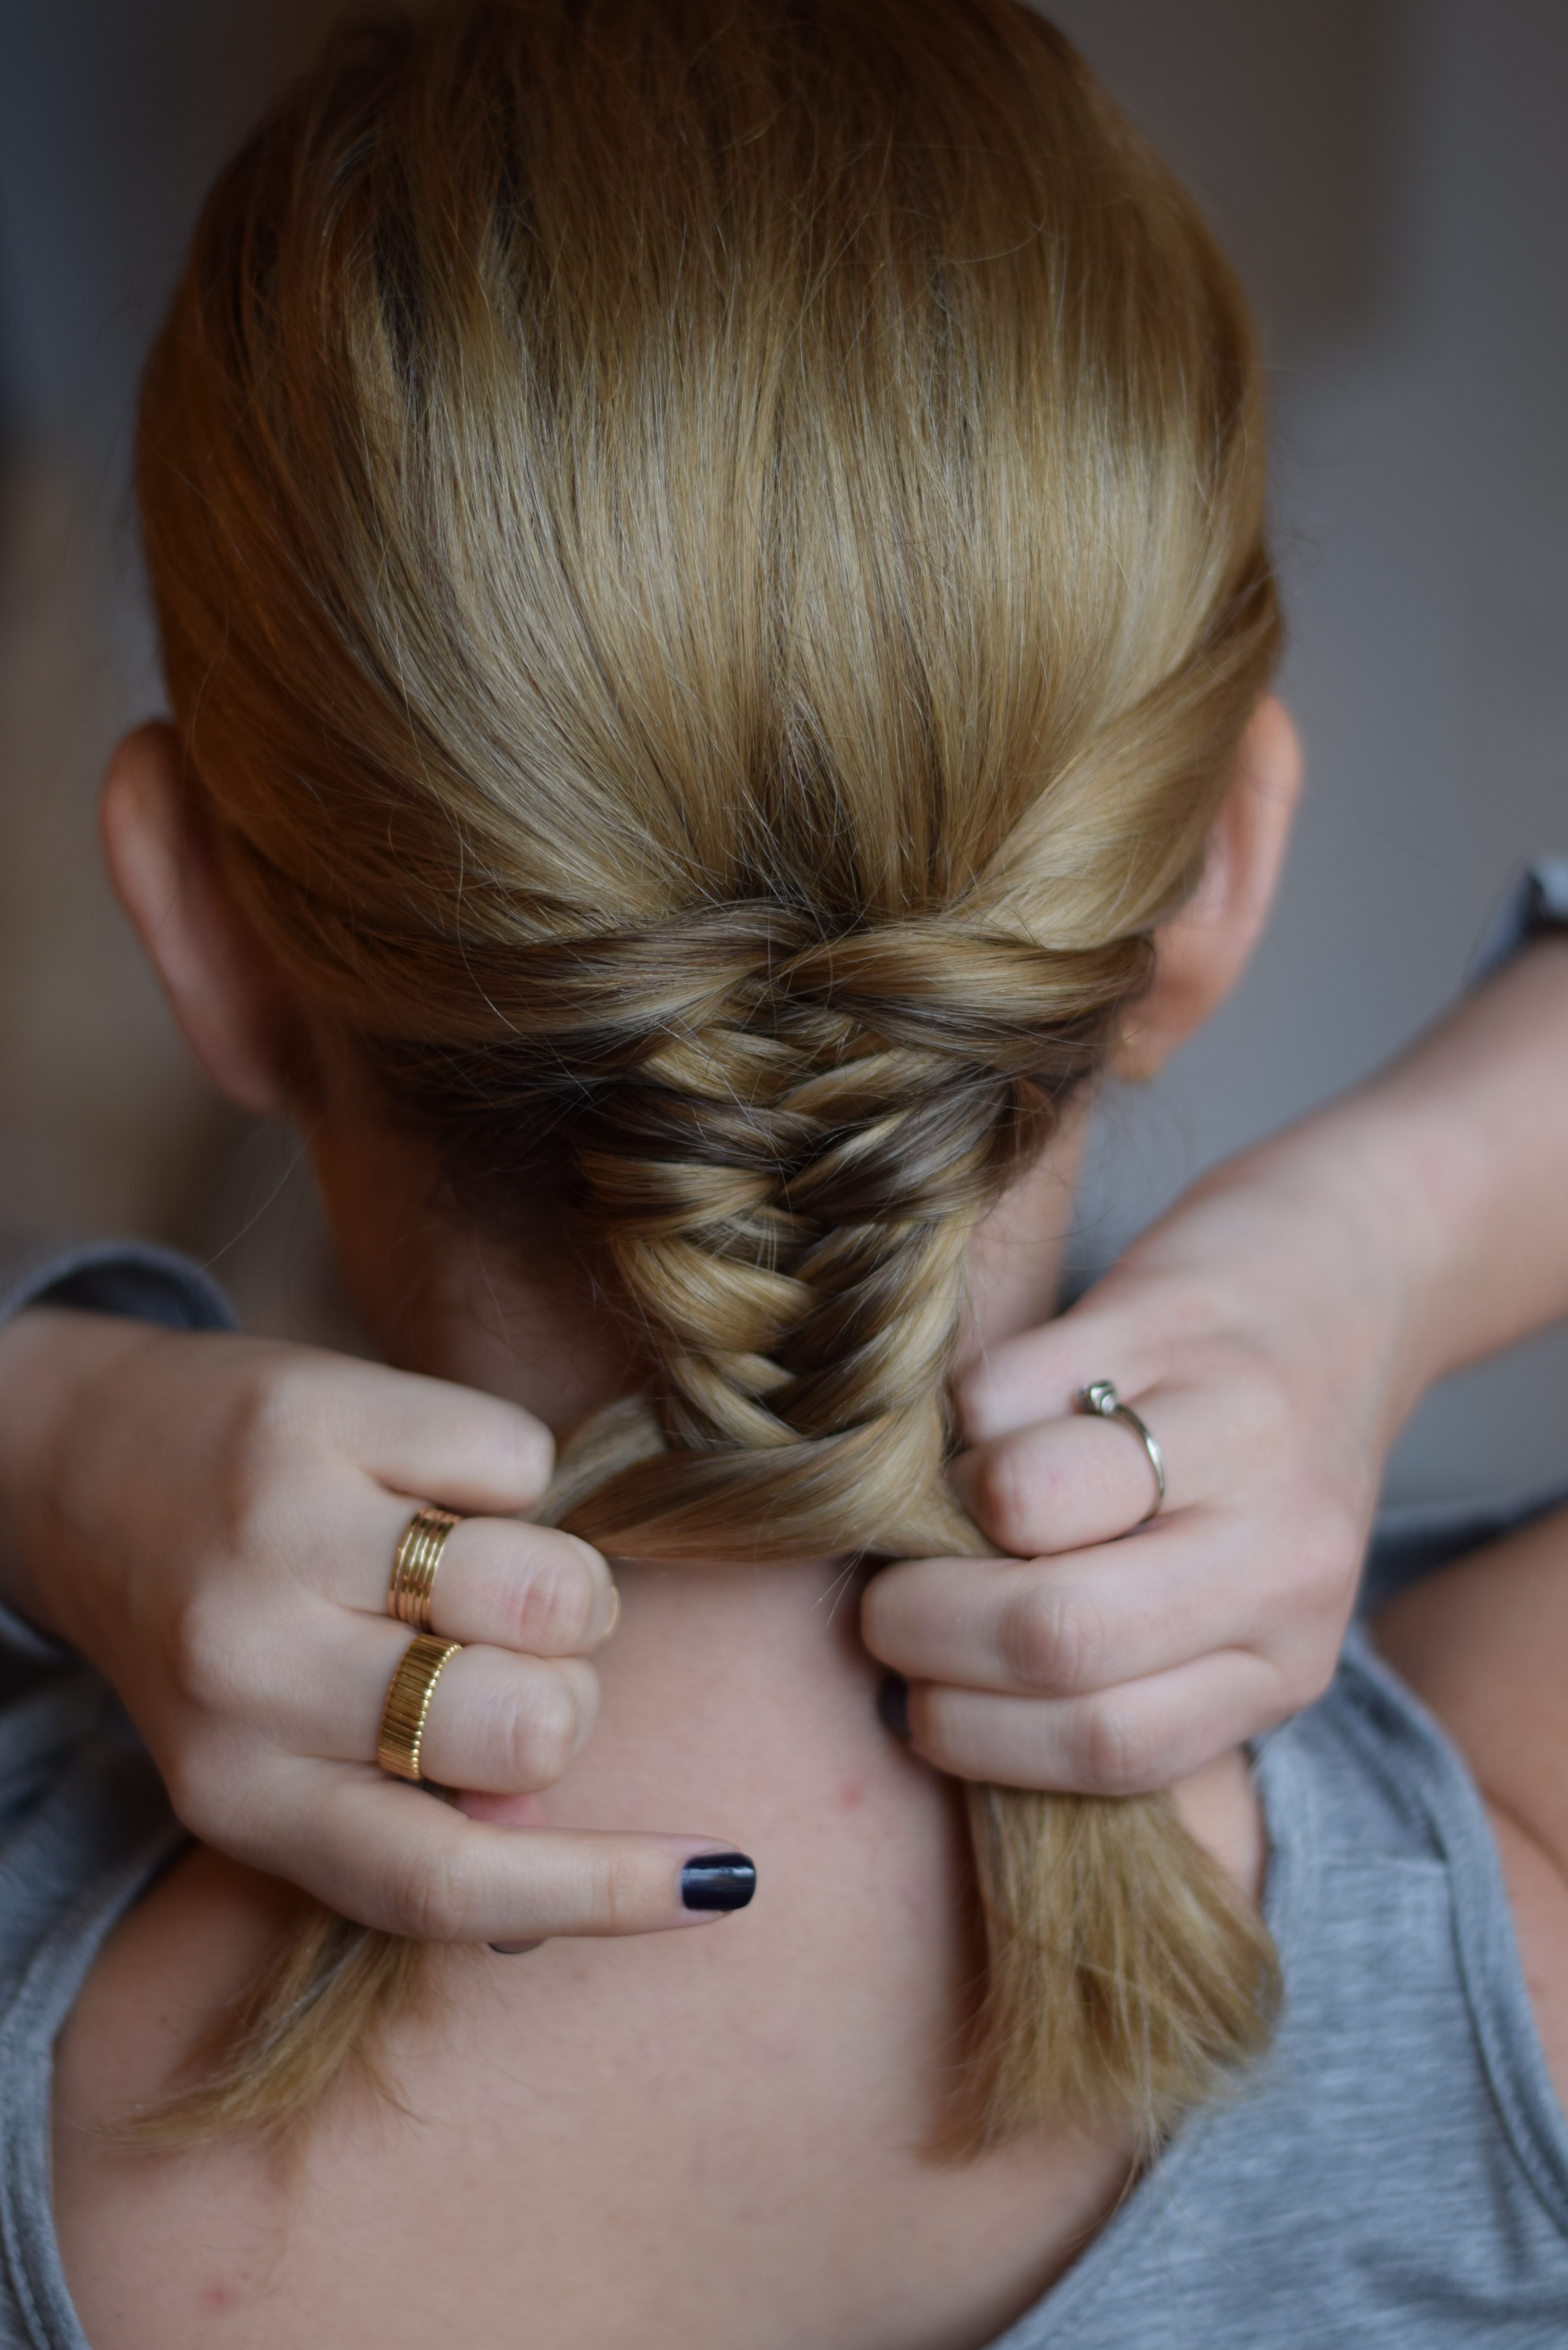
- To loosen the fishtail, hold the ends between your fingers and start from the top of the fishtail, pulling each section out gently until it has the width and thickness that you’re looking for. Pull out sections, alternating sides, until you’ve reached the bottom and the desired look. Remember, it’s always easier to go back and loosen it more than to try to put the hair back in afterwards. Slow and steady wins the race here, for sure.

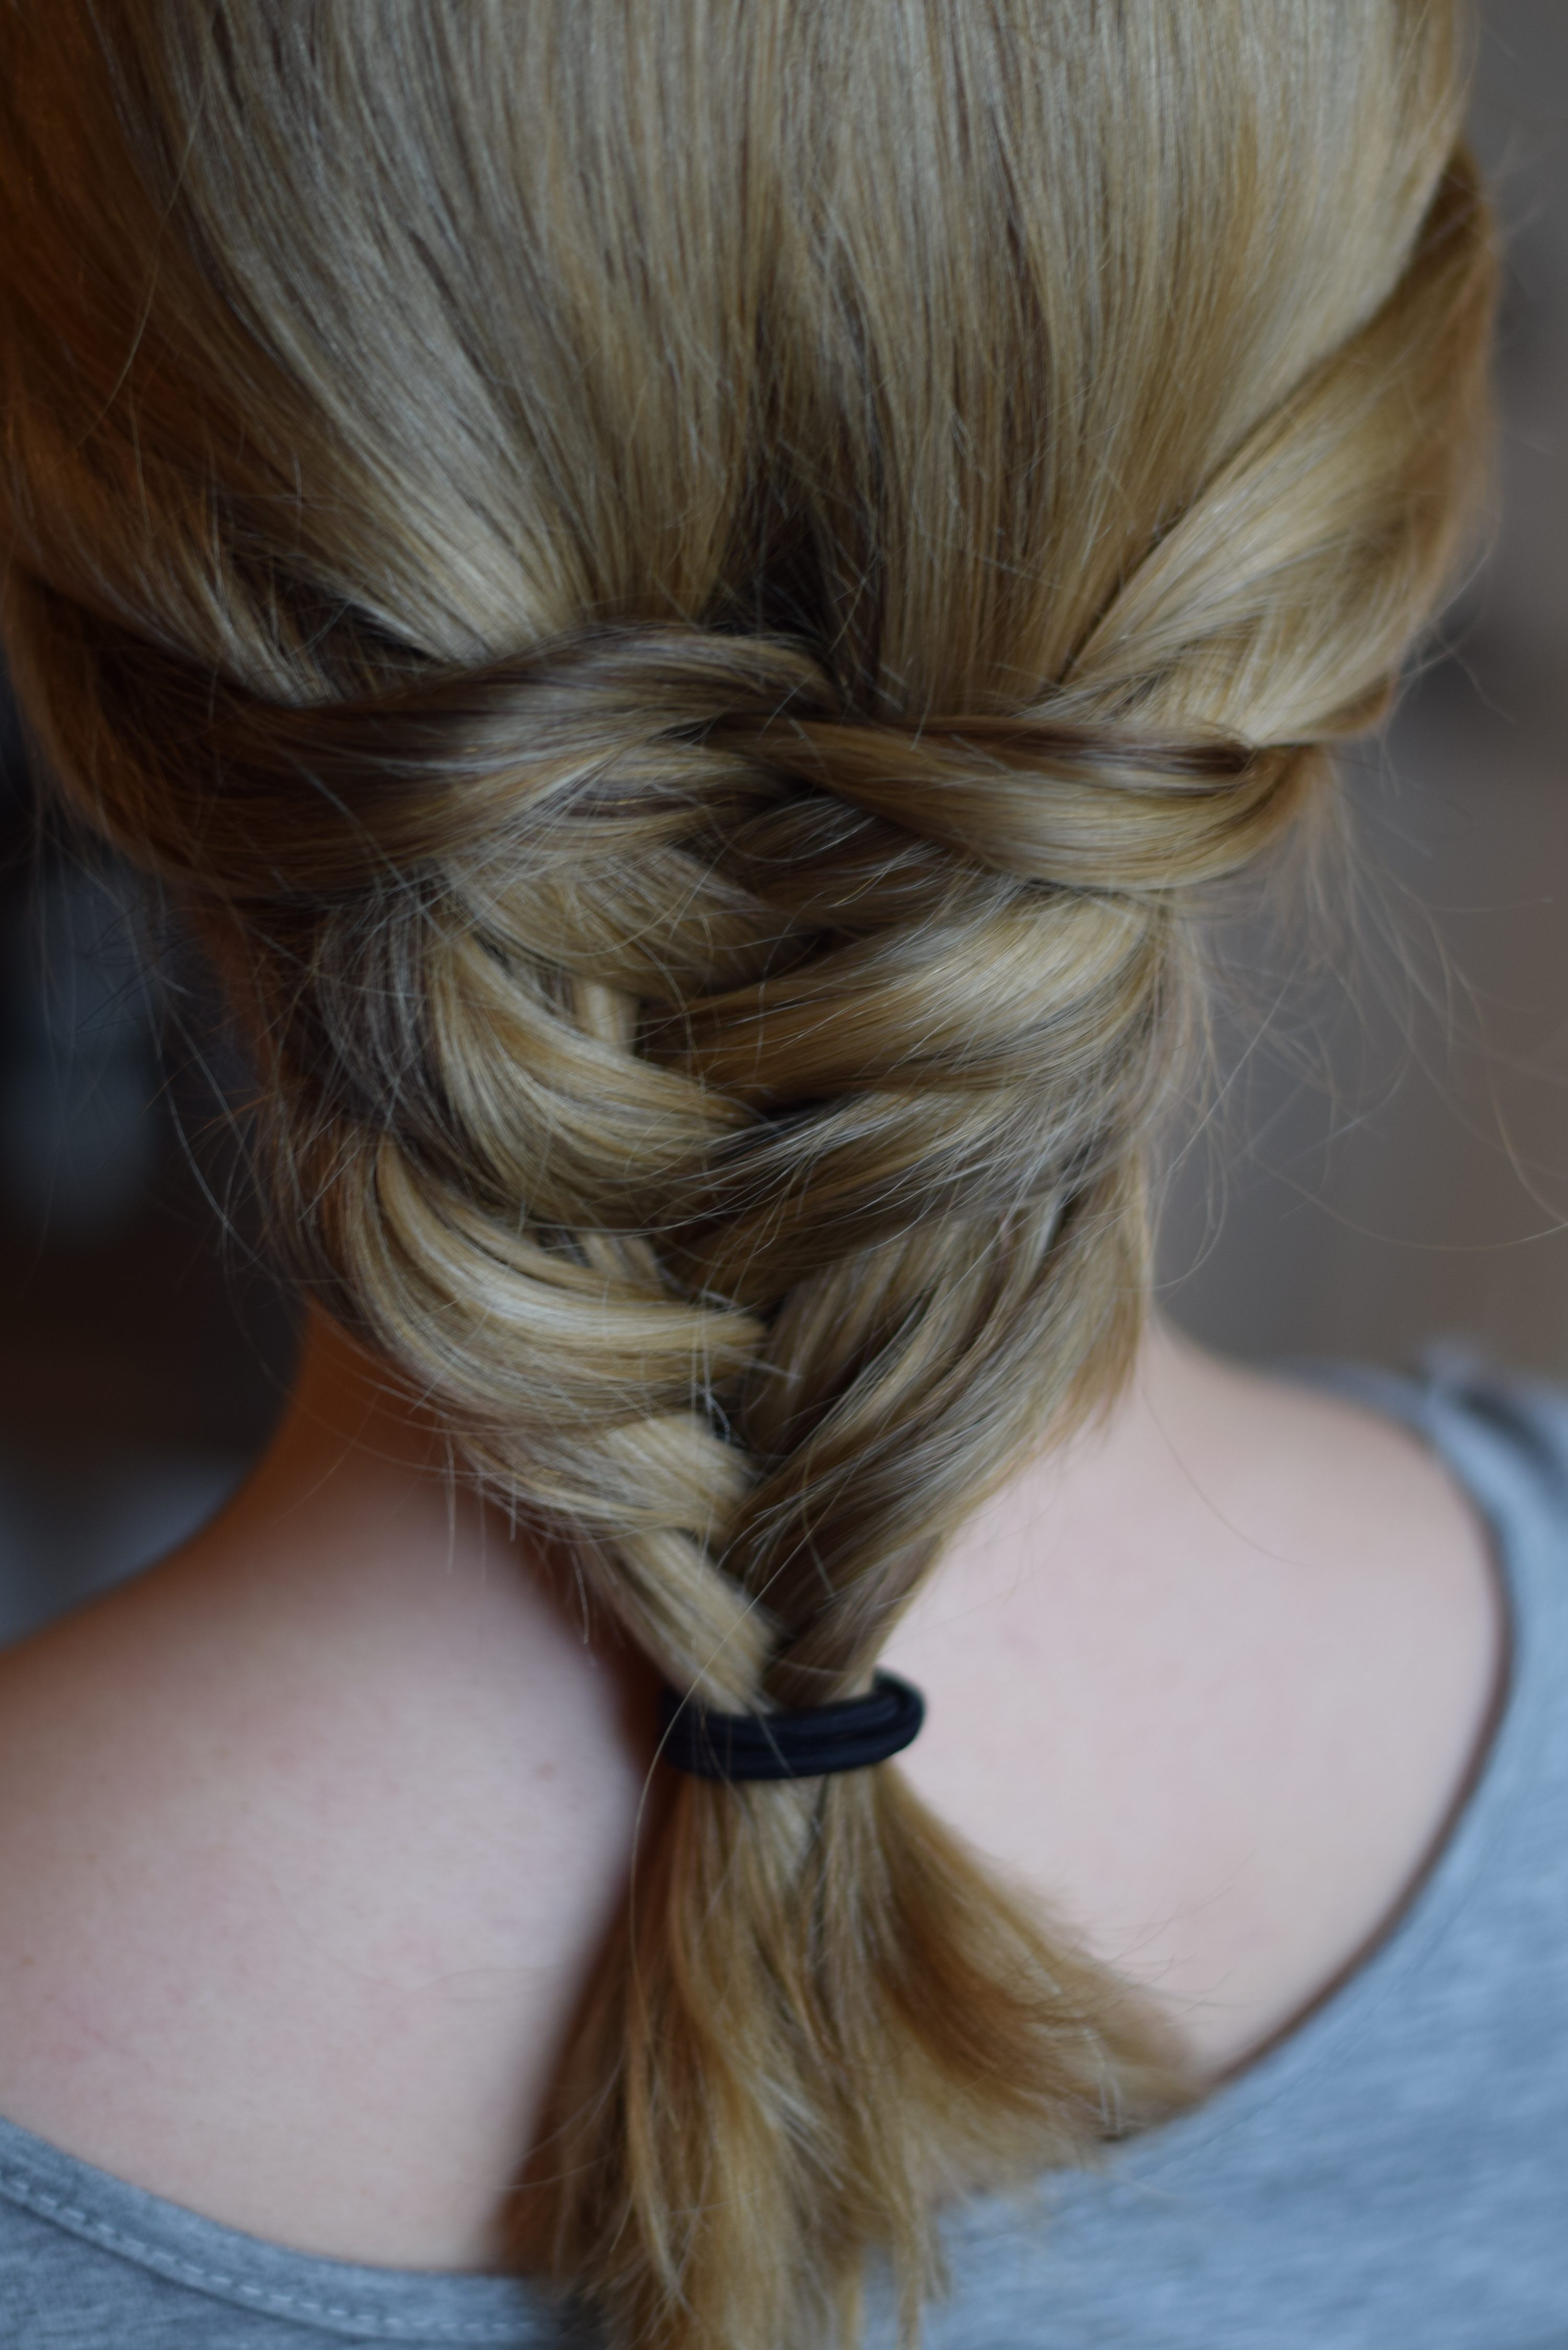
- Once your fishtail looks the way you want it, tie it off with an elastic or pin it back with bobby pins and let the compliments flow in.
French Fishtail
- Grab a small section towards the front of your hairline, starting at the part. The section should be a small rectangular piece.
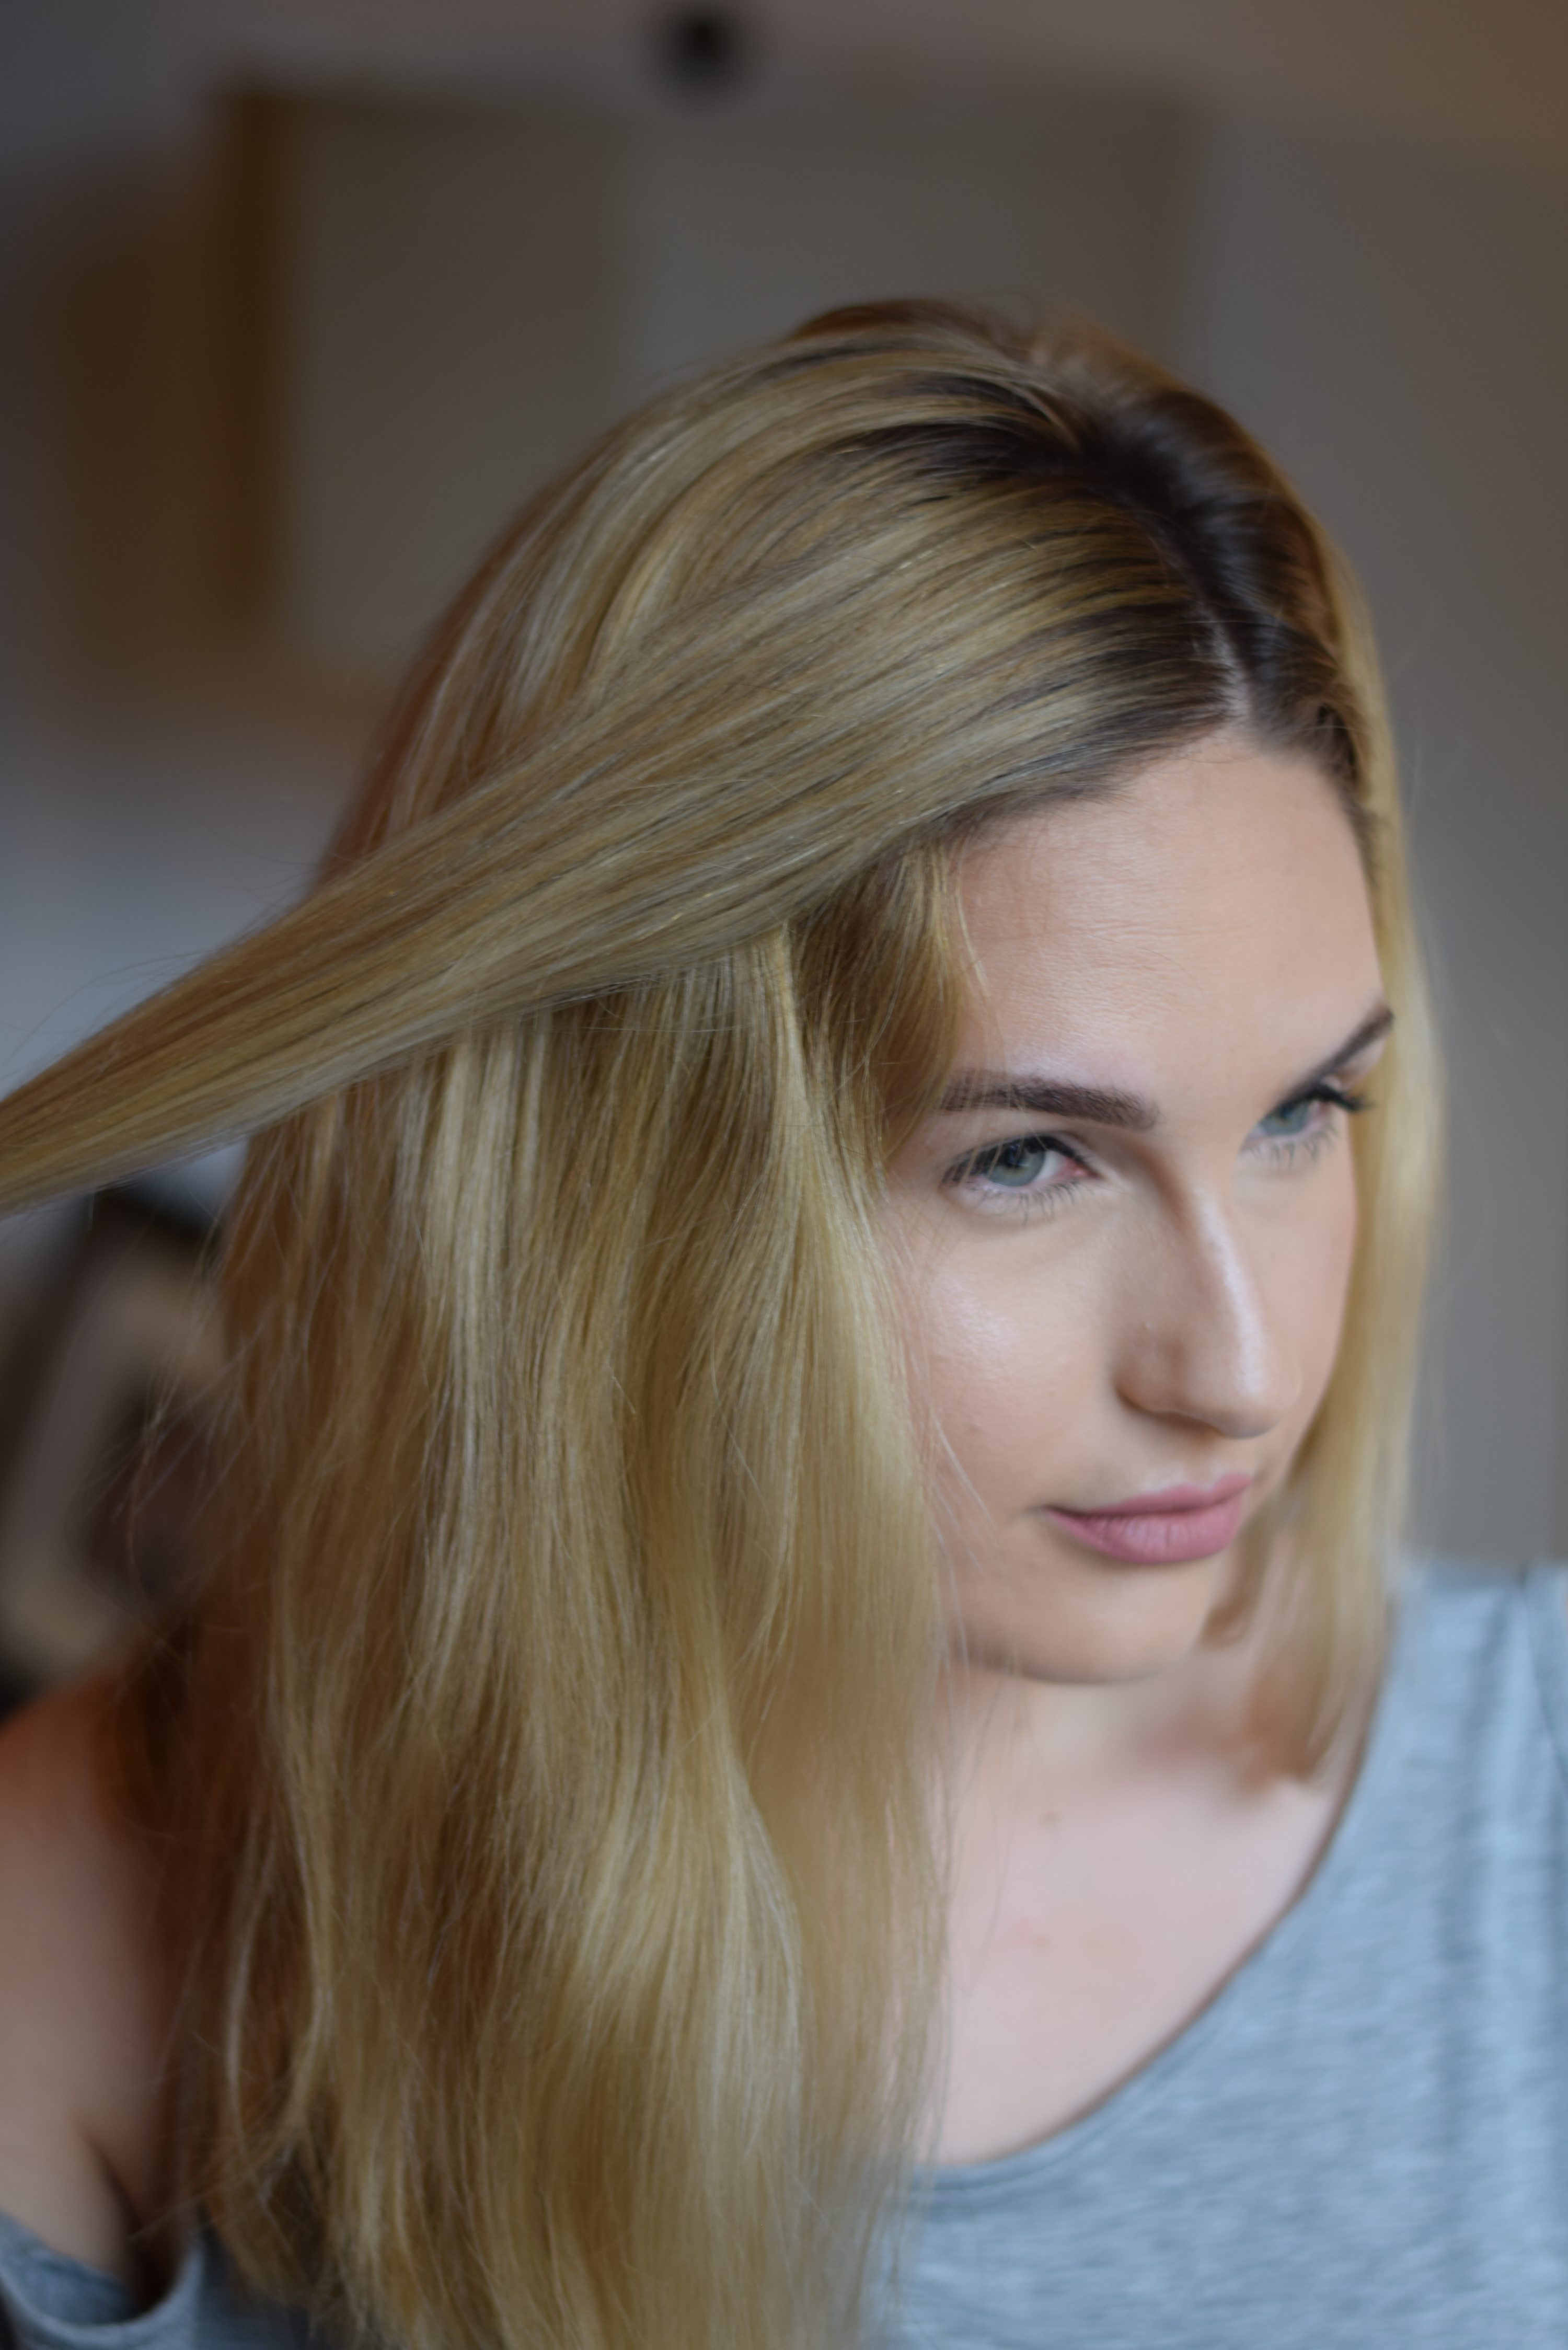
- Divide this piece into two equal sections and start a normal fishtail – grab one small piece from the outside of the section and cross it under to join the other main section. Do this once on both sides.
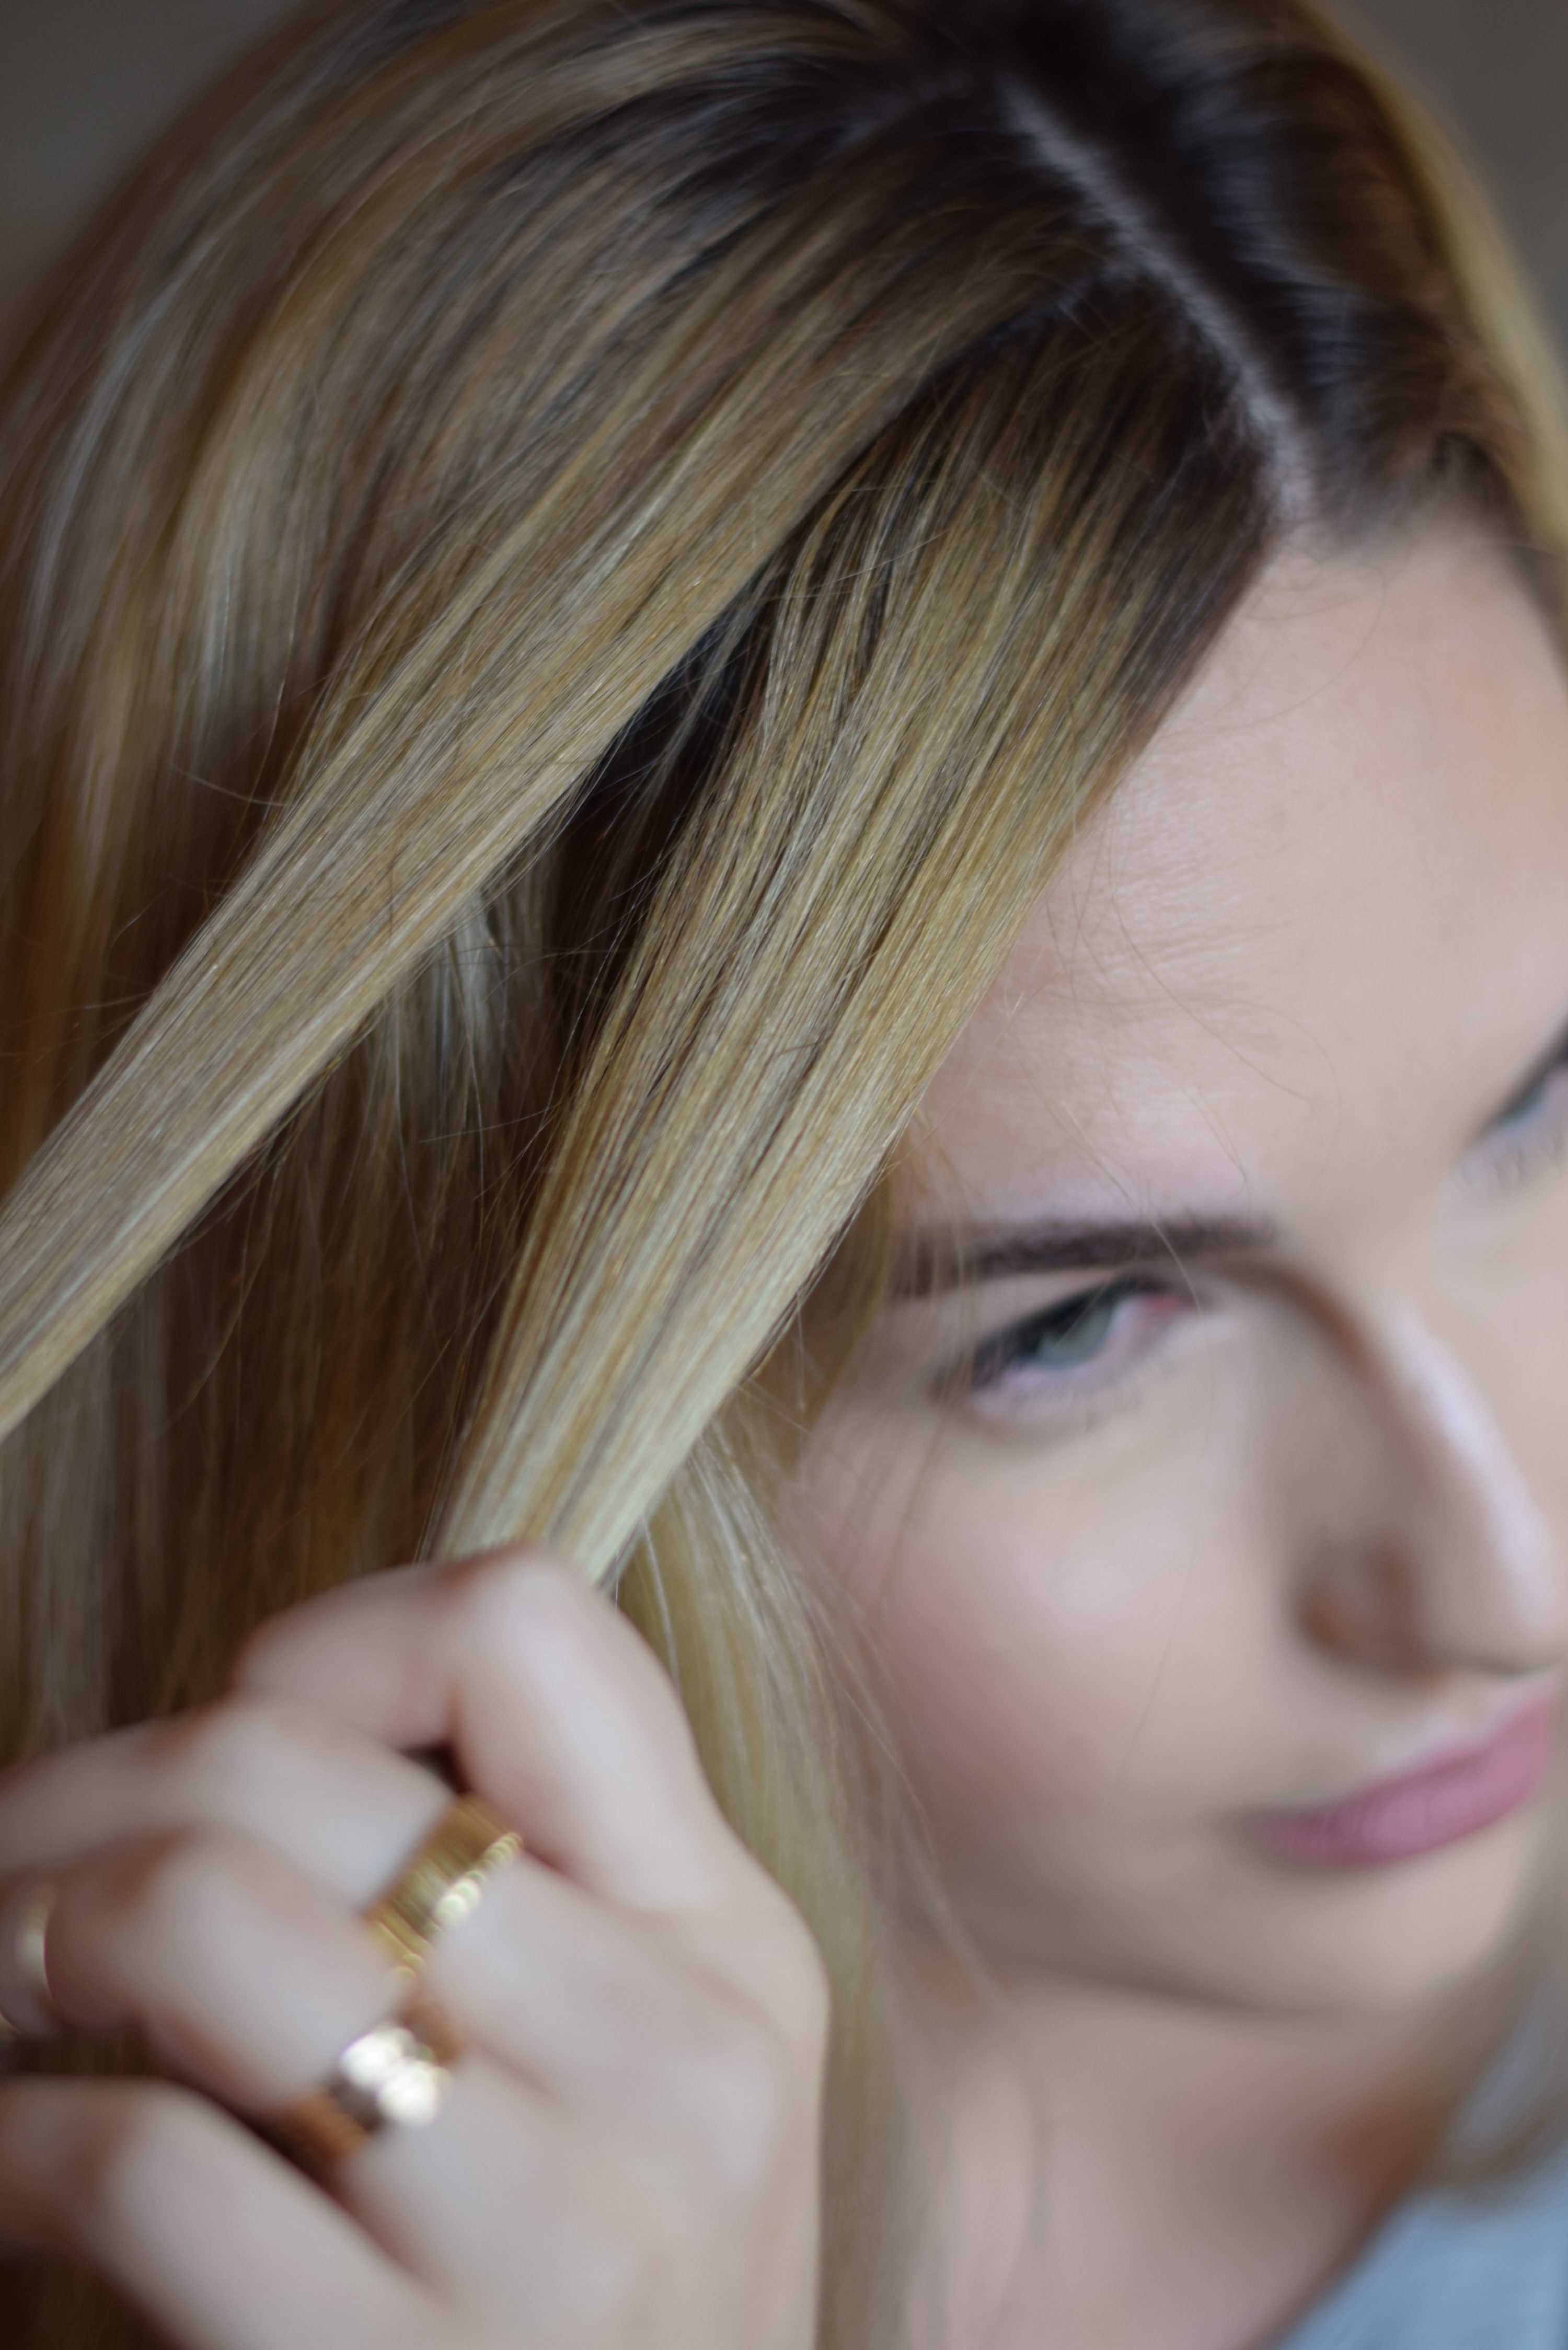
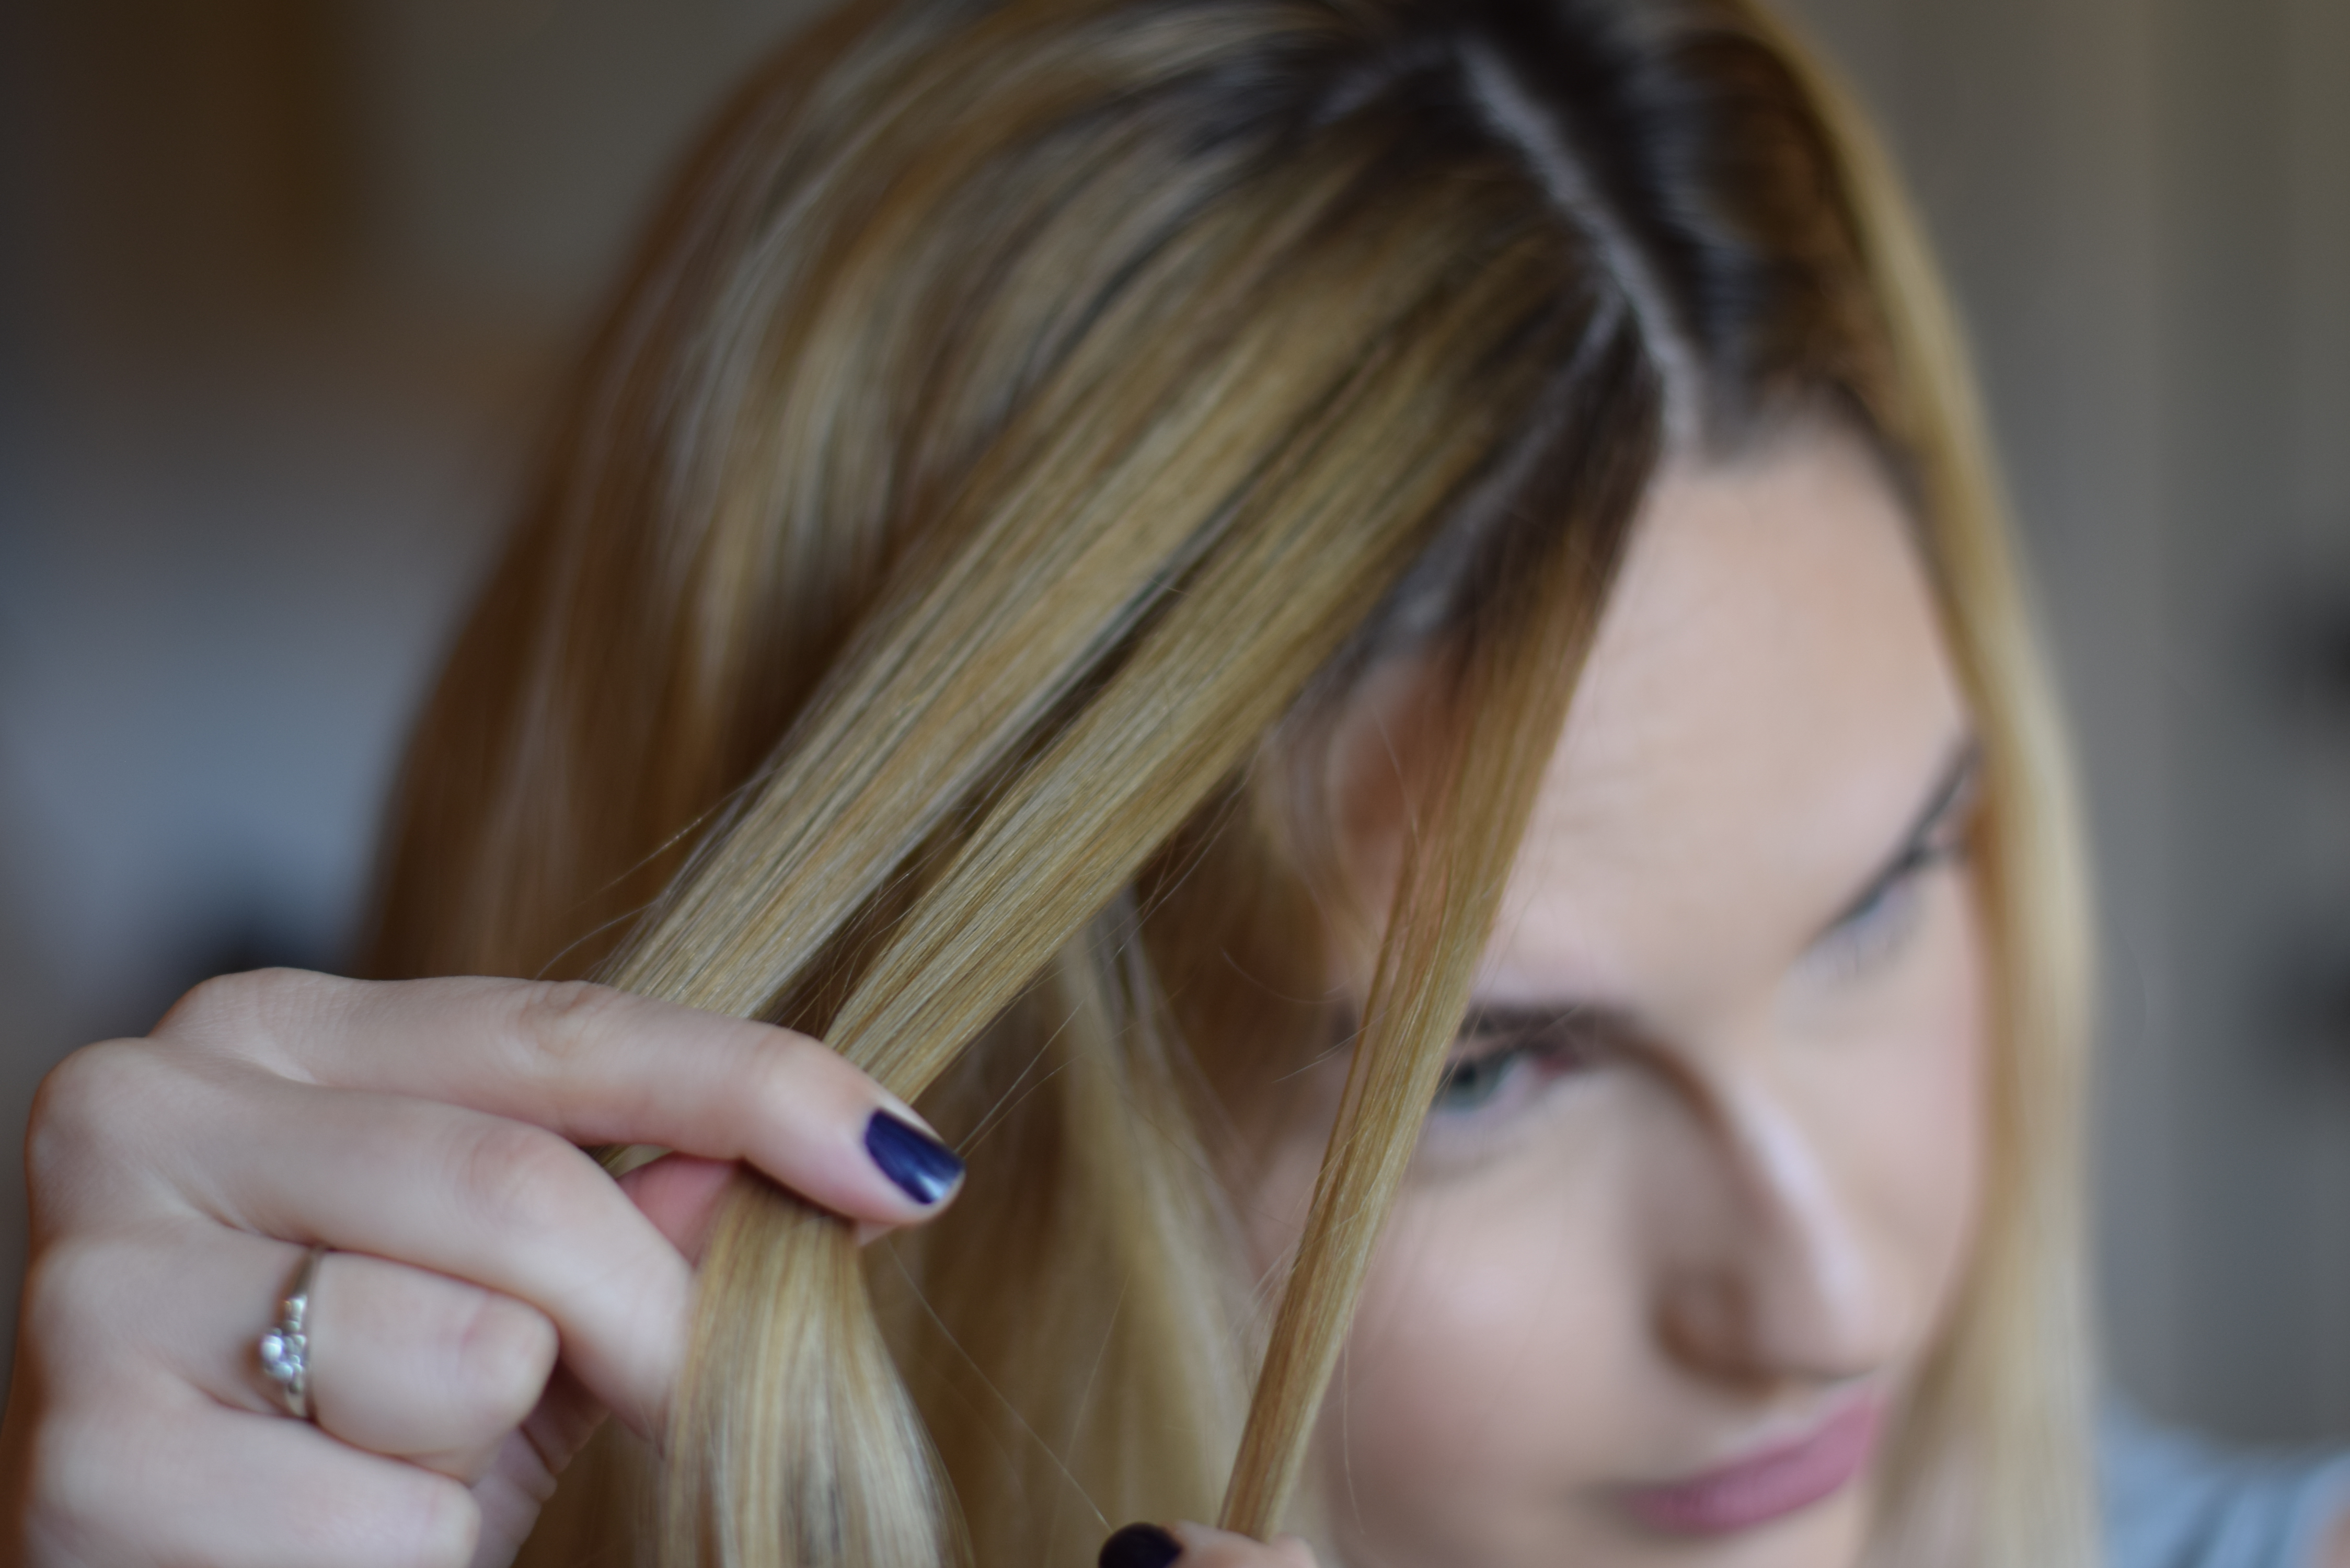

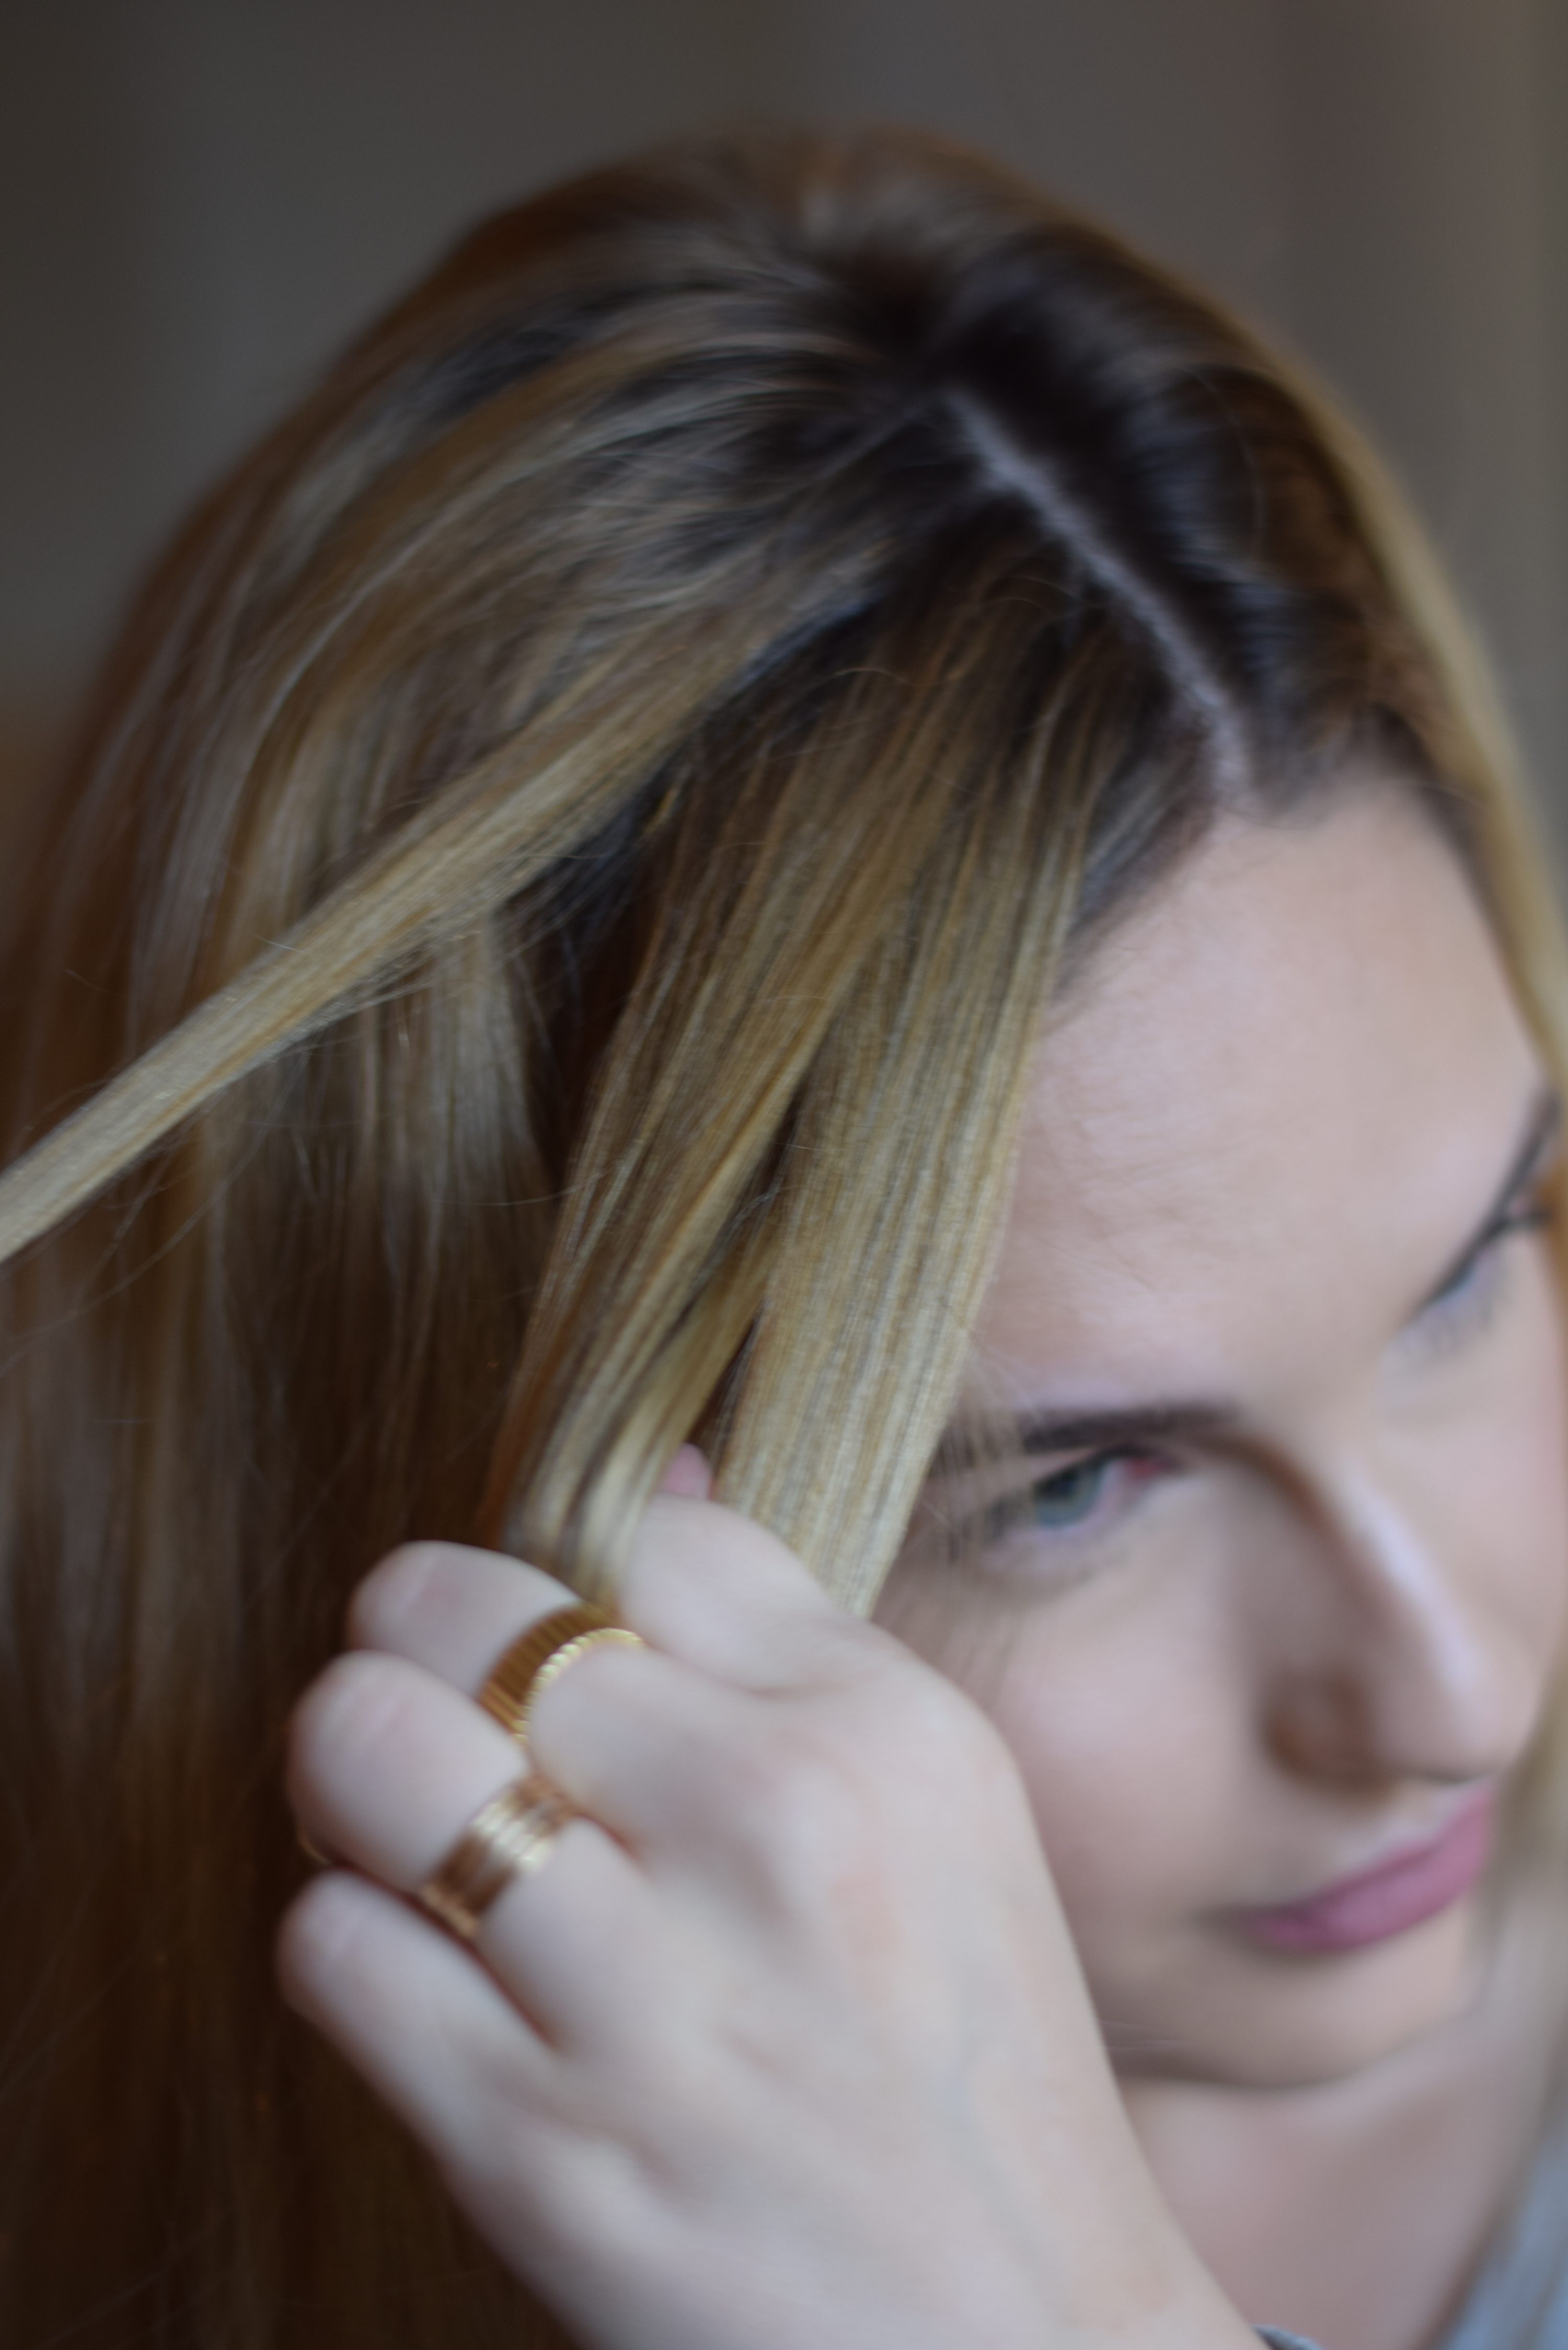
- Once you have done your first two strands and established the model for your fishtail to follow, you are going to start “french fishtailing,” essentially. What I mean by this is, you’re going to follow to main principles of french braiding but apply it to your fishtail! Whenever you grab a small piece near your forehead, you also need to incorporate a small piece from the free hair that isn’t yet part of the fishtail.
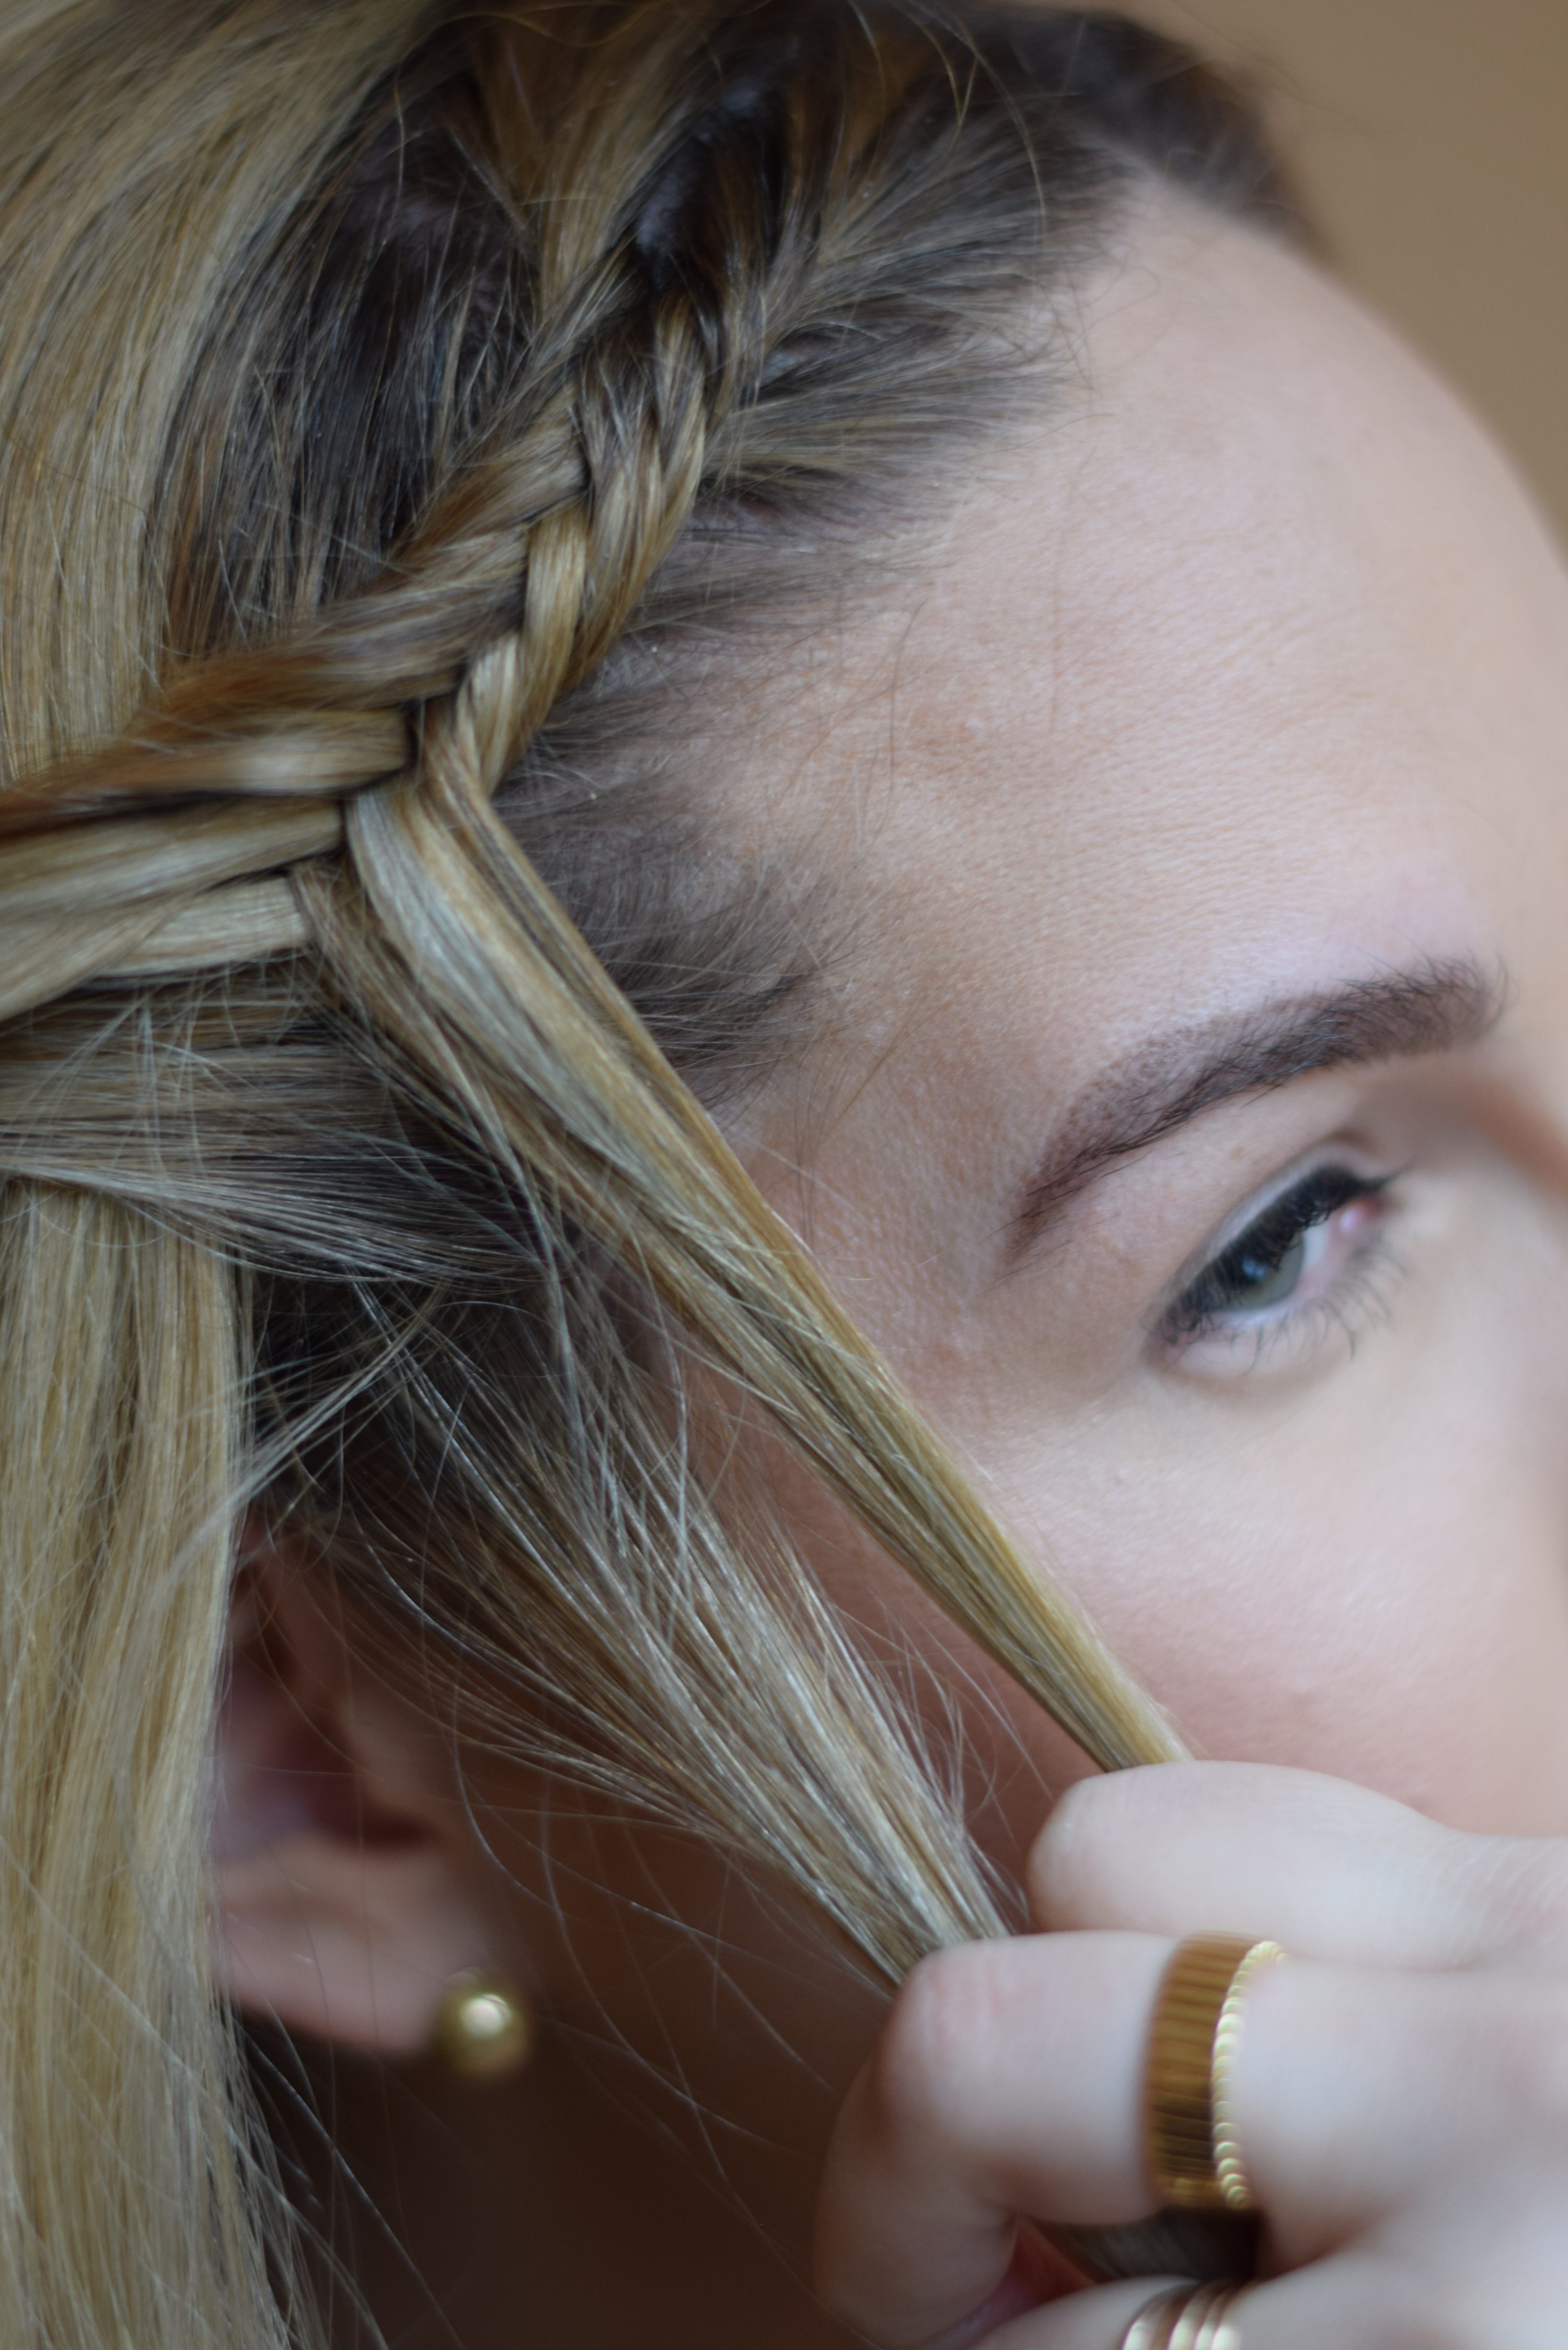
- To keep it near the hairline but not allowing it to incorporate all of the hair on your head, you are only going to grab sections from the front of the head (the section towards the hairline) and nothing from the section towards the crown of your head.
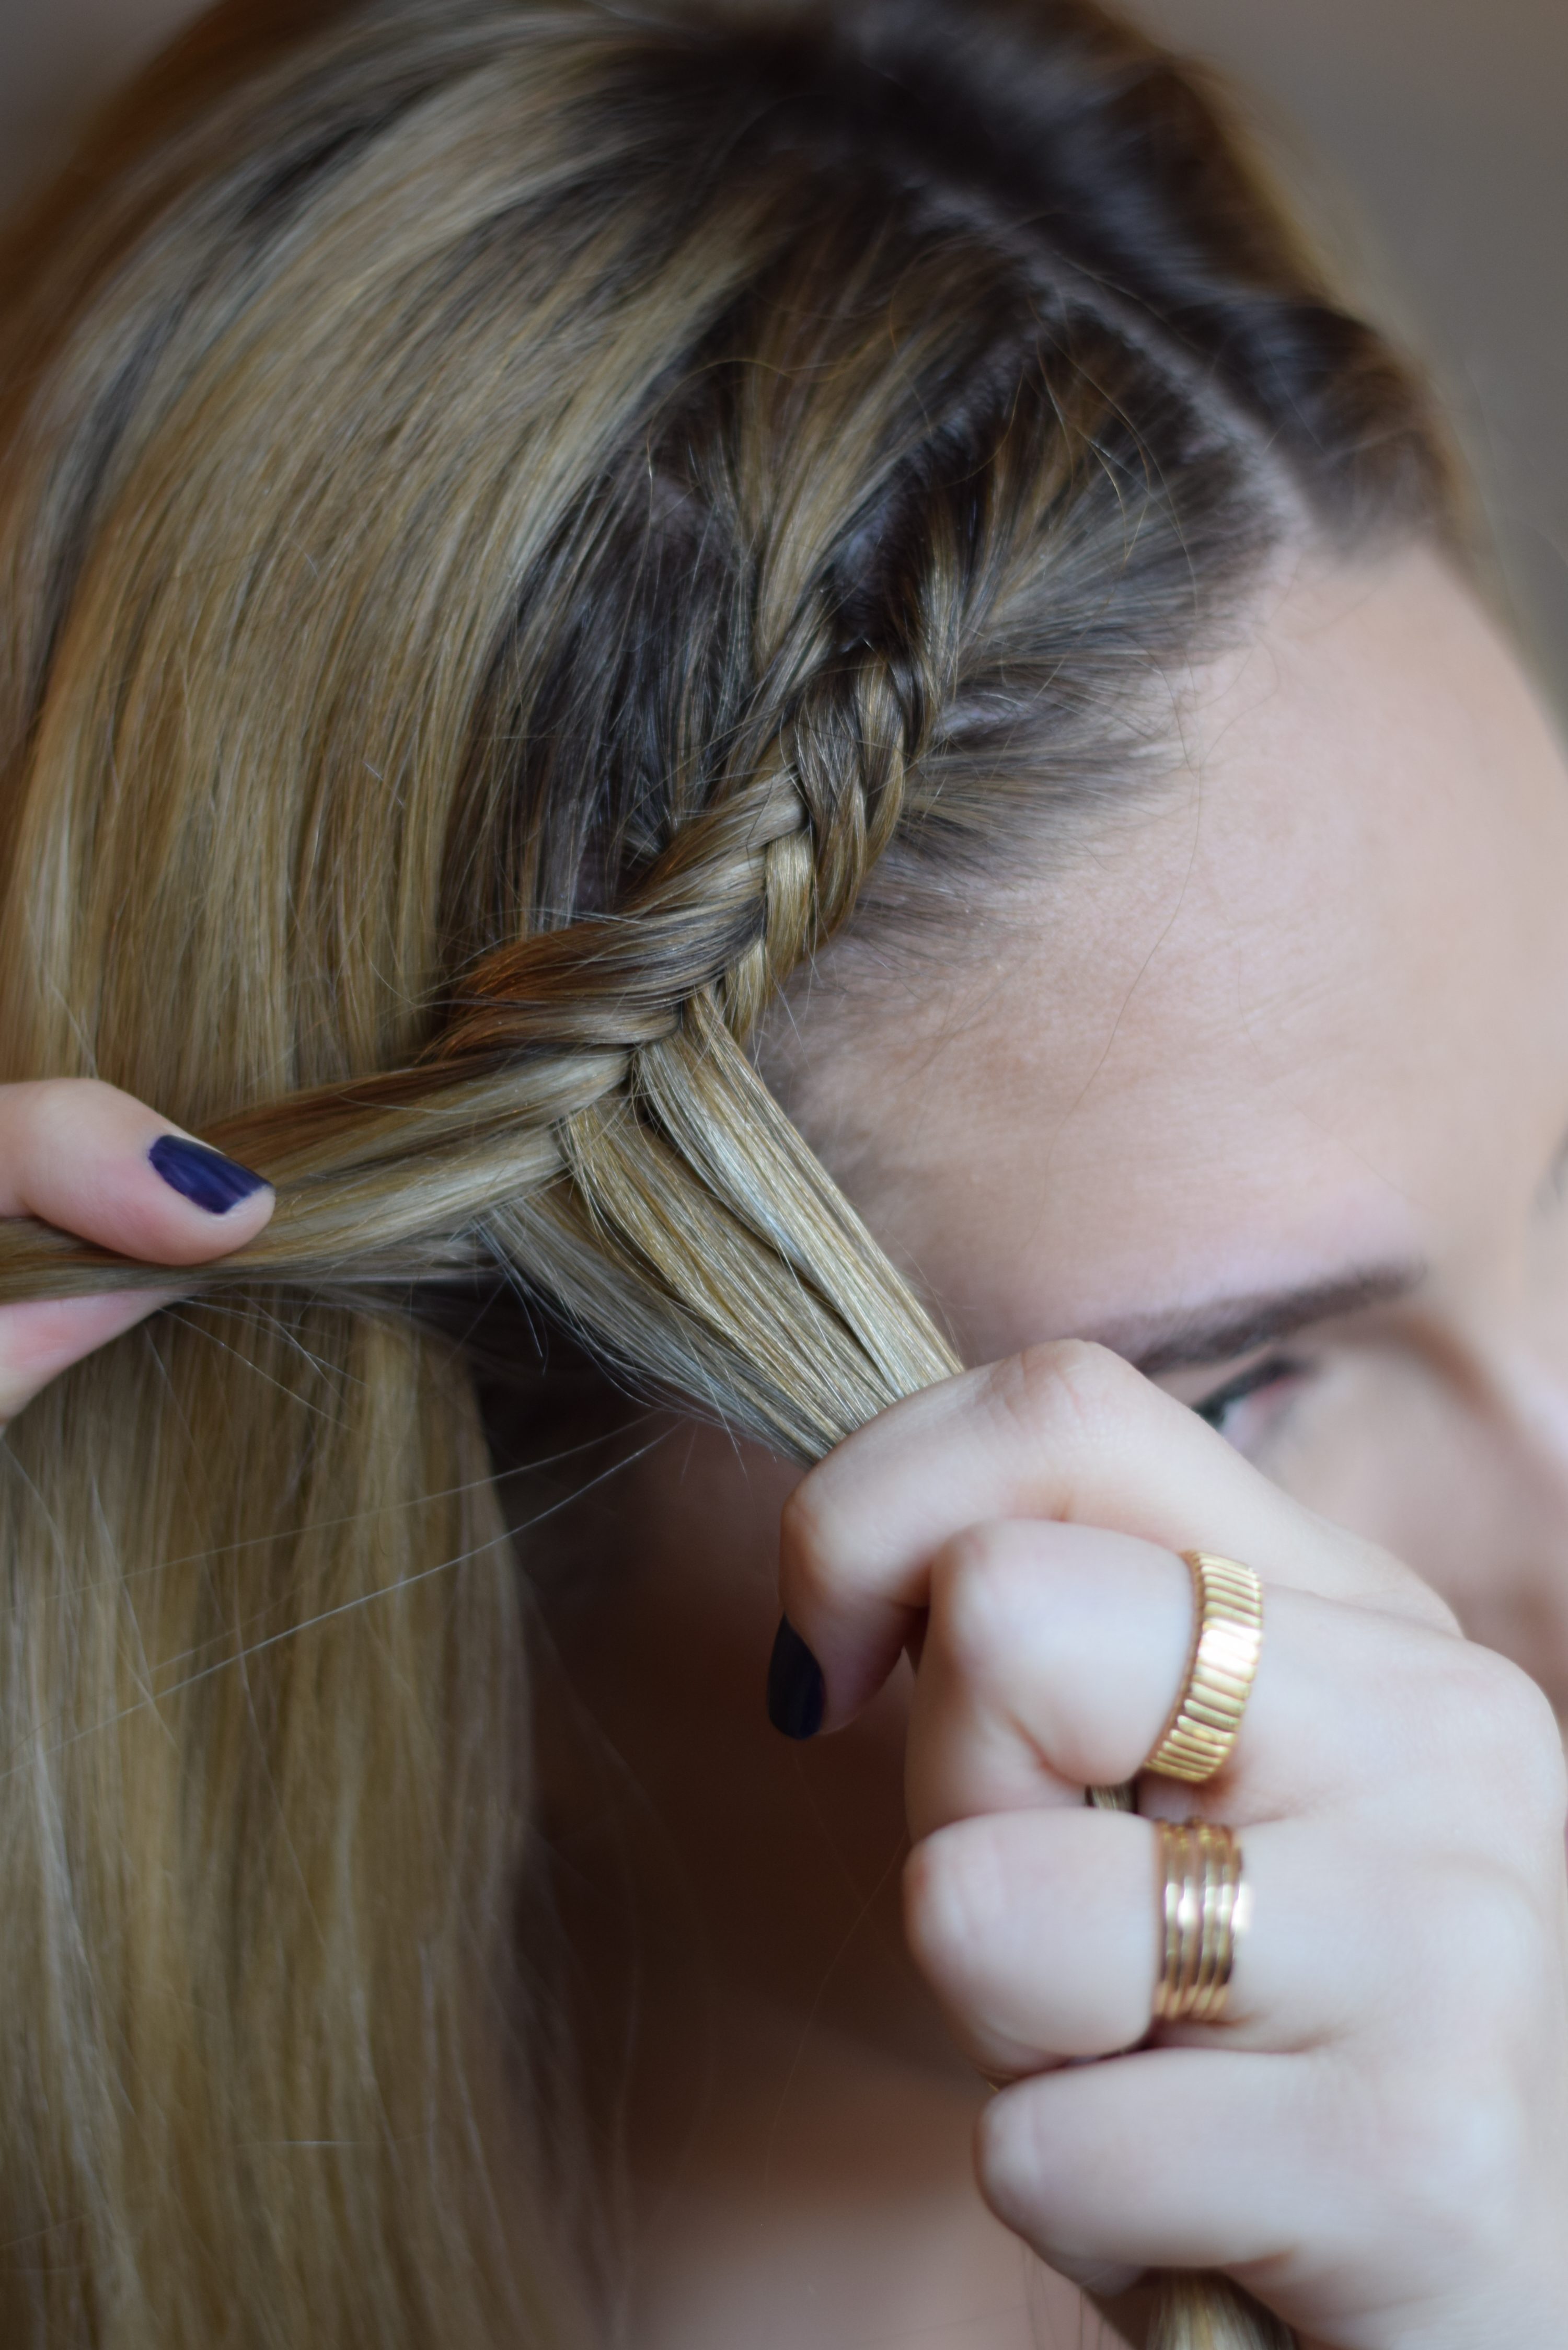
- Continue this throughout the entire fishtail, making sure to incorporate a piece of hair every time you grab from the hairline, until it’s the desired length. Depending on where you want the fishtail to fall, you will eventually stop incorporating hair from the hairline, either when you run out of hair to grab or when you want your fishtail to head in a different direction. In the case of my Casual Meets Cute post, I stopped grabbing hair from the front when I hit the top of my ear so that I would be able to curve my fishtail and pin it back. When you stop grabbing hair from the front, continue a basic fishtail until it is at its desired length.
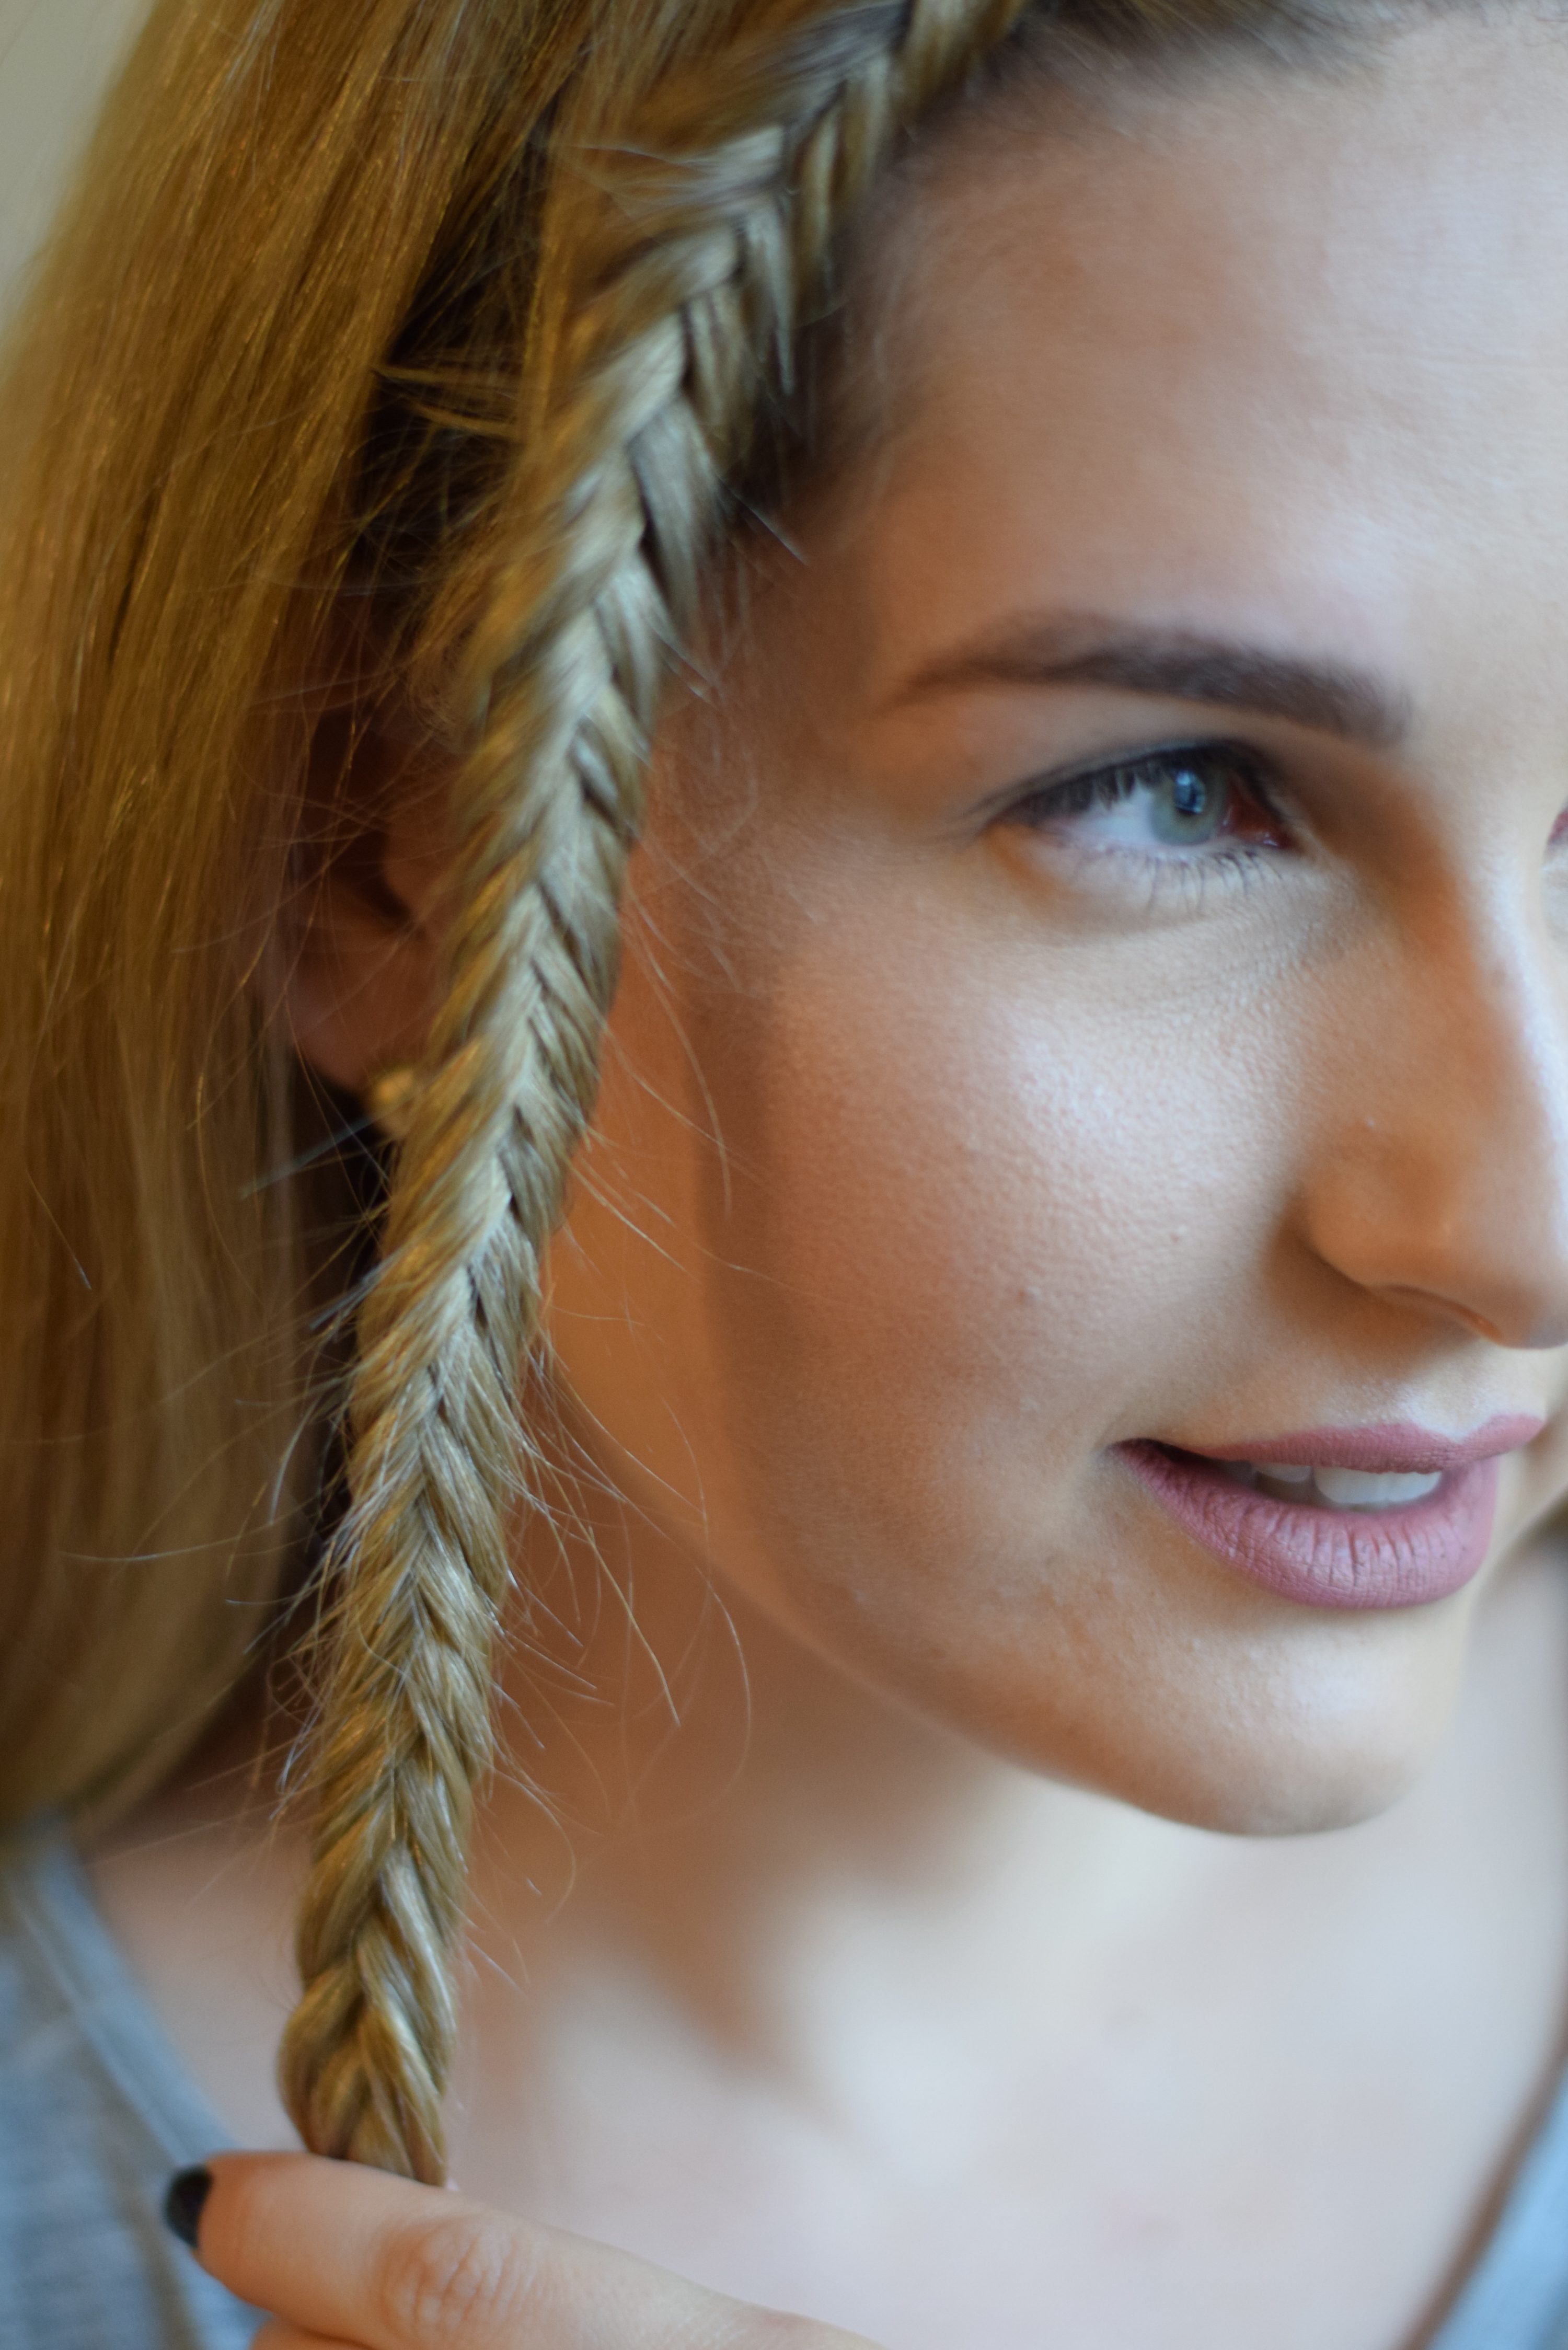
- Pull apart the fishtail like described above, being extra careful around the hairline to avoid your fishtail going into your face.

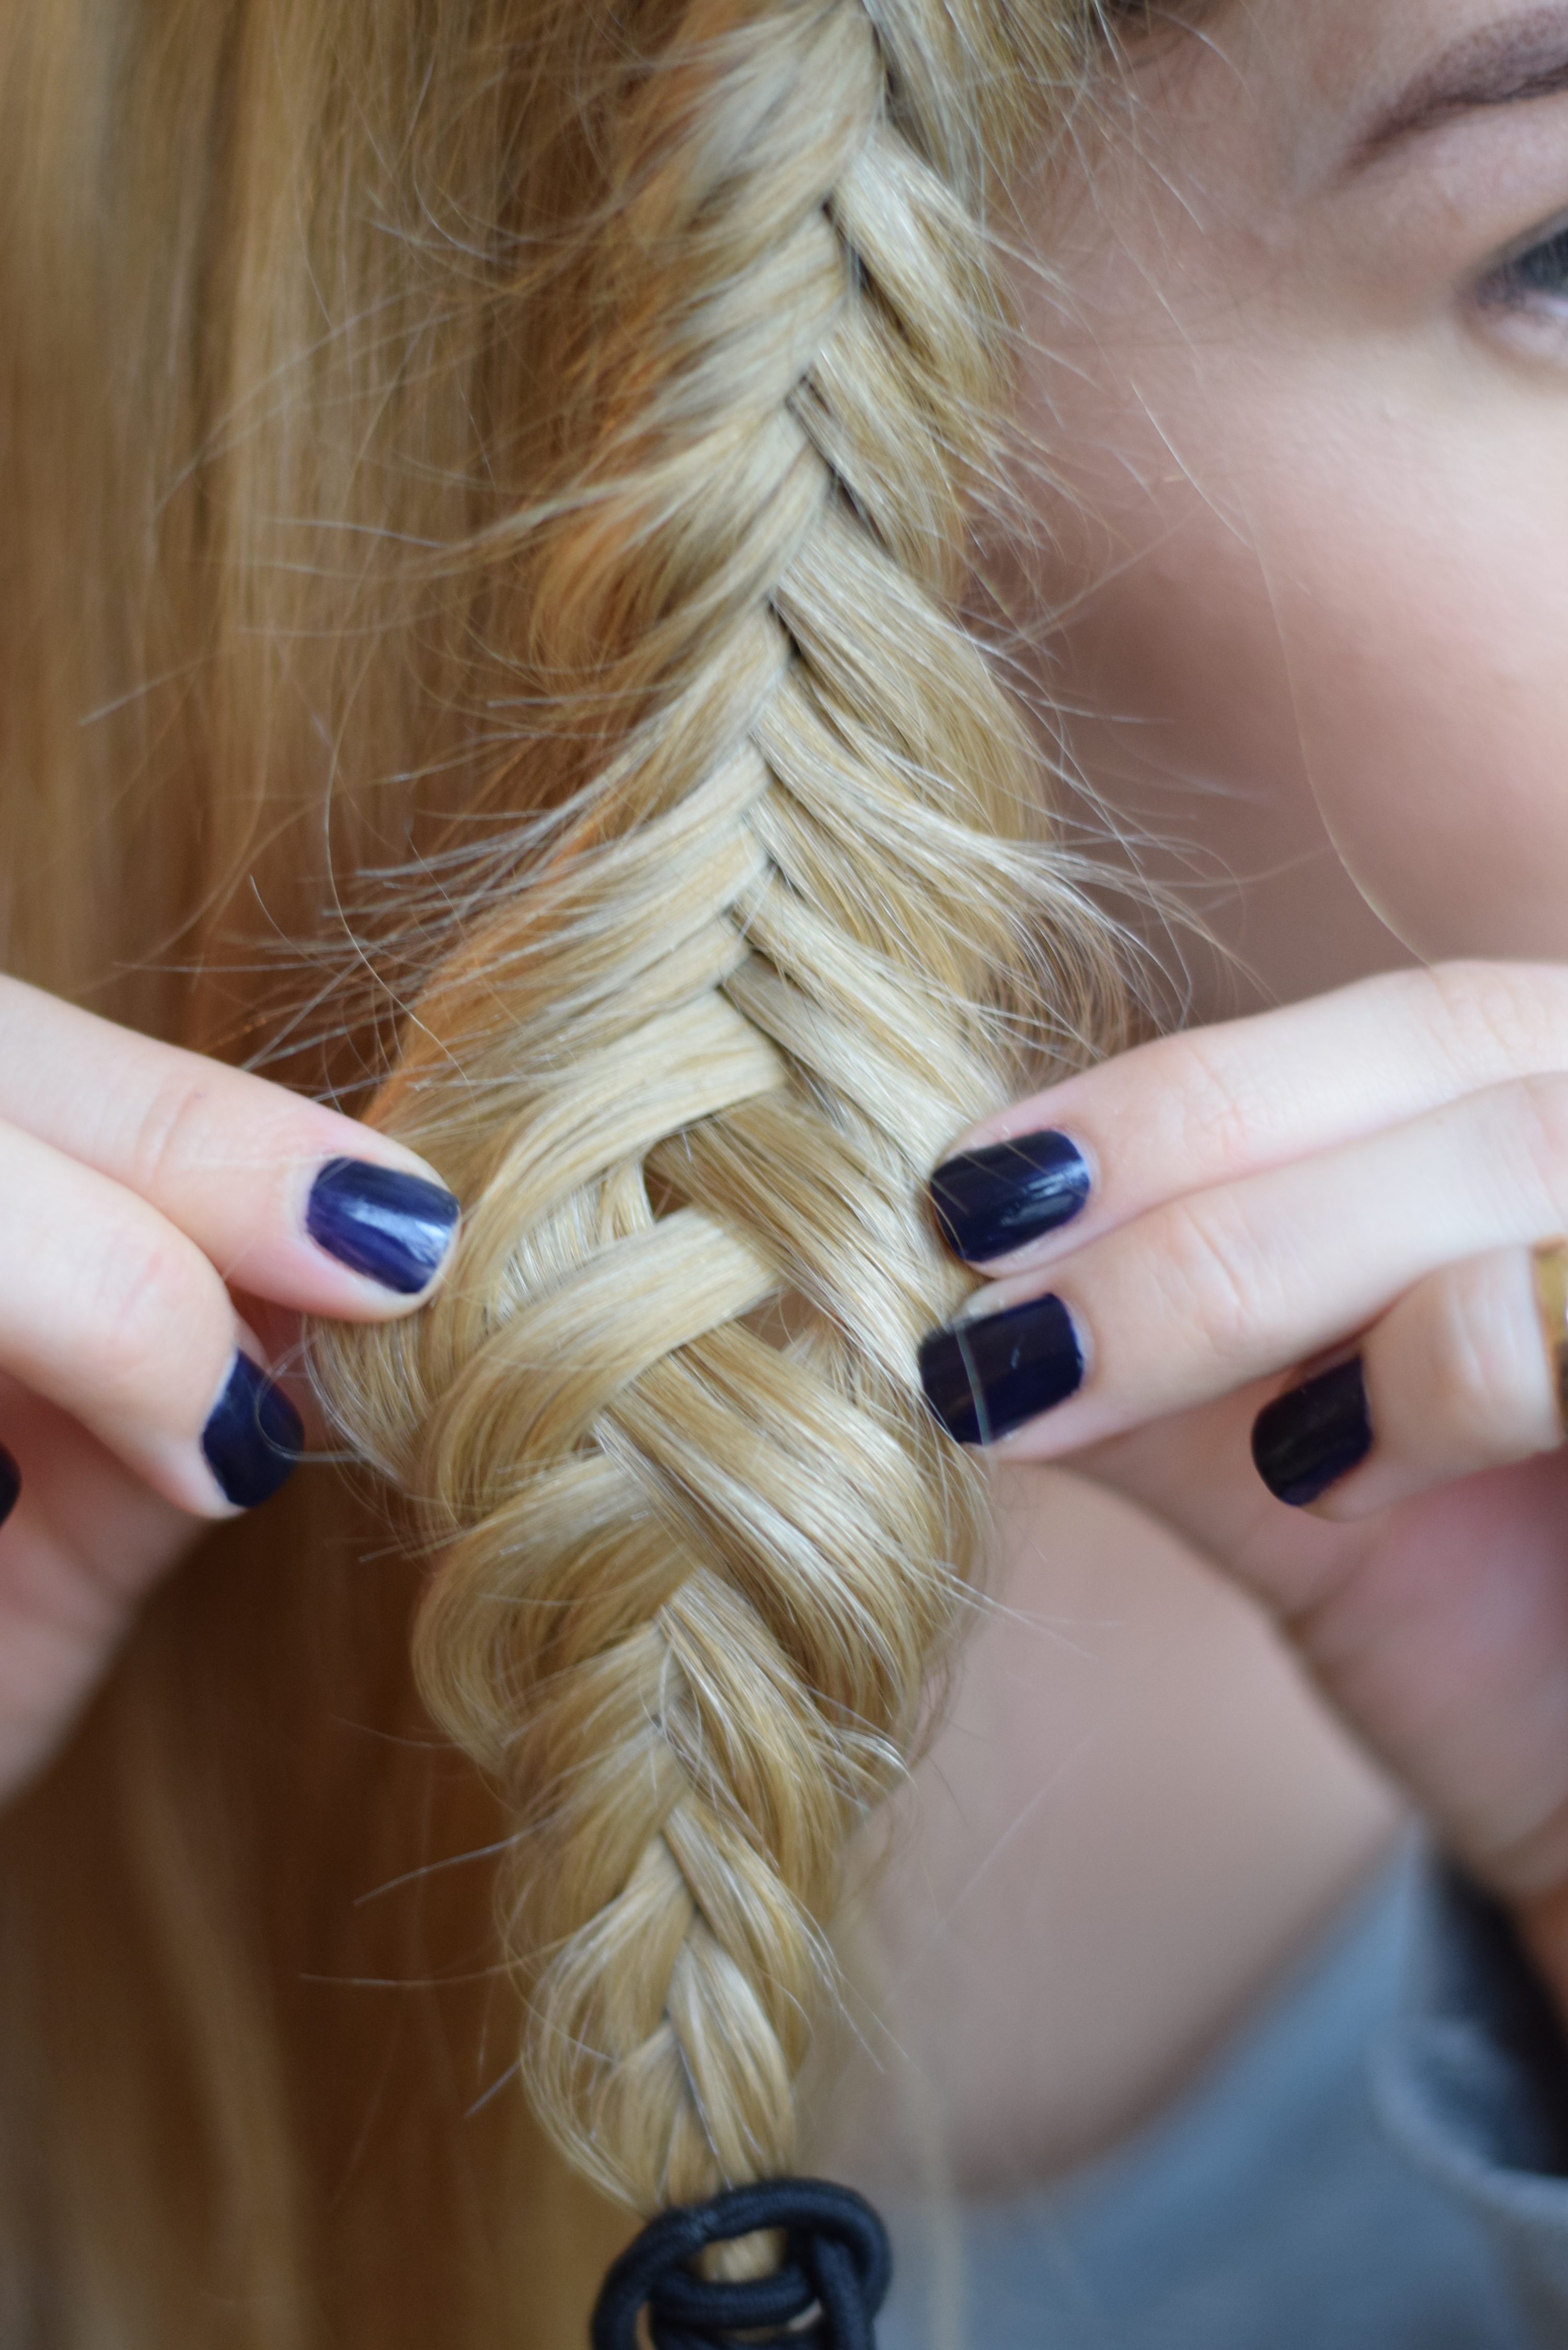
- Tie off the end of the hair with a clear elastic or pin it back like I did!
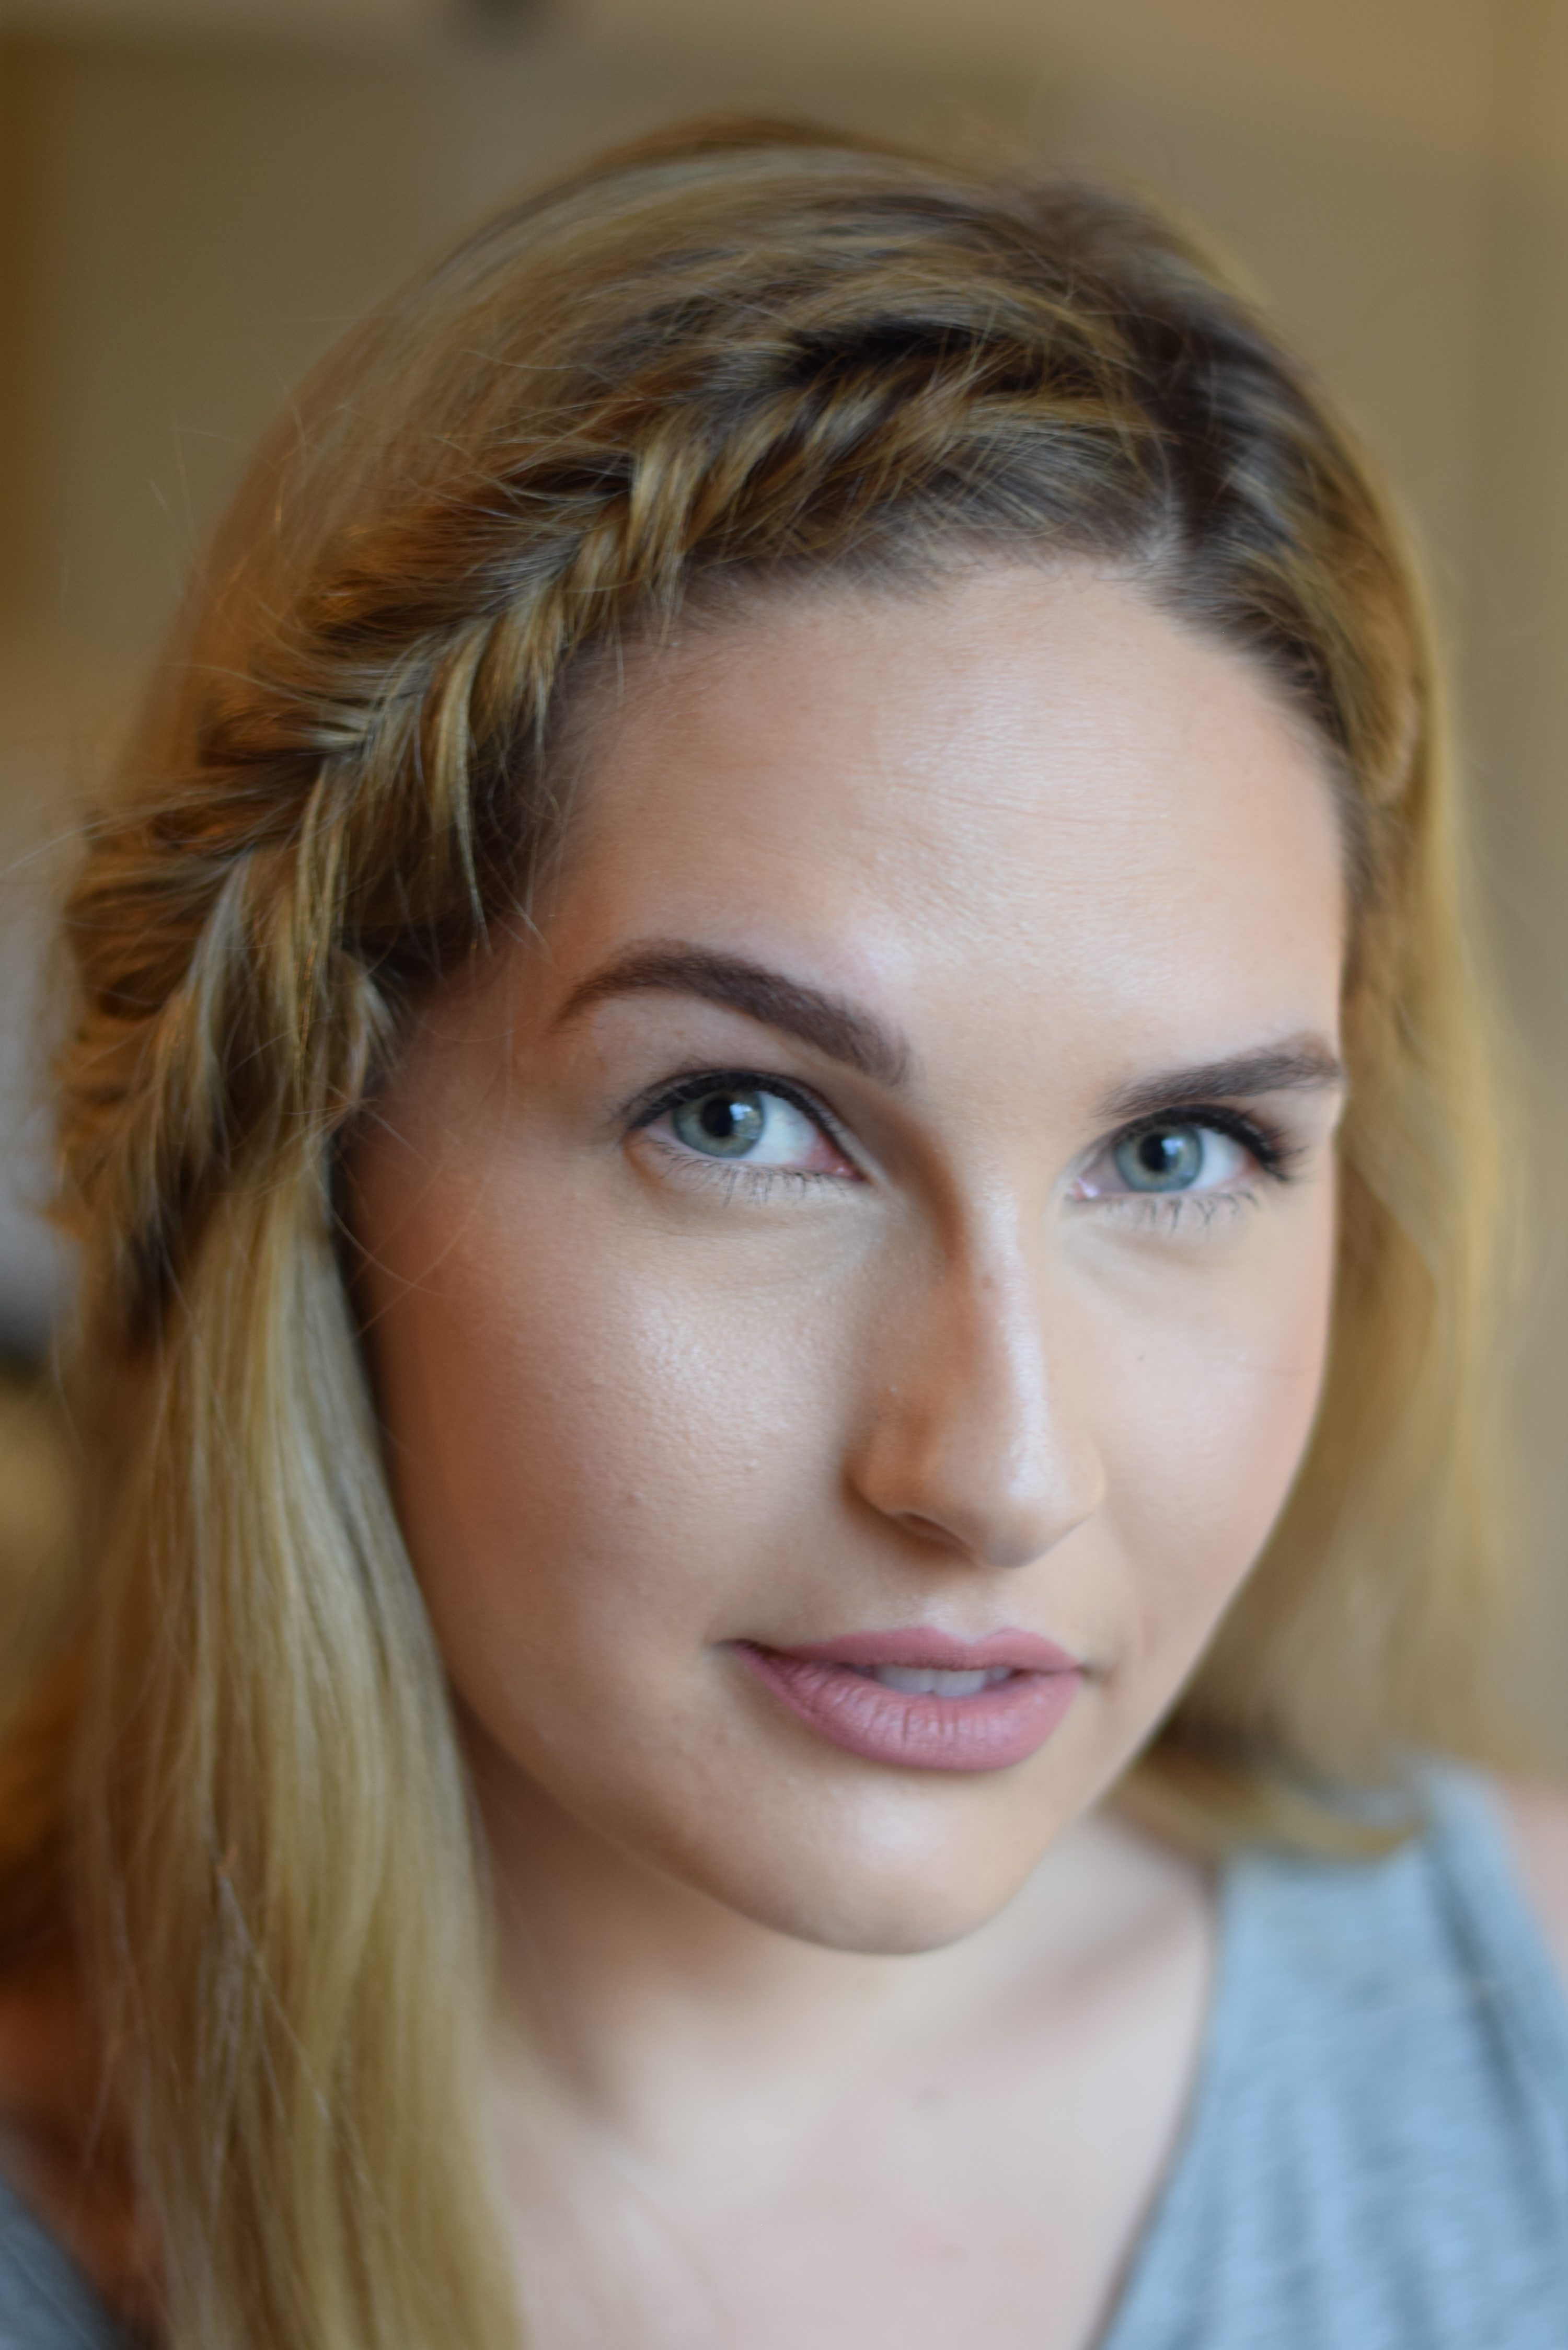
Have you ever tried fishtailing your hair before? Let me know how it goes!

I love this, even I may be able to do this to myself or Luna.
You can do it! I have faith in you.
Xx, Lauren Jaclyn
Kristin made me do the fishtail braid on her hair about 3 years ago when her hair was really really long!! Suffice it to say I’ll never do that again – even though it looked great!
I am so proud of you, Jeannine!
A fishtail on long hair is no easy task!
Xx, Lauren Jaclyn