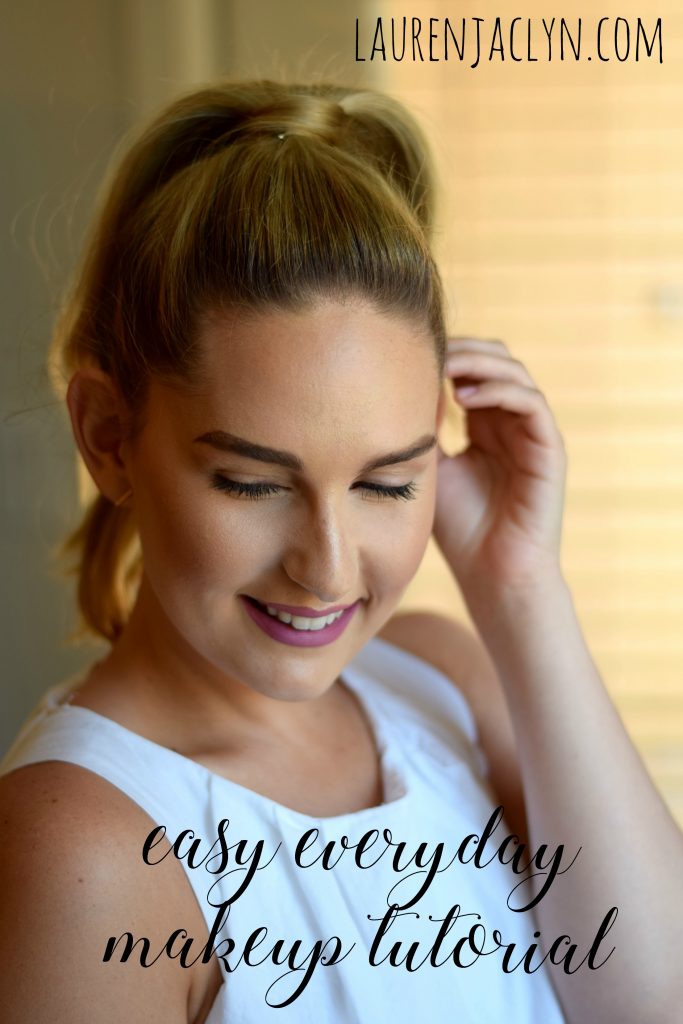
 I have been in love with makeup since I was really young. I remember asking my Aunt Patti to apply Estee Lauder black eyeliner on me “just in the corners” when I was five years old. The obsession started then and hasn’t stopped since. While my fascination with makeup has stayed consistent, my makeup routine definitely hasn’t. When I was in 7th grade, I used to wear brown eyeliner in my waterline only and no mascara (can you imagine?!). I would like to think my makeup skills and products have evolved since then and I have finally nailed down a really easy everyday makeup look that works for me. It’s natural but still glamorous without looking over the top. I skip eyeliner because it tends to look too harsh on me when I am not wearing false lashes. This is just a personal preference so you can definitely incorporate this into the look if you wish to do so!
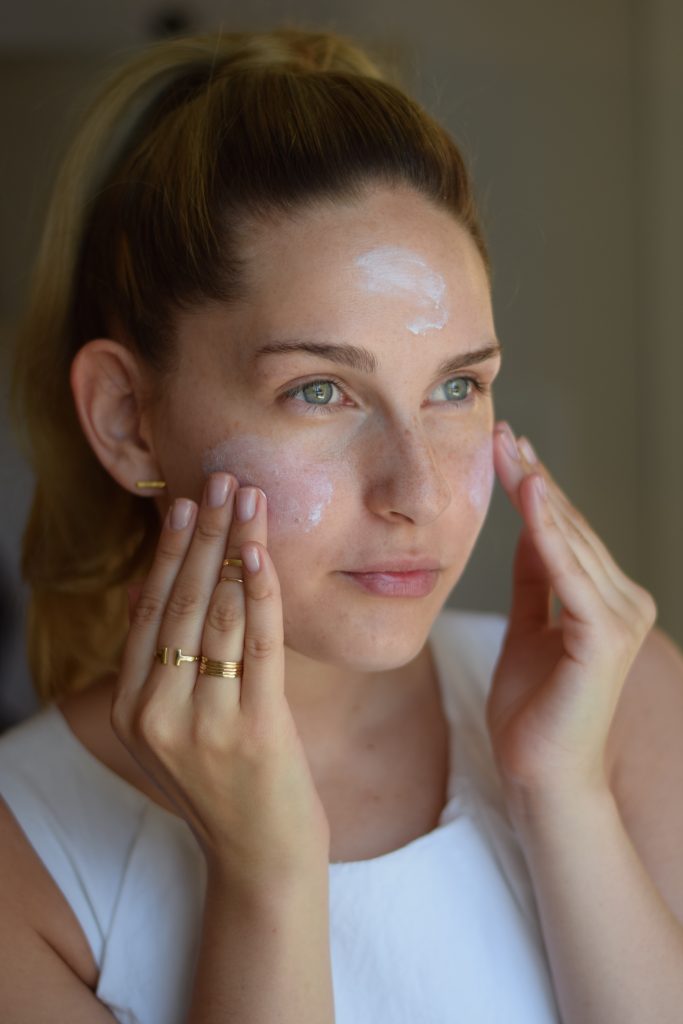
- I start with clean, moisturized skin to give my makeup a good base to work into. Whatever you use for daytime skincare will work, as long as you give it a little bit of time to set into the skin! Don’t forget to add a lightweight sunscreen to protect your skin from sun damage and prevent wrinkles. My favorite to wear under makeup is EltaMD Moisturizing Facial Sunscreen. There is no scent and you literally don’t feel it on the skin!
- To prime my skin, I use Hourglass Veil Mineral Primer. It has a really light, silky texture that allows that makeup to glide on with ease. This oil-free formula also has SPF 15 with mineral-derived sunscreens, which is definitely an added bonus! Priming your skin is really important because it creates a barrier between the skin and the makeup. It’s also a great way to minimize pores, mattify the skin, or color correct depending on your skin’s needs.
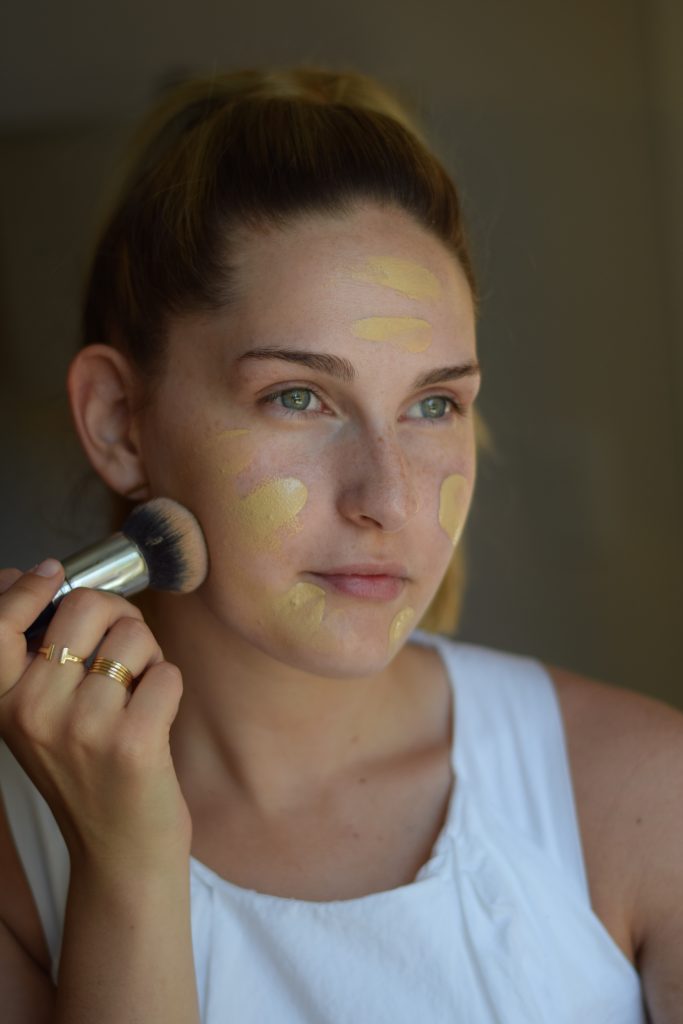
- For foundation, I like to switch it up sometimes but my tried and true for years has been Makeup Forever Ultra HD Invisible Coverage Foundation. I always end up going back to this one! This foundation comes in a variety of shades and undertones so you should definitely be able to find one that works for you! It delivers a flawless finish without looking cakey or heavy on the skin. My favorite way to apply it is with a Morphe M439 blending brush. I dab the foundation onto my face with my finger and then start to blend by stippling the brush all over my face. Once the foundation is evenly distributed, I blend in circular motions until it’s completely flawless.
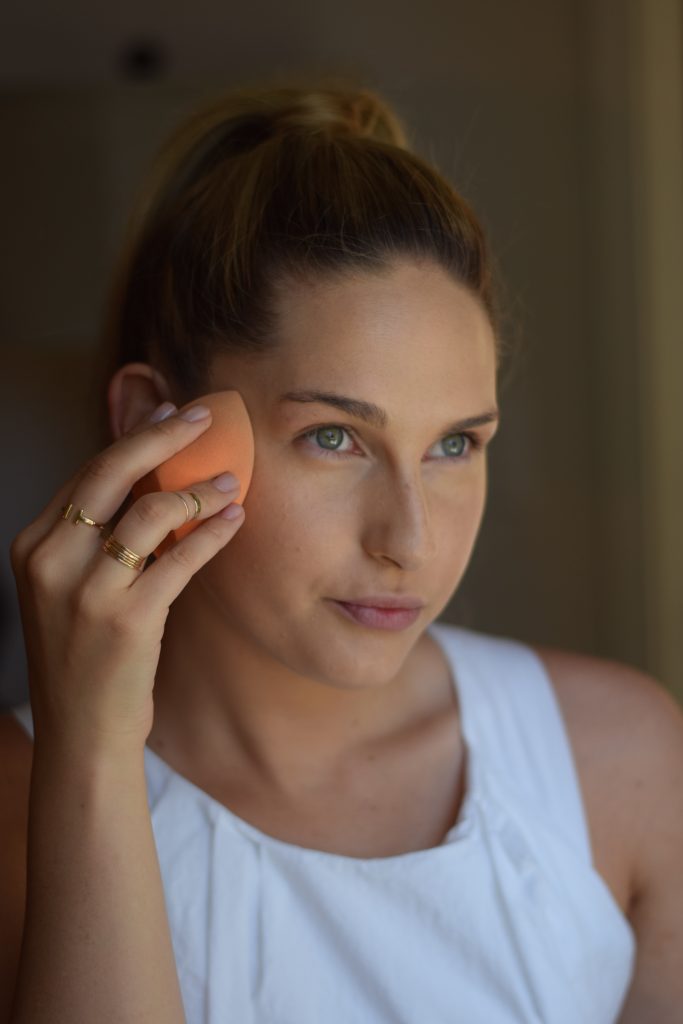
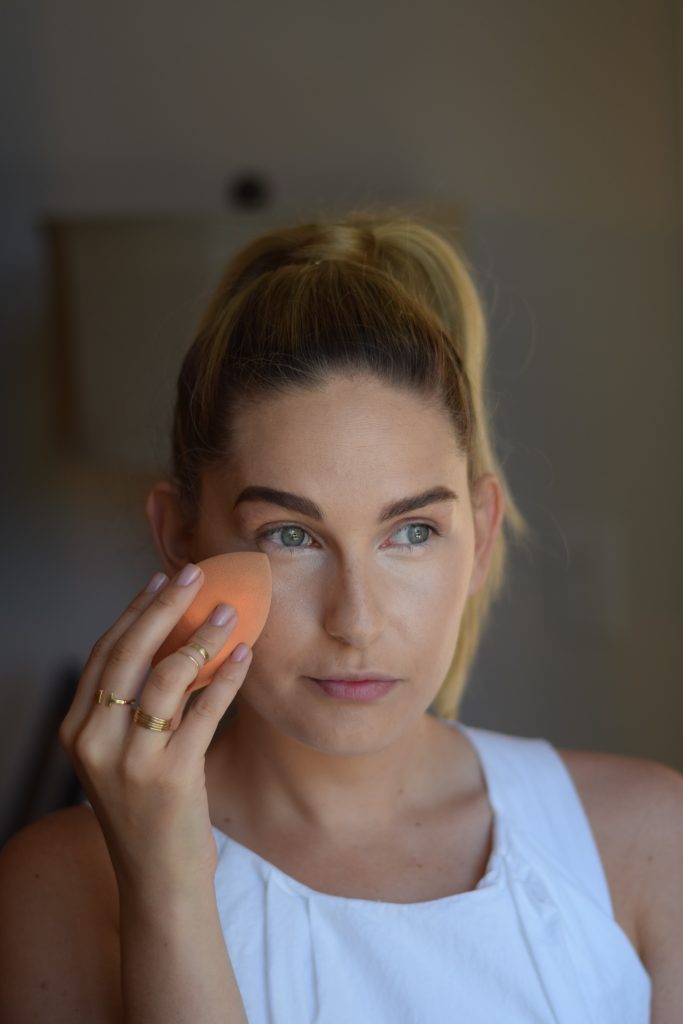
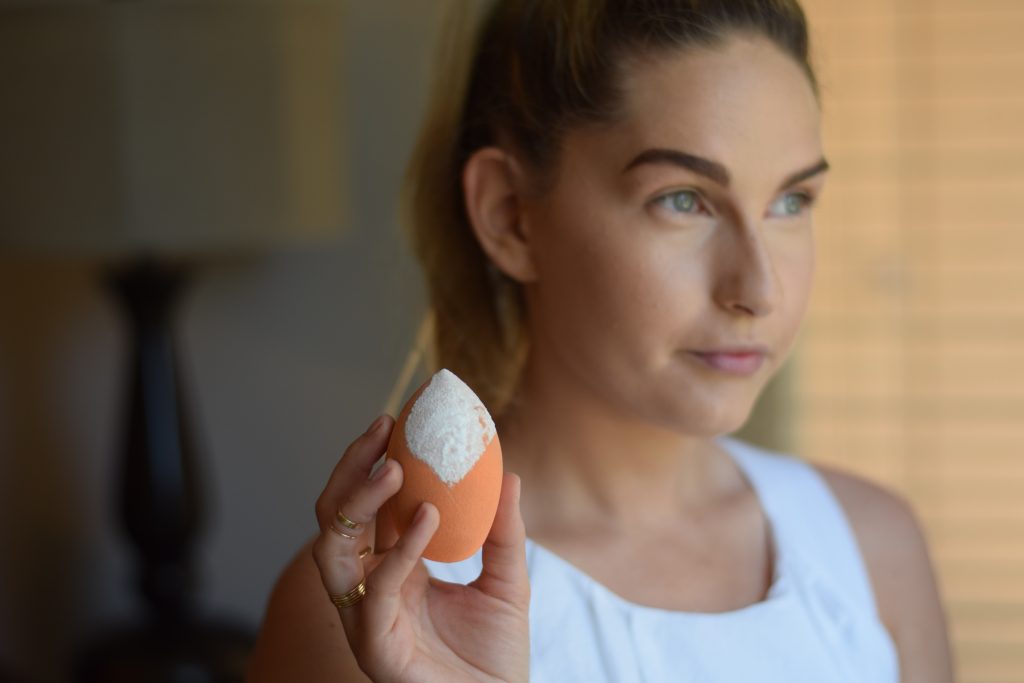
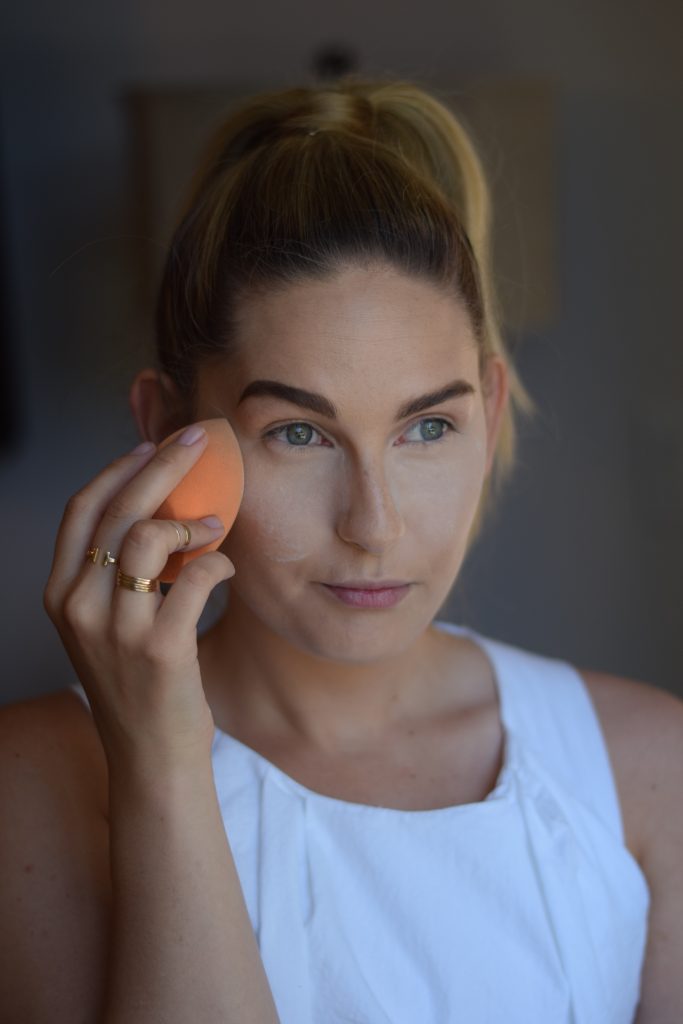
- To ensure that I don’t have any extra product on my skin, I take a damp beauty sponge, like the Real Techniques Miracle Complexion Sponge, and pounce it all over my face. Run the sponge under water and squeeze it out so that it’s not dripping water; it should be just slightly damp. Doing this will absorb any excess product and blend the foundation in even more.
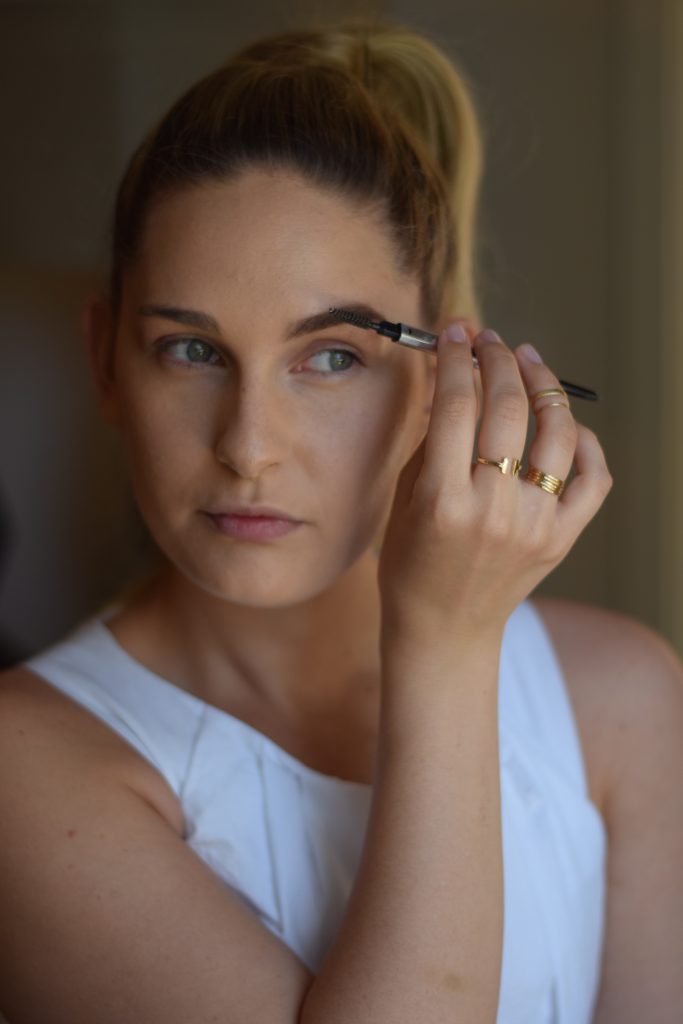
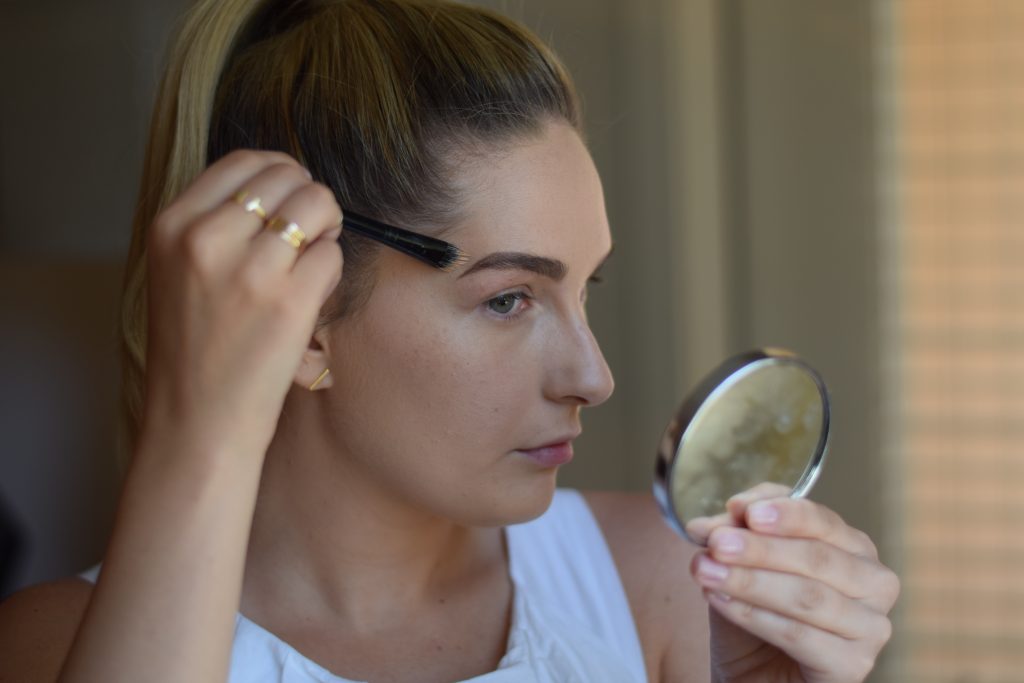
- Next I fill in my brows with Benefit Goof Proof Brow Pencil. This product took some getting used to because of the teardrop shape pencil but now I cannot live without it. It fills my brows in precisely but so quickly. I start by drawing a line under my brow to create a defined shape and then fill in where I need to on the top and around the arch. Make sure you are blending the product in by combing through your brows with the spooly. If the product goes outside of where you want it to or your just want the brow to be more defined, clean it up with a stiff brush and your foundation! To keep them in place all day long, I set them using Anastasia Beverly Hills Clear Brow Gel – this stuff is strong! Your brows will not move once you apply this, which is super helpful for those of us with unruly brows.
- To cover my dark circles, I start by applying a tiny bit of Becca Under Eye Brightening Corrector to color correct any darkness. Since this product is really thick, I am careful not to apply too much! Then I blend it in using the same damp beauty sponge!
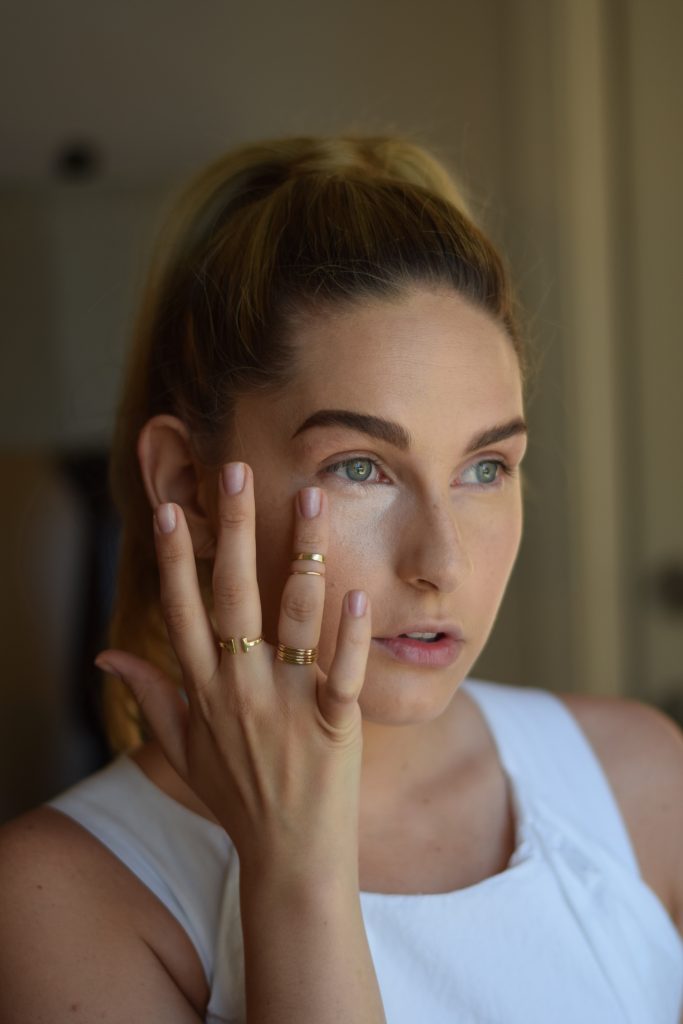
- For concealer, I use Bye Bye Under Eye by It Cosmetics in a triangular shape under my eyes. This product is also very thick and pigmented so I use less than a grain of rice size for both eyes. To make the product more manageable and easy to blend, I use the damp sponge!
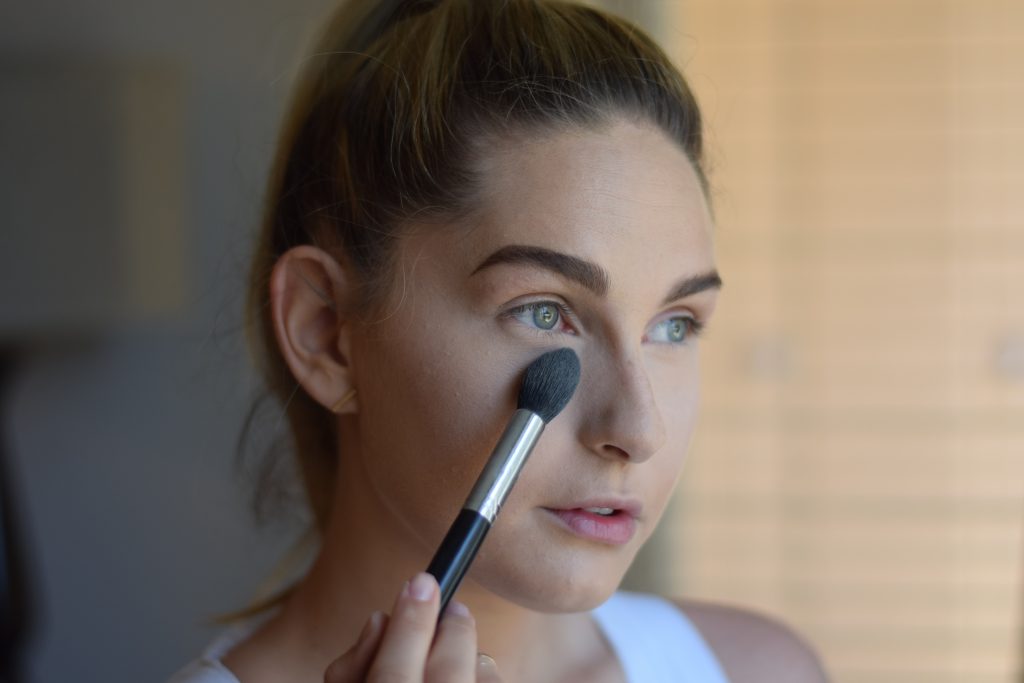
- In order to ensure my concealer stays in place all day and doesn’t crease, I need to set it. I use the RCMA No Color Powder, which I love. It does a great job of setting your makeup but it’s not too drying and it doesn’t deposit any extra color onto your skin. Oh, and it’s $10 – doesn’t get much better than that! To apply this, I also use my damp sponge! This is one of my favorite uses for this sponge – I dip it into the powder and apply it directly to my concealed under eyes. Since my skin has a tendency to be dry, I dust the powder off immediately using a Morphe M438. If you have a more oily complexion, you can do what’s called “baking” and let the powder sit for a few minutes before brushing it away.
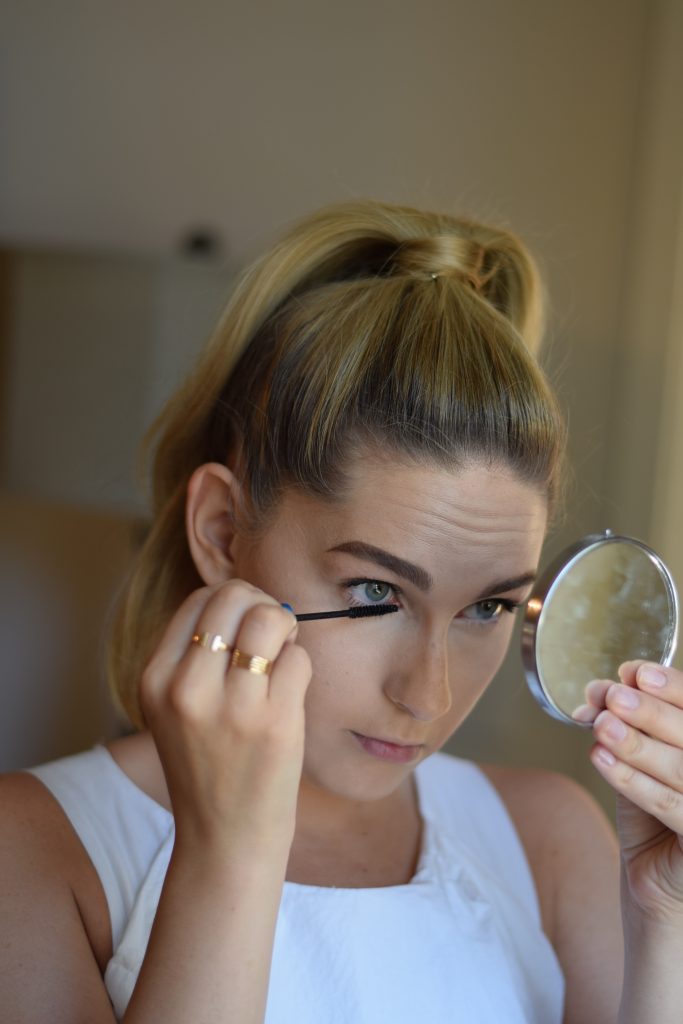
- Now that my under eyes are set, I curl my lashes using a Shiseido Lash Curler and apply my mascara. For my upper lashes, I use Too Faced Better Than Sex mascara – it does a great job of adding dramatic volume to the lashes. Since the wand on this mascara is way too large to apply mascara precisely to the lower lash line, I use MAC Extended Play Gigablack Lash on these delicate, tiny lashes.
- To warm my complexion up, I add a bit of bronzer from the Kat Von D Shade Light Contour Palette. I use the middle shade in the bottom row and apply it using the Morphe M527, my favorite brush for bronzing and contouring! I apply it under my cheekbones and at the top of my forehead, wherever the sun would naturally tan my skin. Since I want to keep this look semi-natural, I don’t do any harsh contouring. Adding bronzer and warmth to the face adds dimension without looking really sculpted.
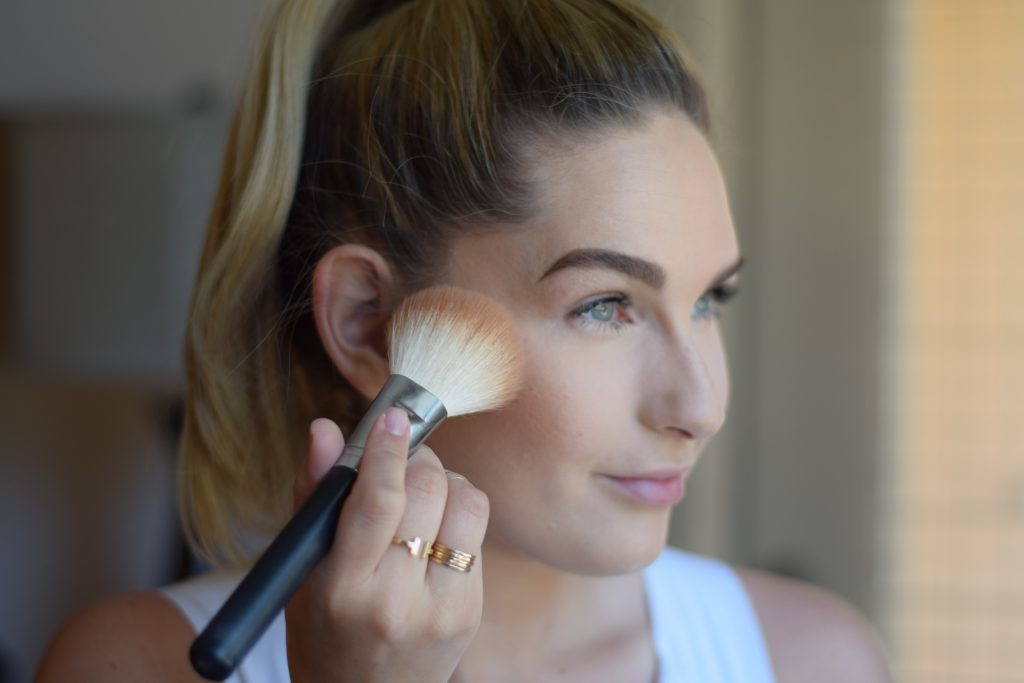
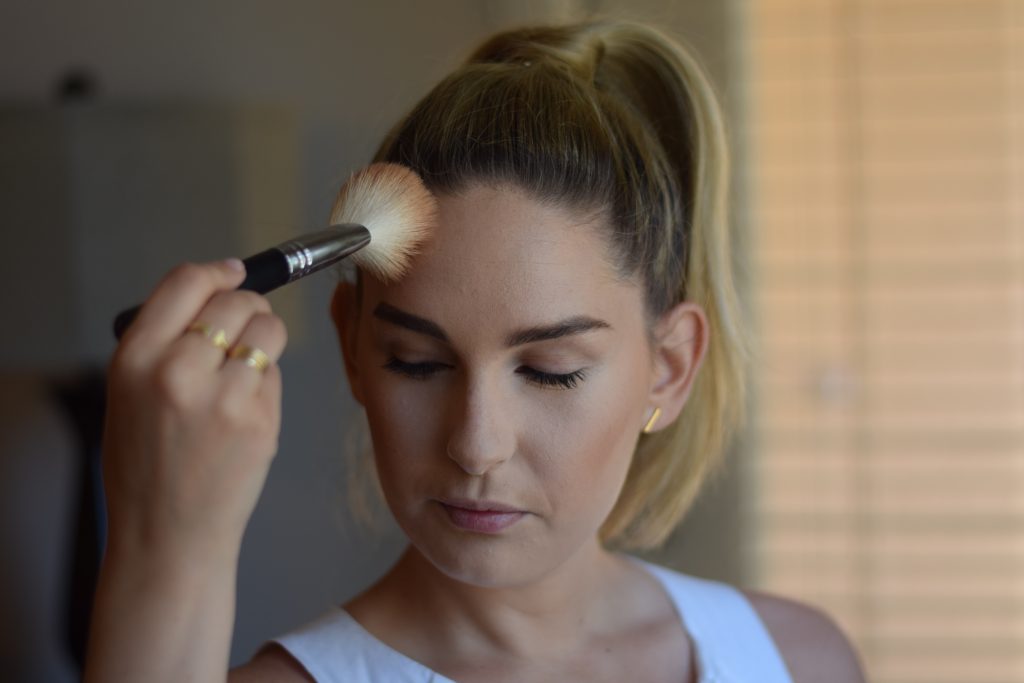
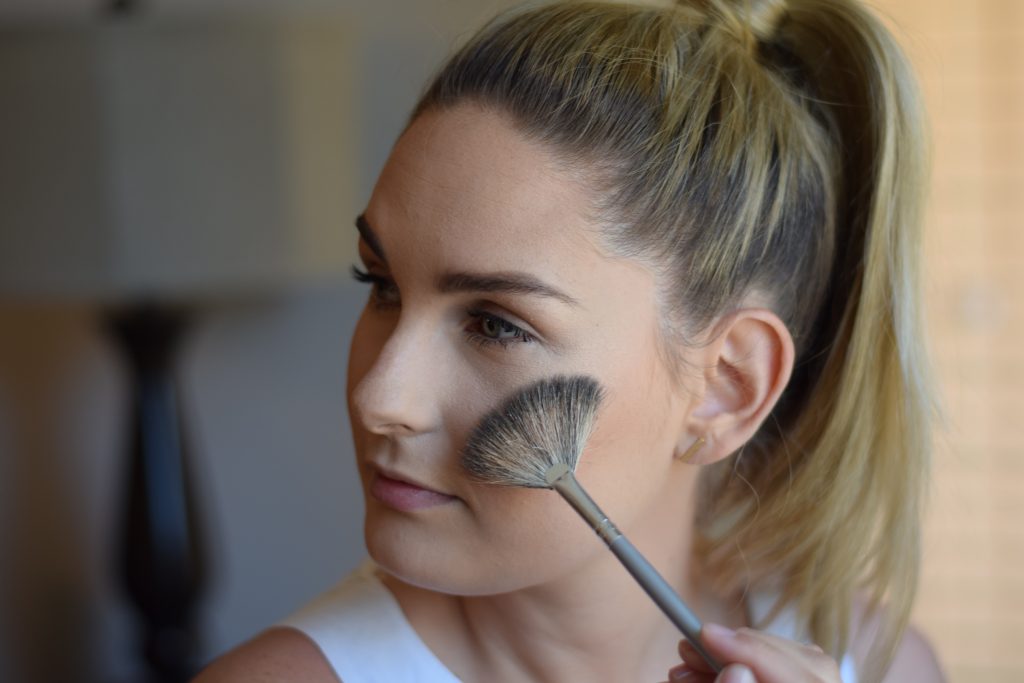
- For highlighter, my favorite is Becca Shimmering Skin Perfector in Champagne Pop. This is a collaboration with beauty guru and YouTube star, Jaclyn Hill! The formula of these highlighters are so buttery and smooth and the pigmentation is everything. You can easily adjust your brush or pressure to make the highlight really natural or bam in your face. I’ve never met someone who hates this product! I apply it with a fan brush to get a diffused, natural effect. I apply it at the tops of my cheekbones, down the bridge of my nose, and at the top of my cupid’s bow. Since I like it a little bit more intense on my cheekbones, I go back in with the Morphe M501 to add an extra pop on my cheek.
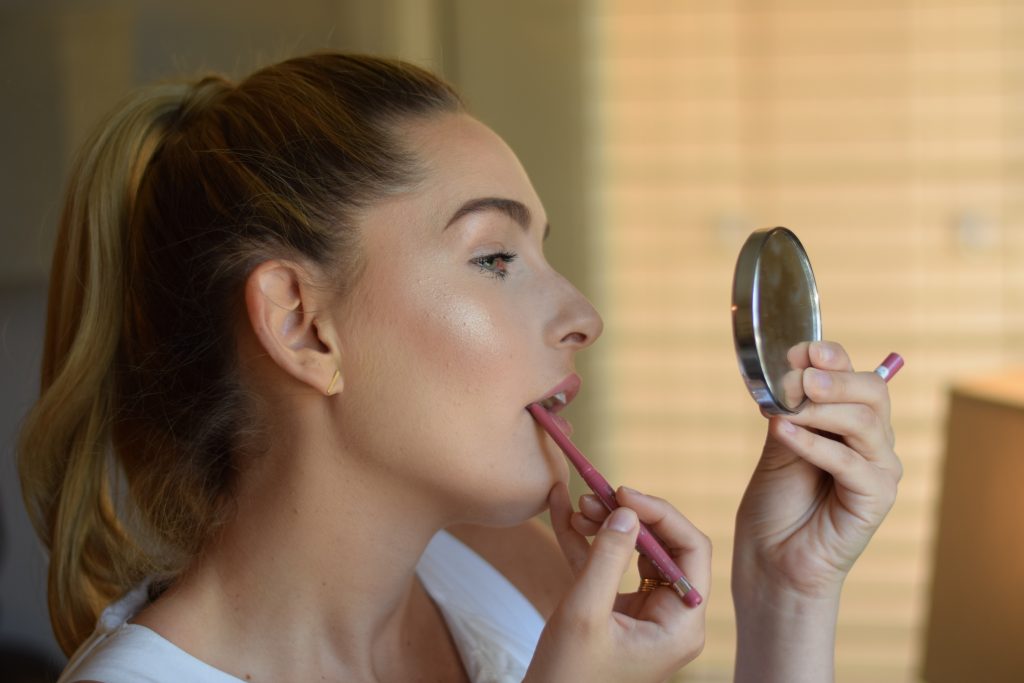
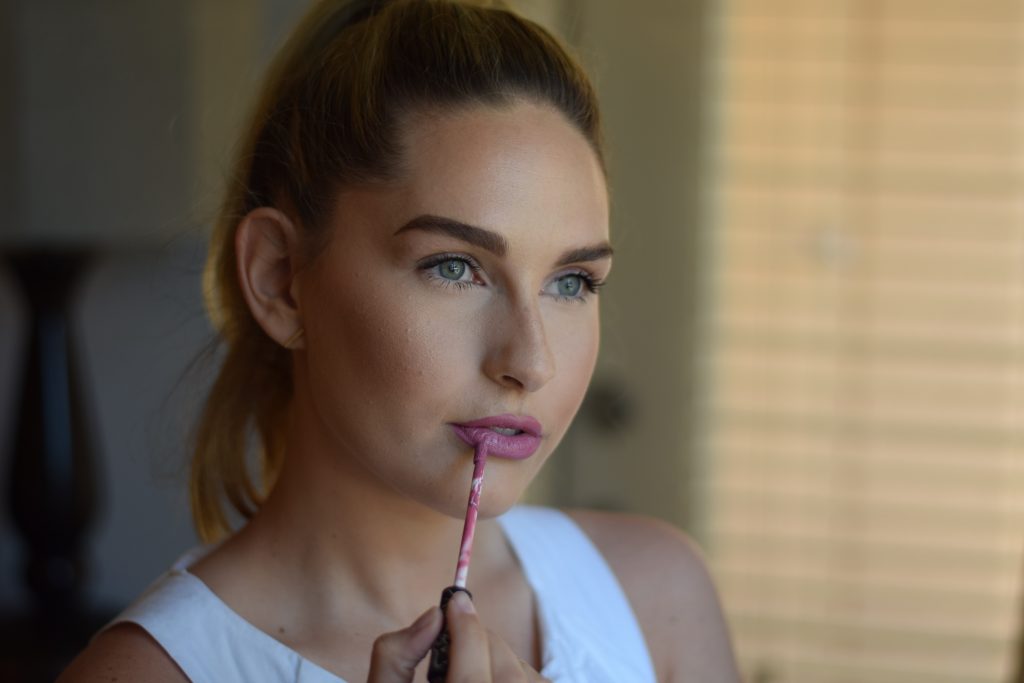
- As the finishing touch on the look, I apply my lips! The combination that I reach for most is the Rimmel Exaggerate Lip Pencil in “Eastend Snob” and the Kat Von D Everlasting Liquid Lipstick in “Lovesick.” It’s a soft pink that’s perfect for spring and lasts all throughout the day!
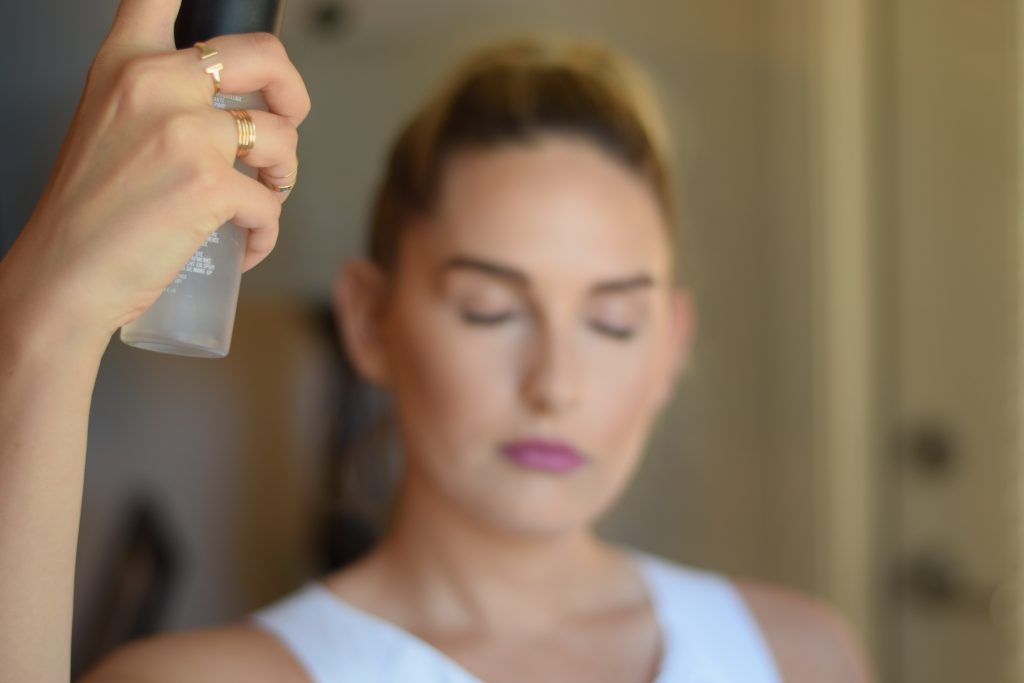
- To make the powders melt into the skin and appear more natural, I apply a fine mist of MAC Fix+ Prep and Prime to the entire face. I love this product! It sets the makeup while giving the skin a subtle glow. You can also spray this on the makeup brush before applying a shadow or powder that you want to be more pigmented or intense.
Shop the post:
What is your everyday makeup routine? Do we use any of the same products?!


Leave a Reply